Forum Replies Created
-
AuthorPosts
-
February 18, 2015 at 1:58 am #459

VRSenator065Participant- Adelaide SA
- VR Senator LSx454 1960 Kombi (project) 1921 Nash Hot Rod (future project)
View build HERE
Posts: 5 777
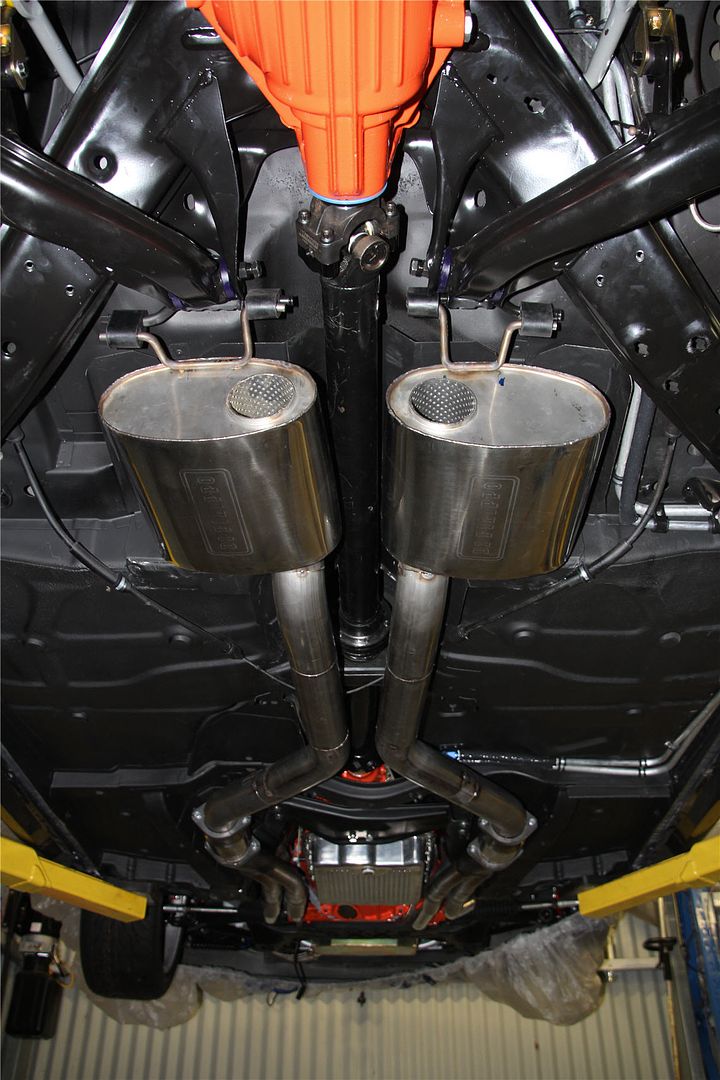
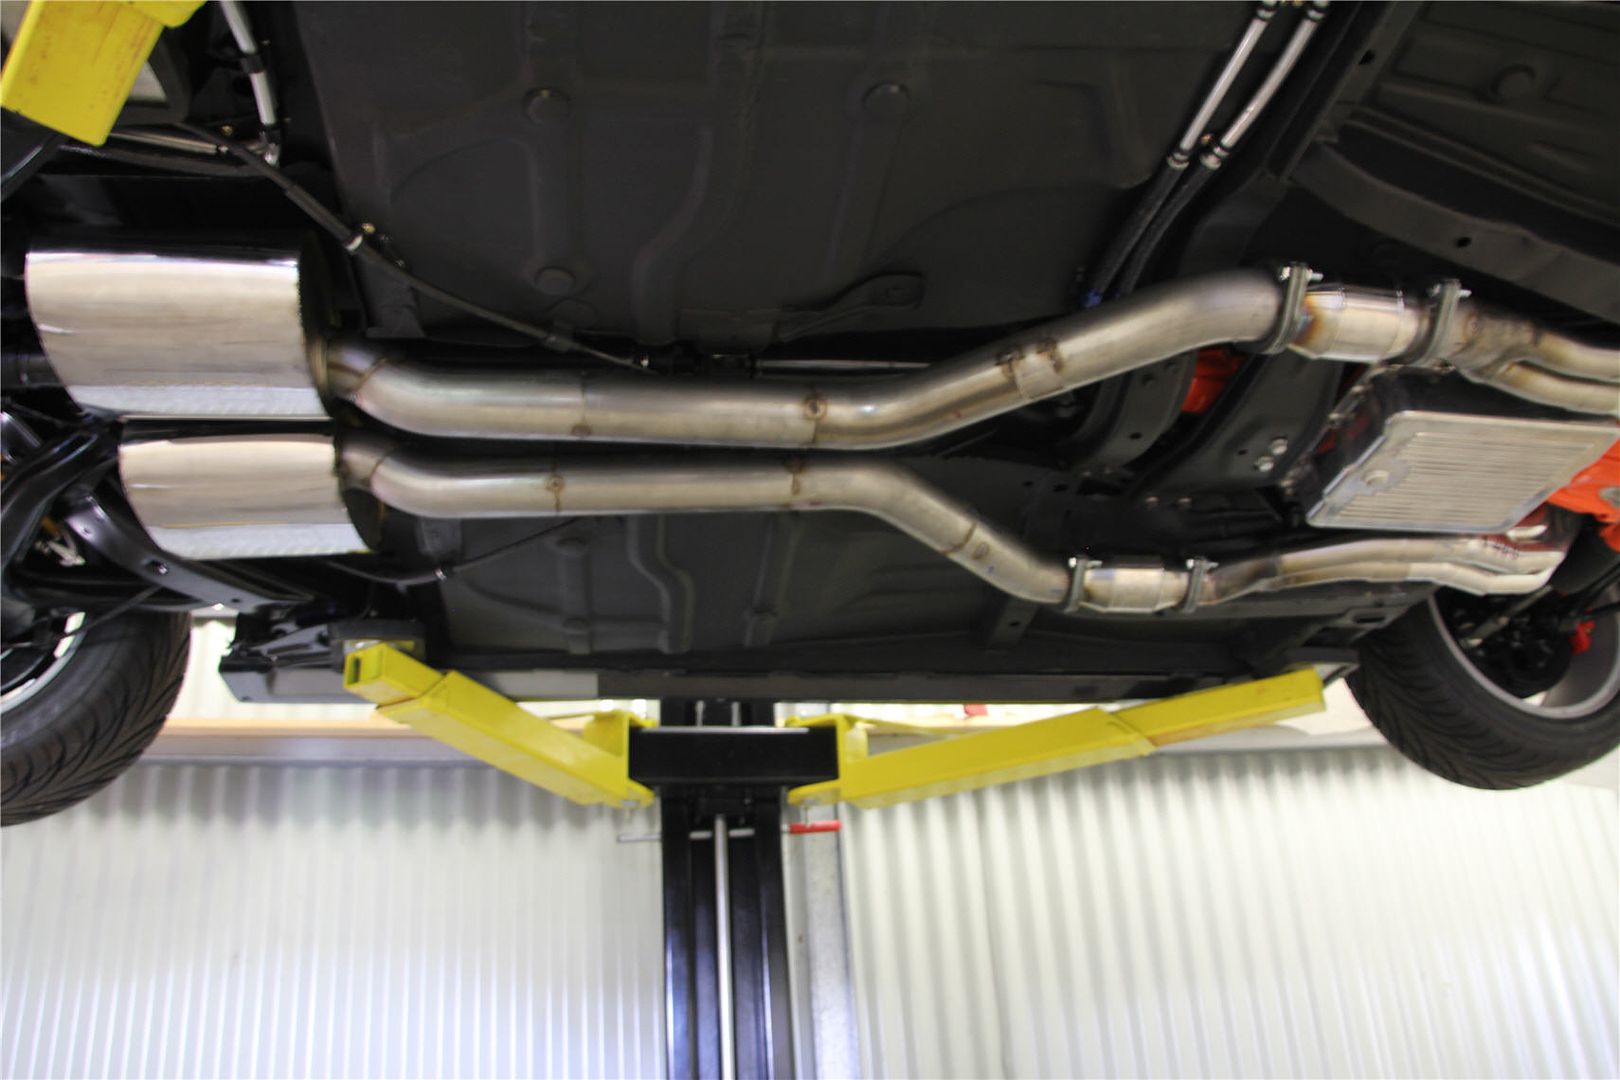
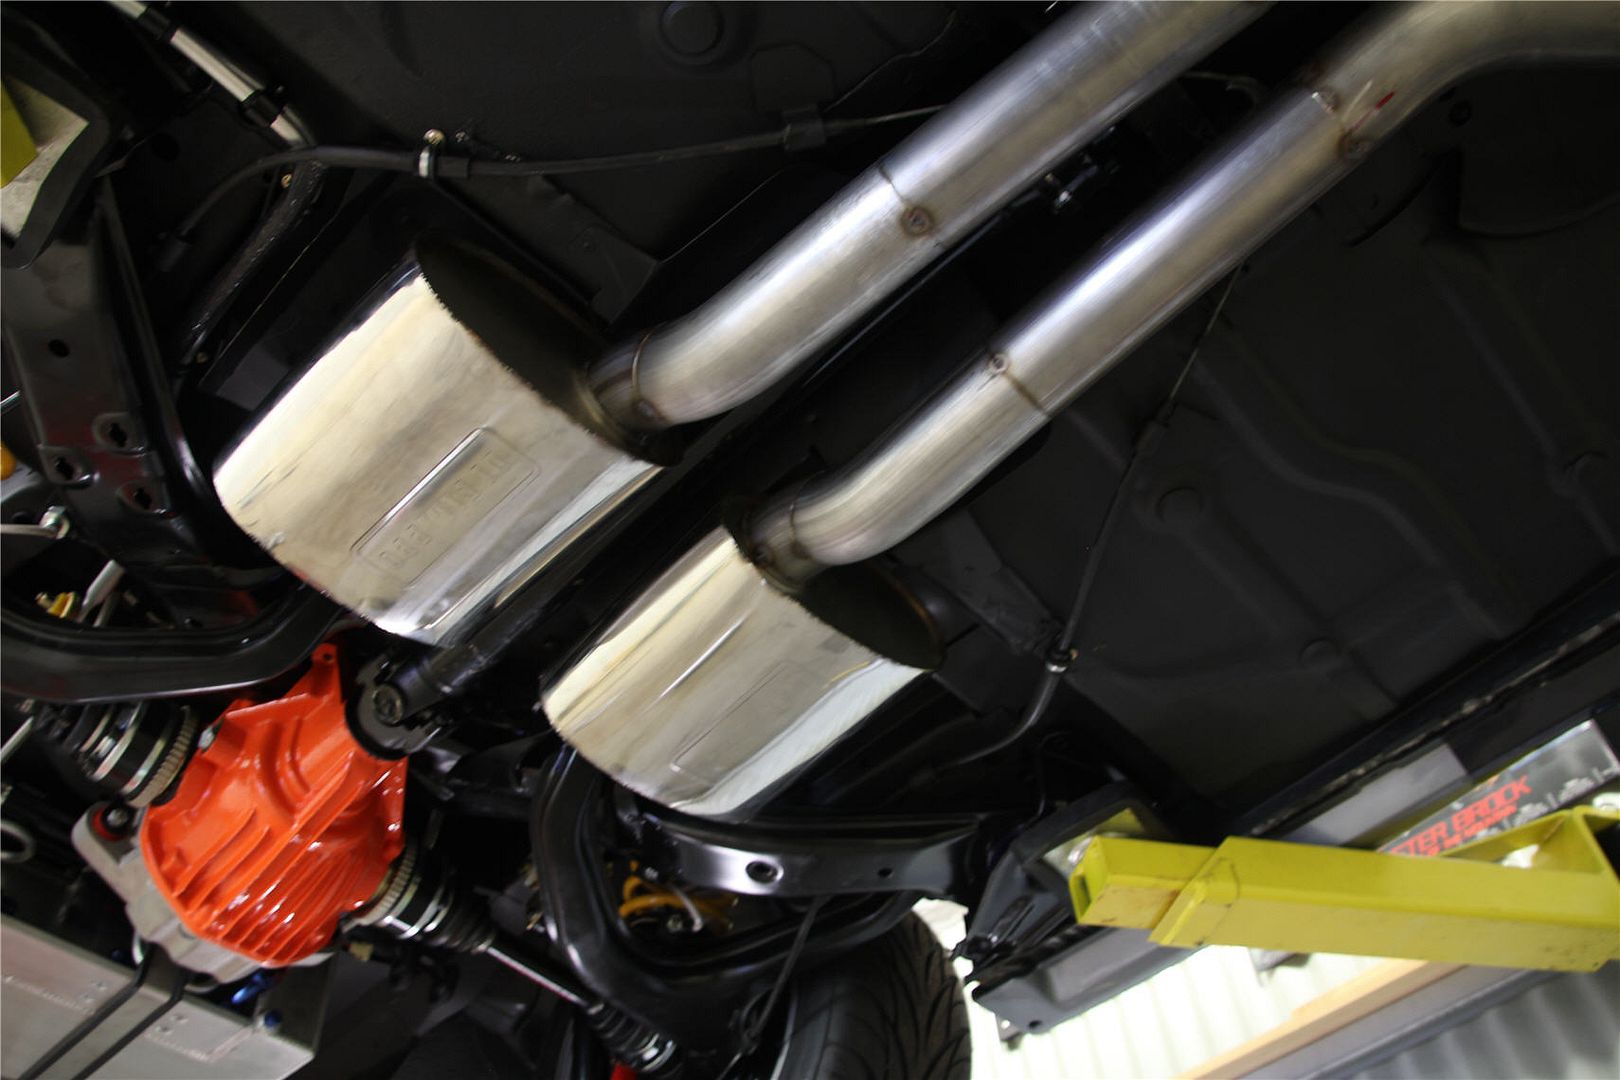
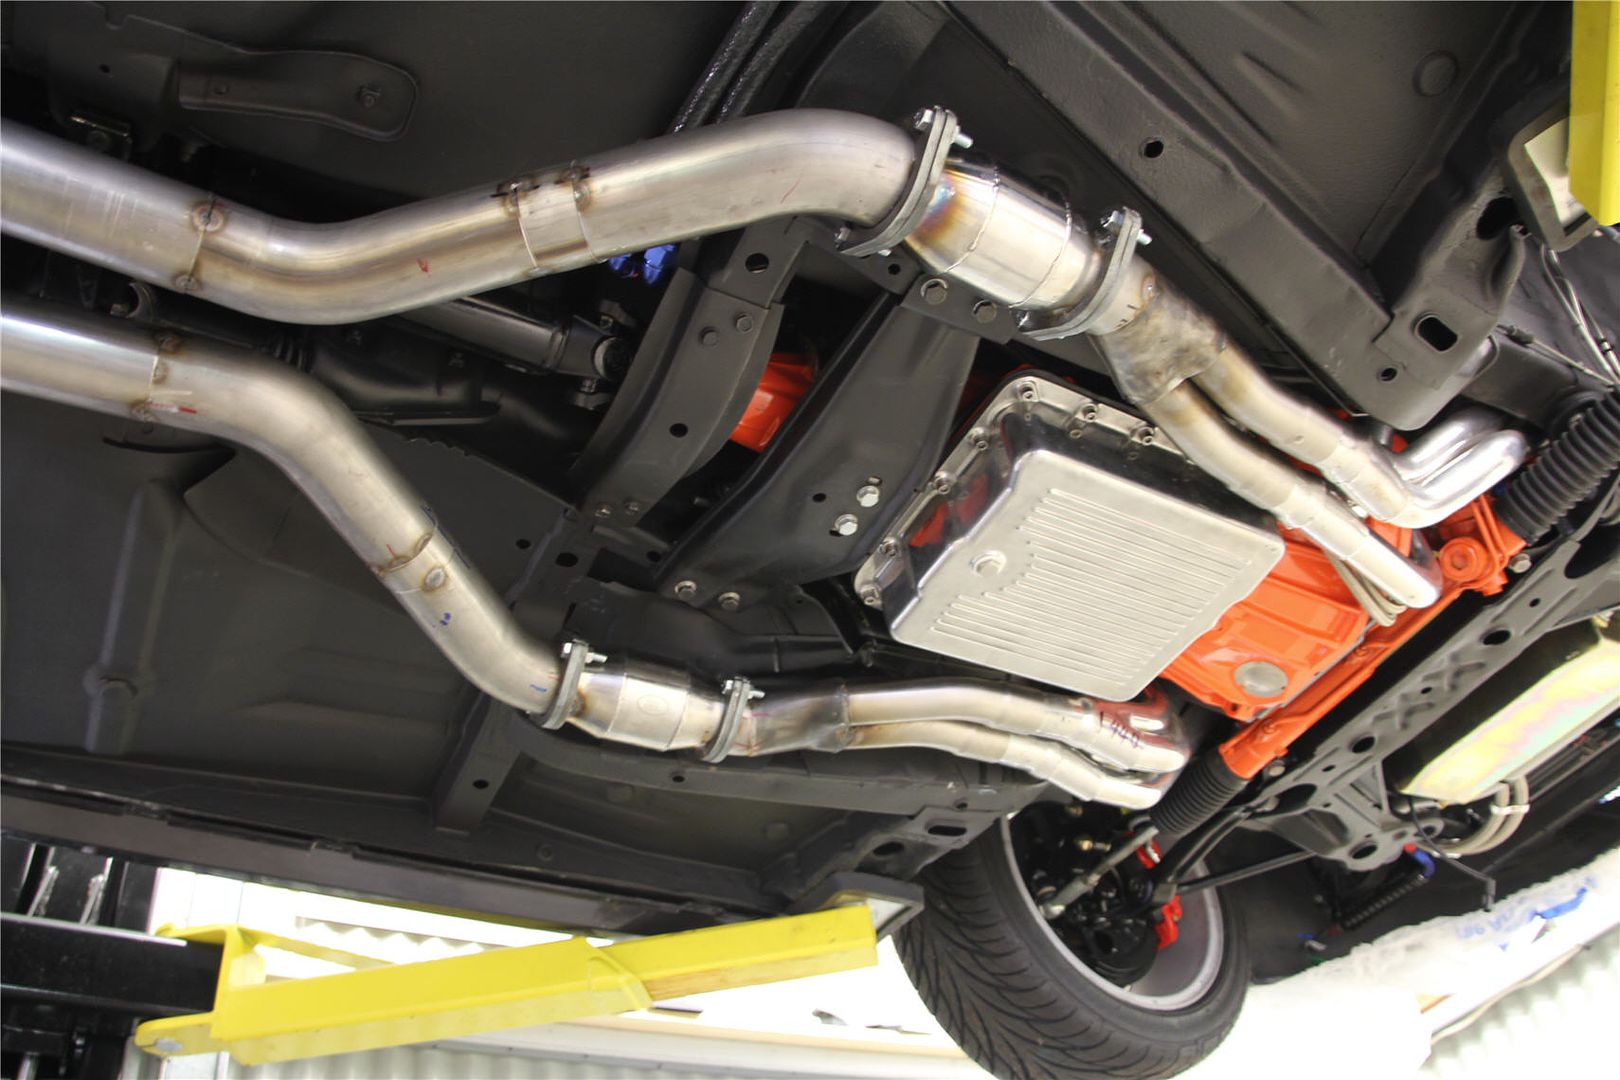
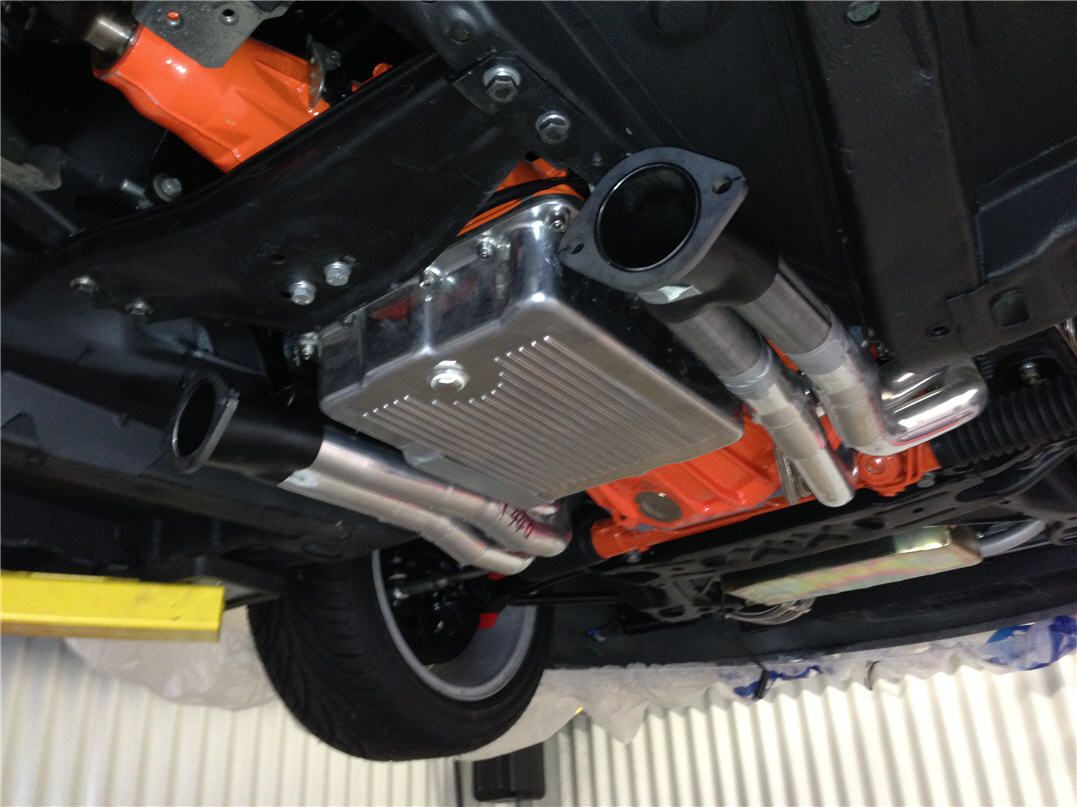
Well have to say I am bloody happy with the exhaust so far. Took a while to work out how I wanted it to run, really wanted it tucked up as much as I could. Have got the pipes done from the collectors through to the mid mufflers. Only tacked at this stage and haven’t done the H pipe yet but getting there. May have to get a bit more straight pipe for the rear section but will hopefully start on that maybe during the week. I reckon pretty blood good so far for an amateur
 February 18, 2015 at 1:57 am #458
VRSenator065Participant- Adelaide SA
- VR Senator LSx454 1960 Kombi (project) 1921 Nash Hot Rod (future project)
View build HERE
Posts: 5 777
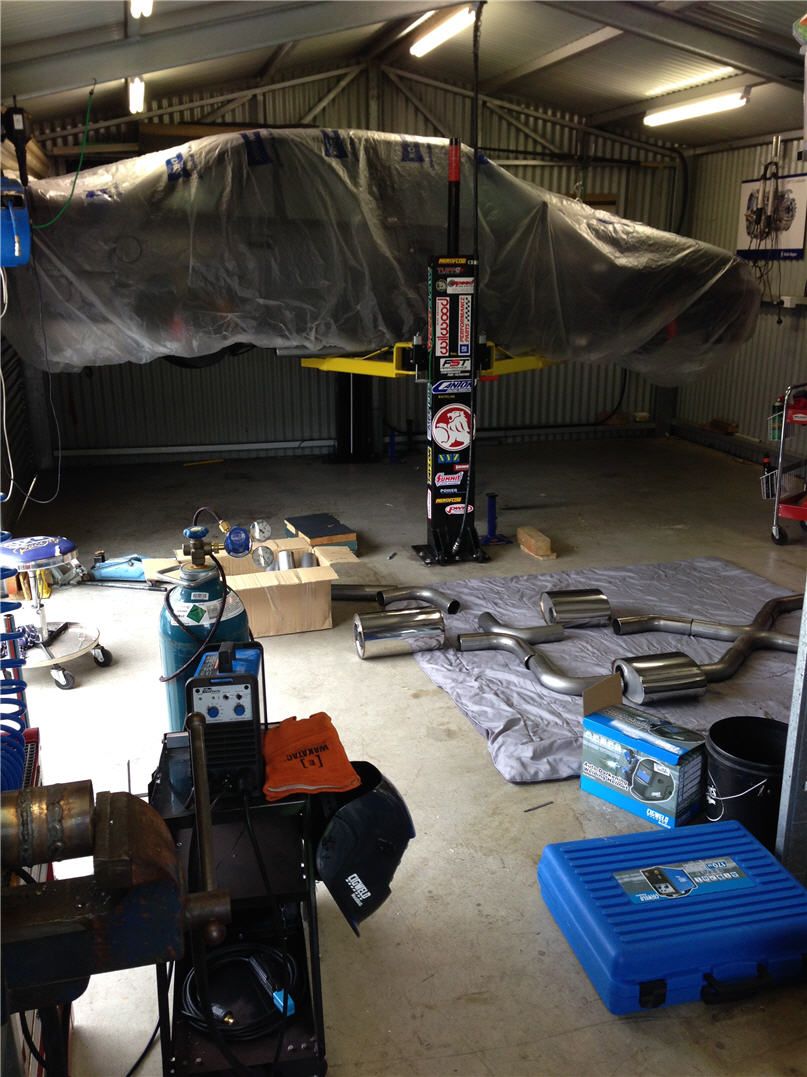
Well a week end spent doing a lot of mucking around but not a huge amount to “show” for it I guess, really just wanted to get my head around what’s in front of me. Unpacked it all, sorted through it all, for some reason the cats weren’t included with the stuff, but will sort that tomorrow.
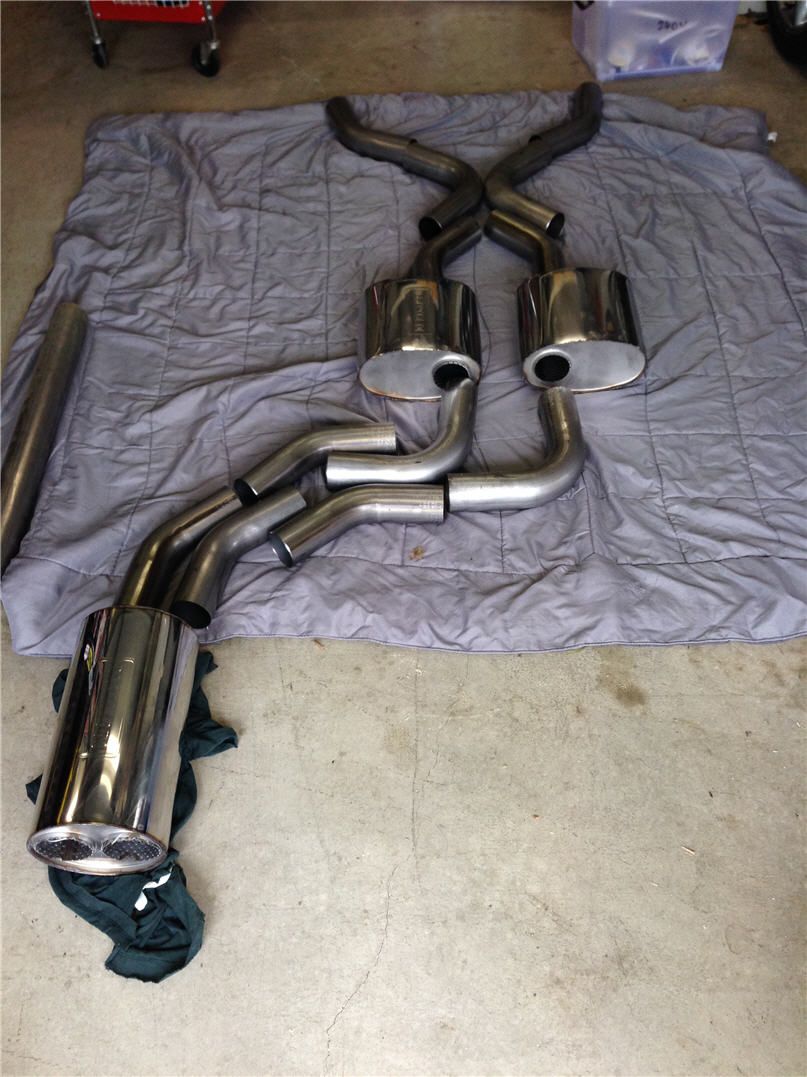
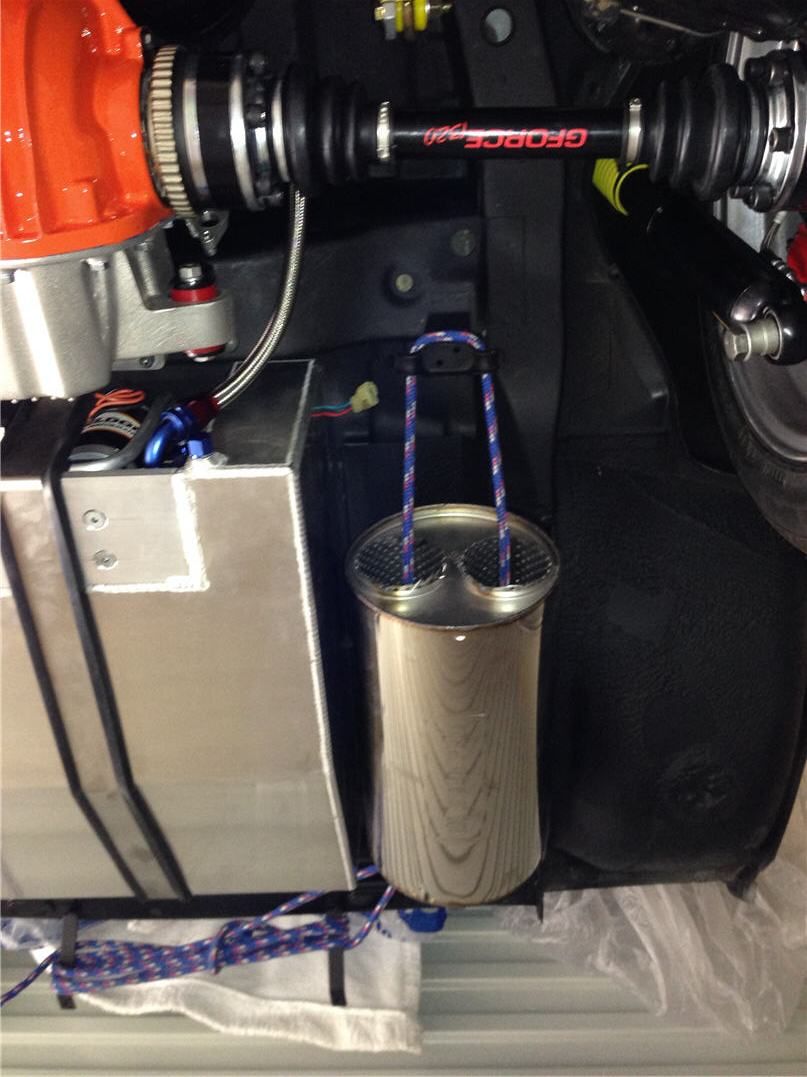
Set it out on the floor, first time building a full exhaust of course but also first time I have seen a twin 3″ system laid out in the flesh, man they are big! Makes a 2 1/2 look like a Pee shooter :) Should look and sound pretty sweet once its done.
So spent yesterday cutting up small rings of tube and playing trying to tig weld them together. First impressions, harder than it looks but I seemed to get better pretty quickly. Actually having no trouble welding, just getting way too much penetration. Hopefully during the week will get the chance to see my mate and get a few pointers. Tacking looks pretty bloody simple, so worse case I will build it all tacked then get him to finish it off, wait and see. This is me playing around.
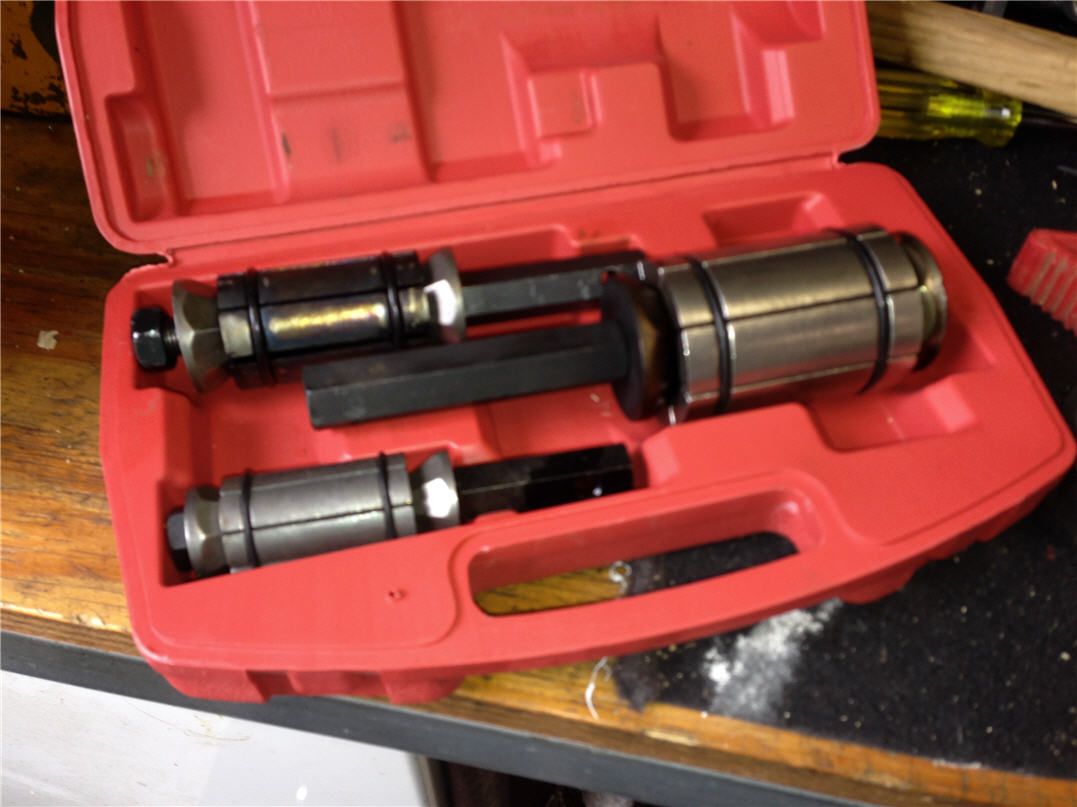
Did get the front passenger side cut off, so I can make up the two 2″ to 3″ collectors. A tip if anyone is tempted to buy one of these expander tools, forget it. They might be alright for fixing an out of round pipe but no way are they good enough to expand even the 2″ mild steel let alone 3″ stainless. Have cut the tubes and reckon I will just go to a muffler place and get them to expand the two ends for me.
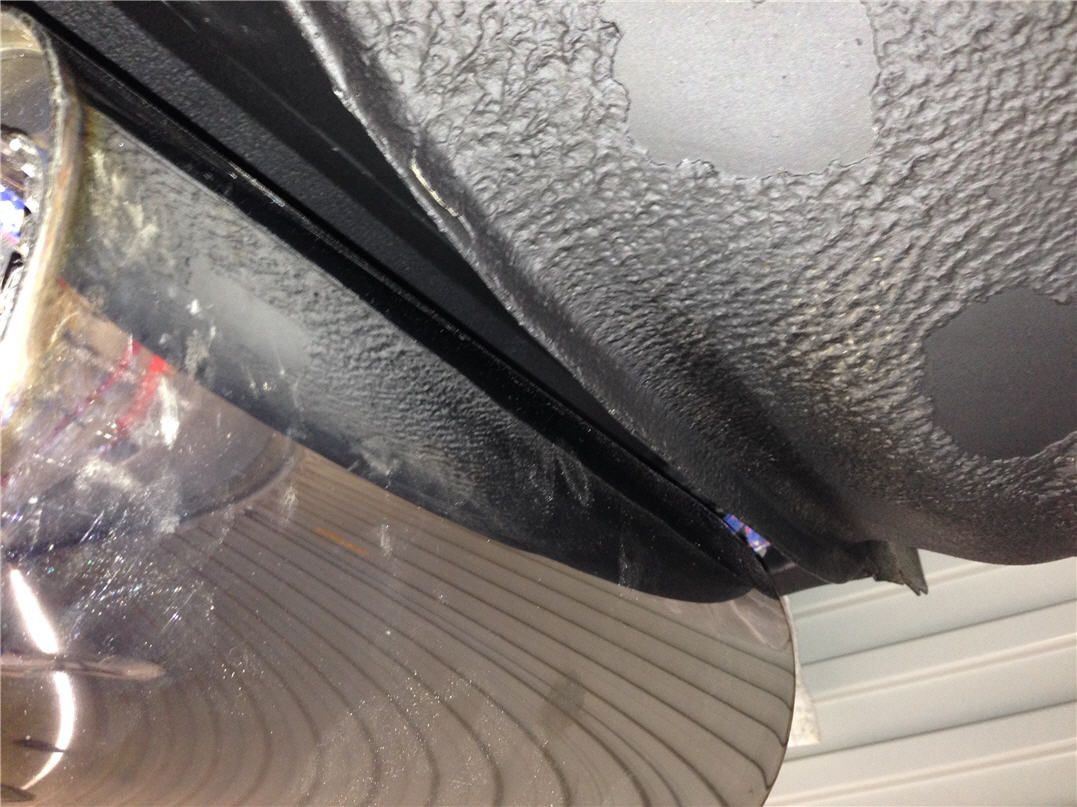
Also had a look at the rear twin 3″. It is reasonably tight, but I think if I just massage the vertical steel edge of the spare well it will give it enough clearance. Might see about finding some stick on heat stuff just for the side of the tank.
February 18, 2015 at 1:57 am #456
VRSenator065Participant- Adelaide SA
- VR Senator LSx454 1960 Kombi (project) 1921 Nash Hot Rod (future project)
View build HERE
Posts: 5 777
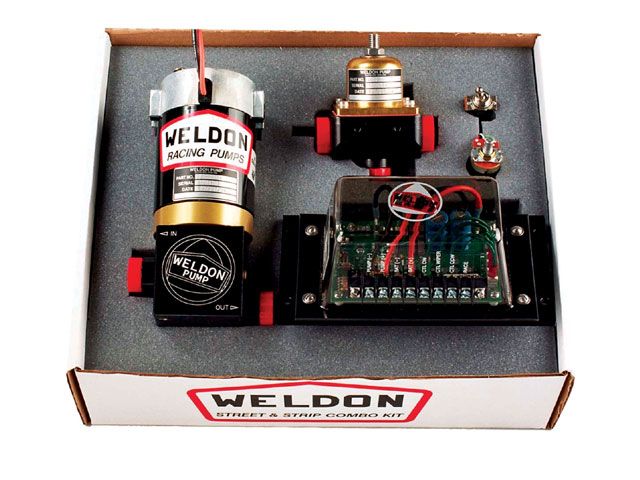
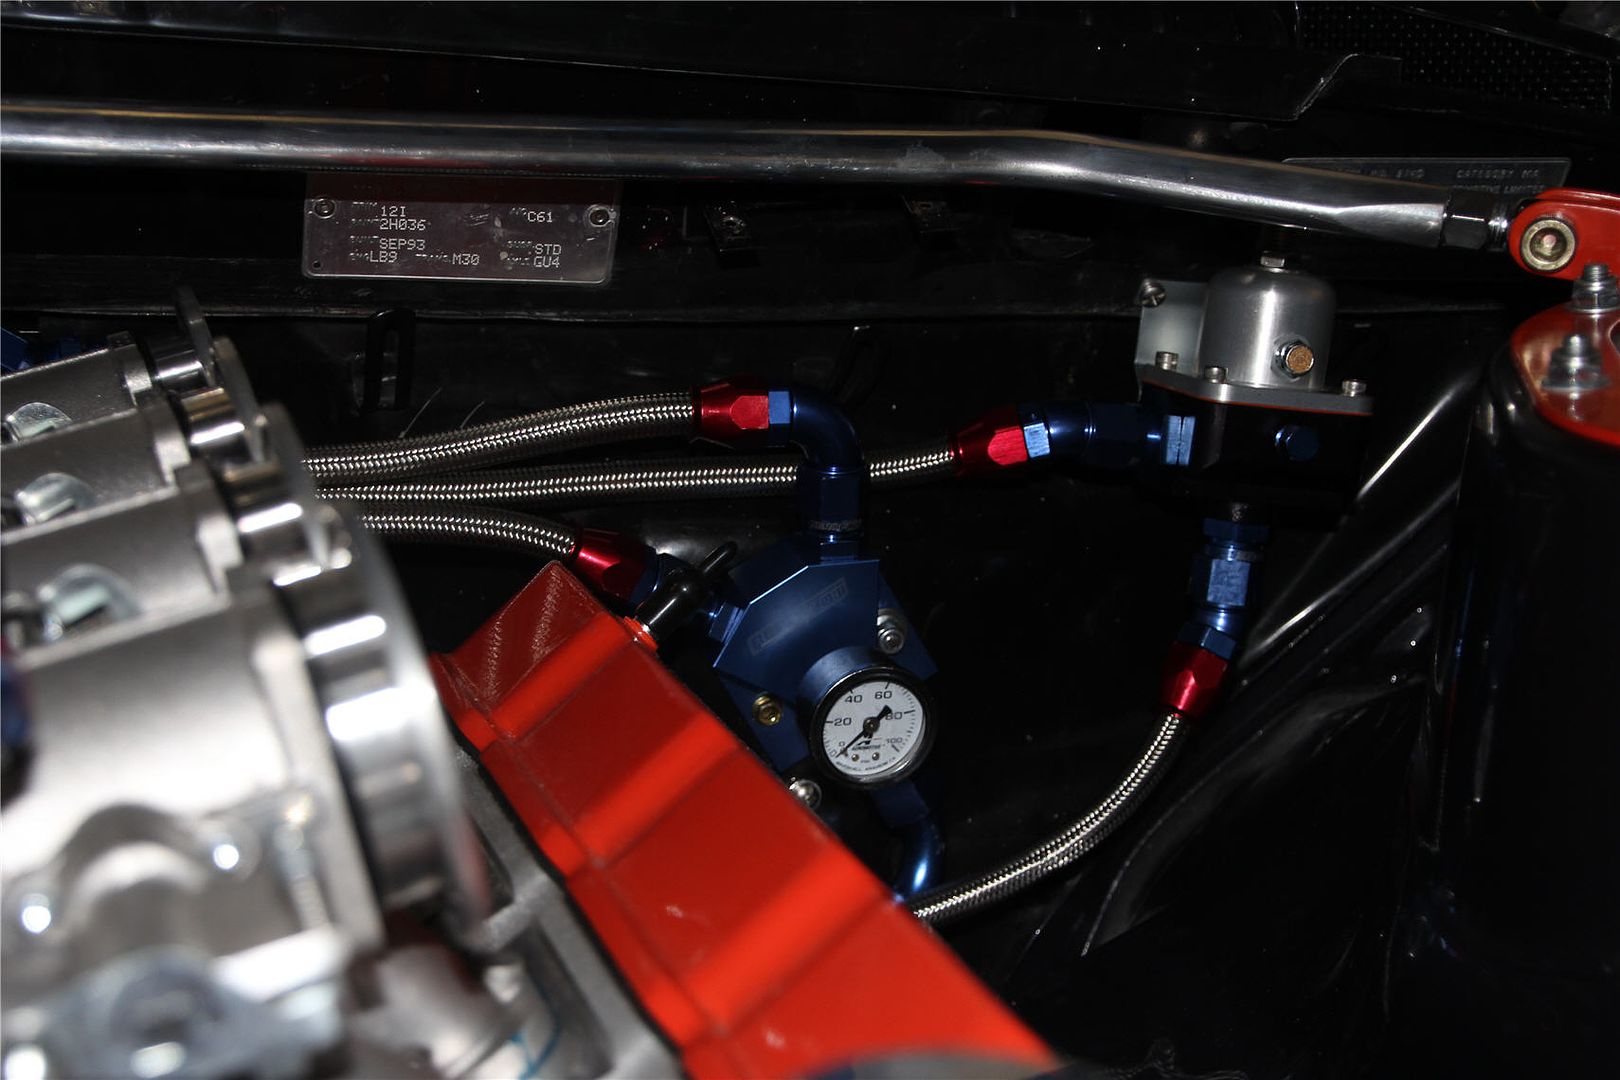
Yes you could, but the two “inputs” to the reg are on either side of it, with return to tank at the bottom. The only sensible place to put the reg was off to the side on the firewall, so I would have had two hoses, with one having to go to a 180 degree bend to get to the other side of the reg if that makes sense. The way I am going to do it just ties the two return hoses (running alongside the fuel rails) to a tee at the back you can’t really see, then a -8 single hose to one side of the reg, the other port is blanked.
Its really 6 of one, half dozen of the other, I like how its turned out, but I would I guess, I did it ha ha. Its quite busy back there, and the firewall isn’t flat which doesn’t help either.
This is the Weldon kit I got, which had the regulator included.
 February 18, 2015 at 1:56 am #455
VRSenator065Participant- Adelaide SA
- VR Senator LSx454 1960 Kombi (project) 1921 Nash Hot Rod (future project)
View build HERE
Posts: 5 777
Sorry didn’t see the posts above, have to have a think about that

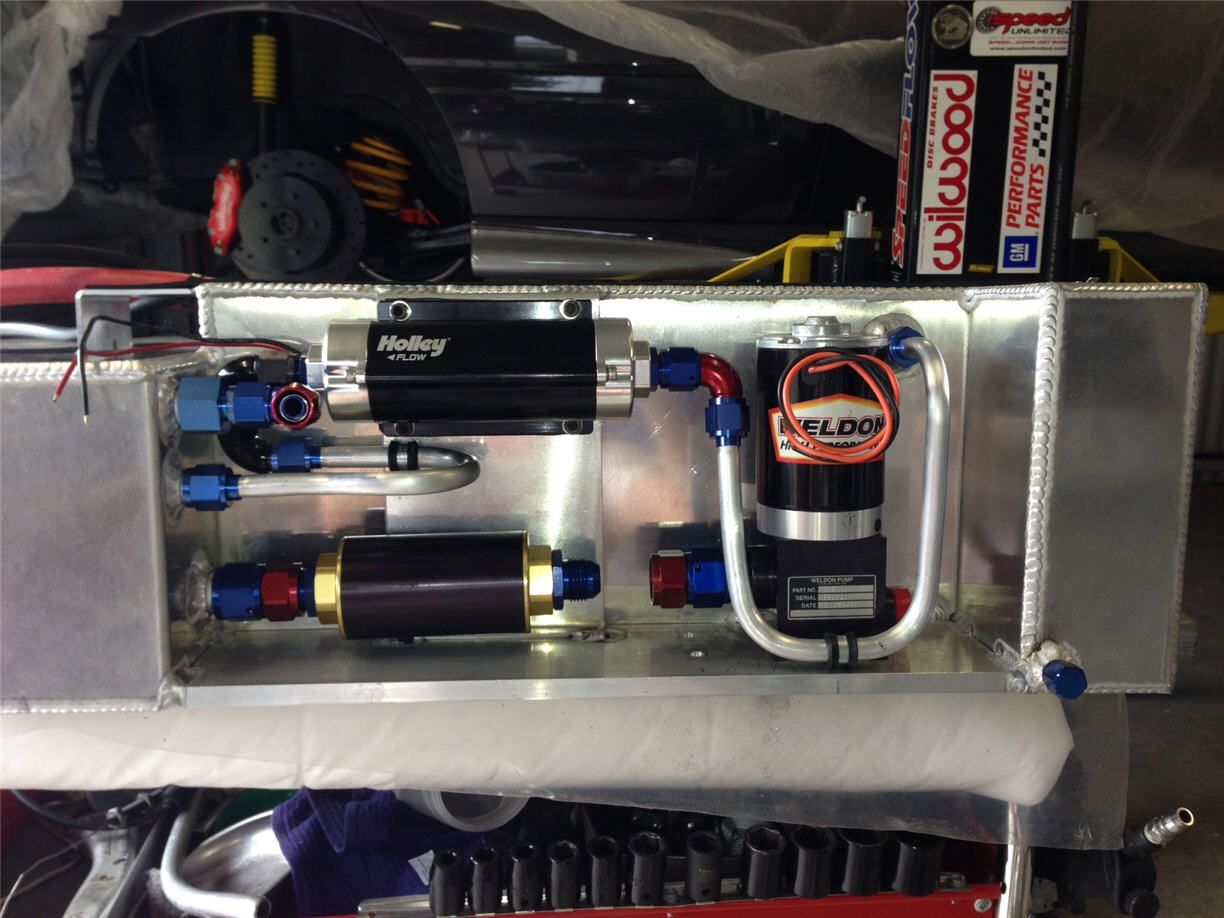
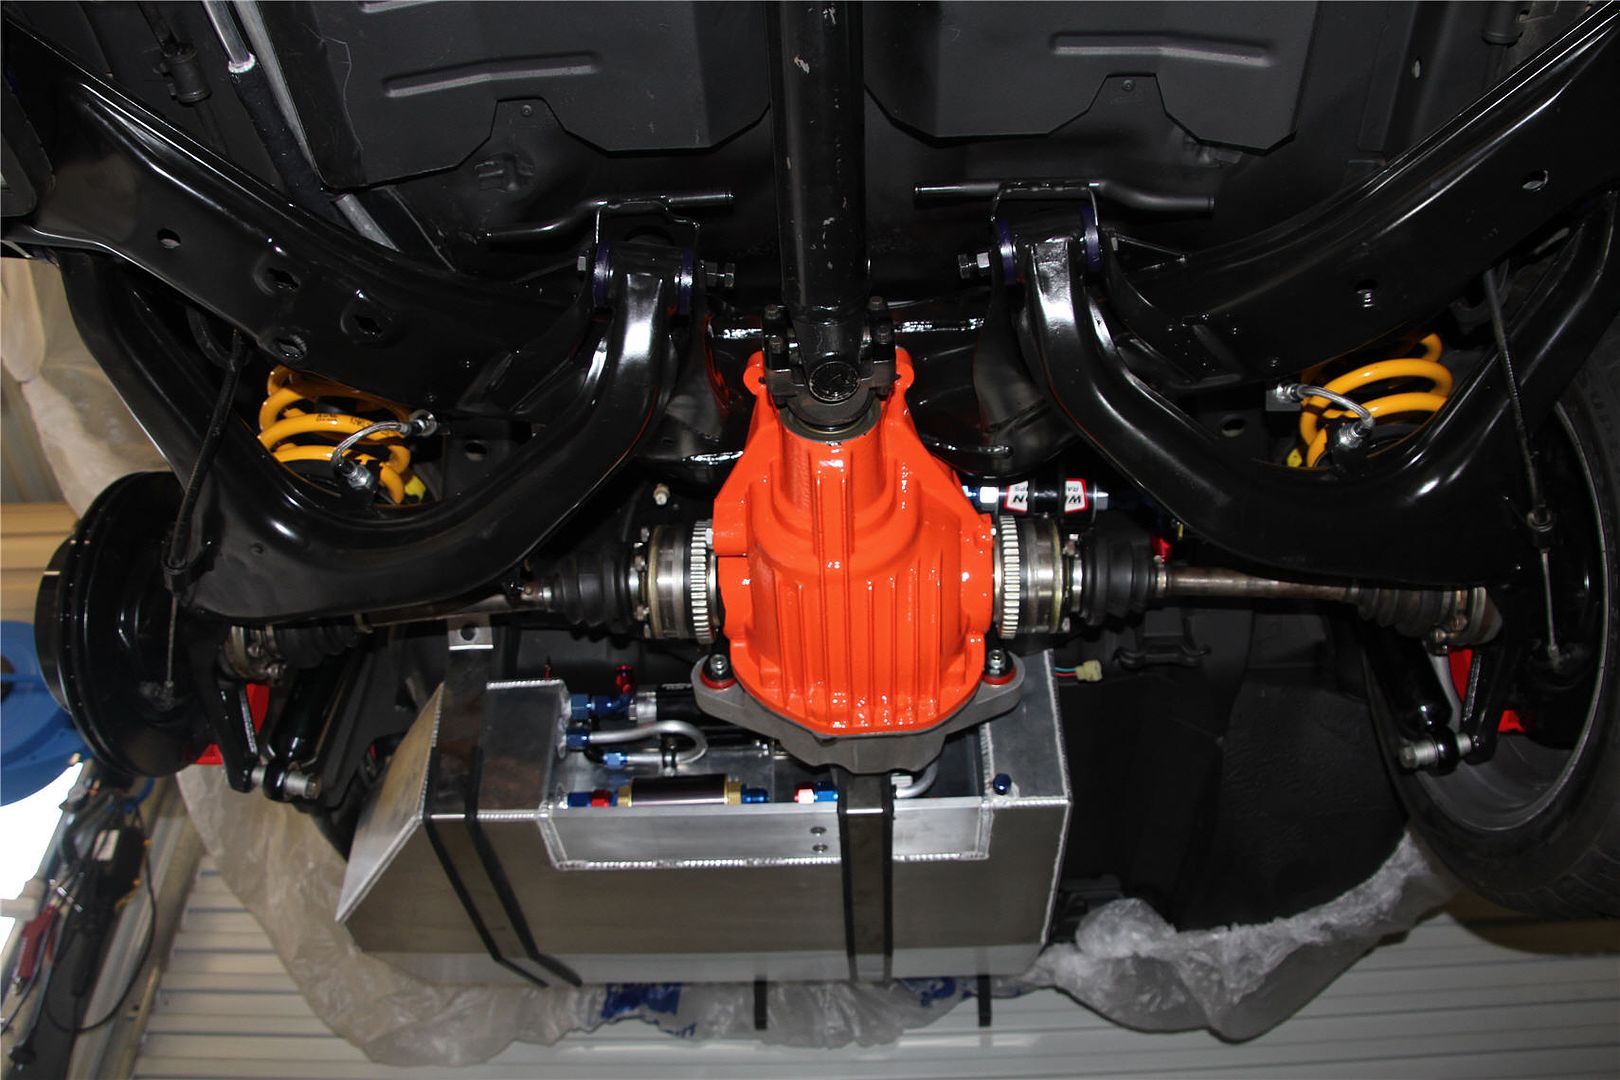
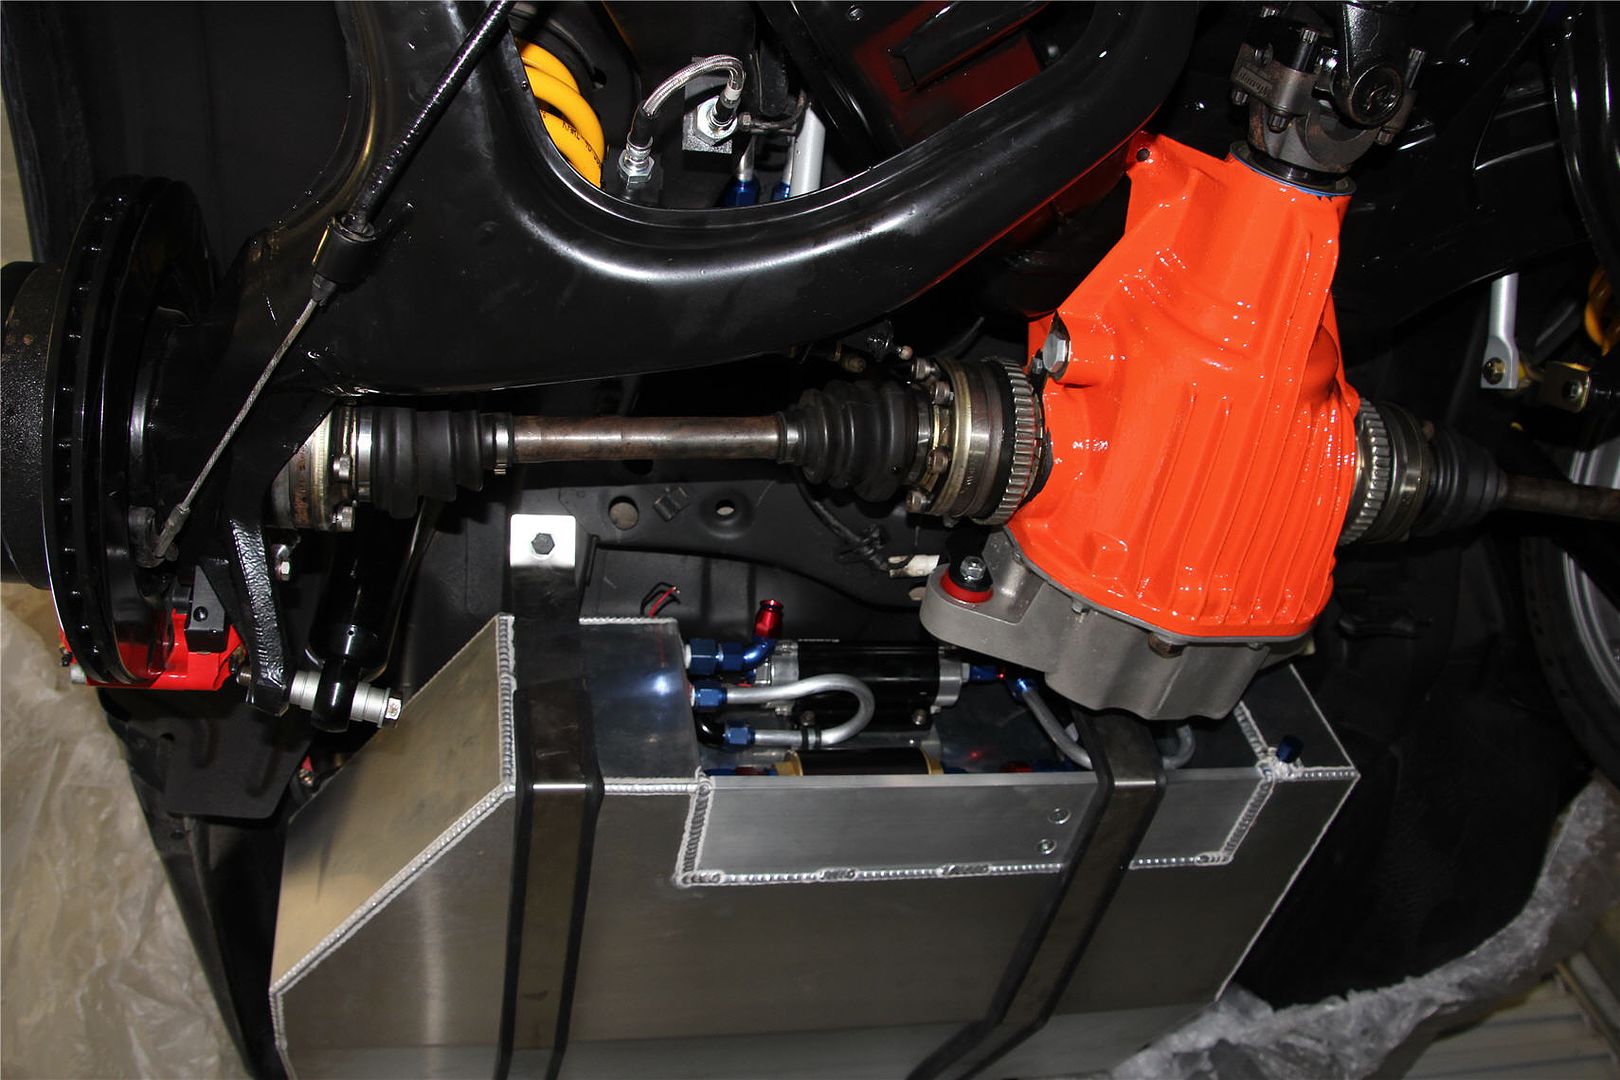
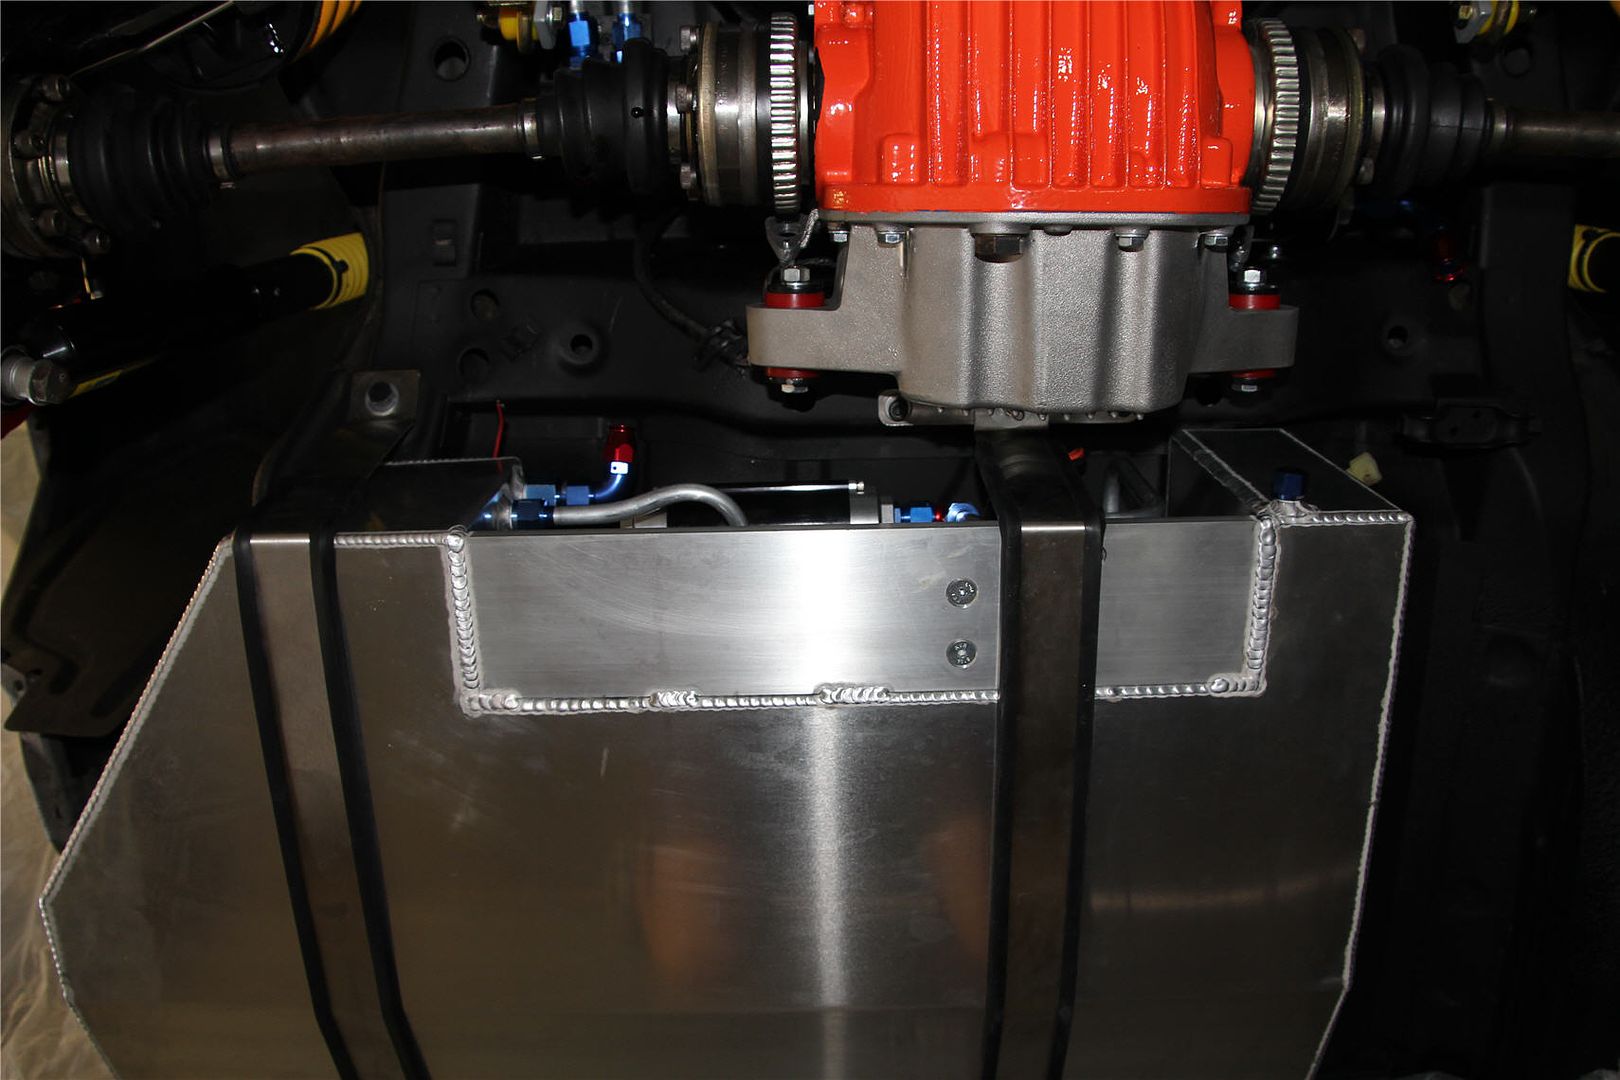
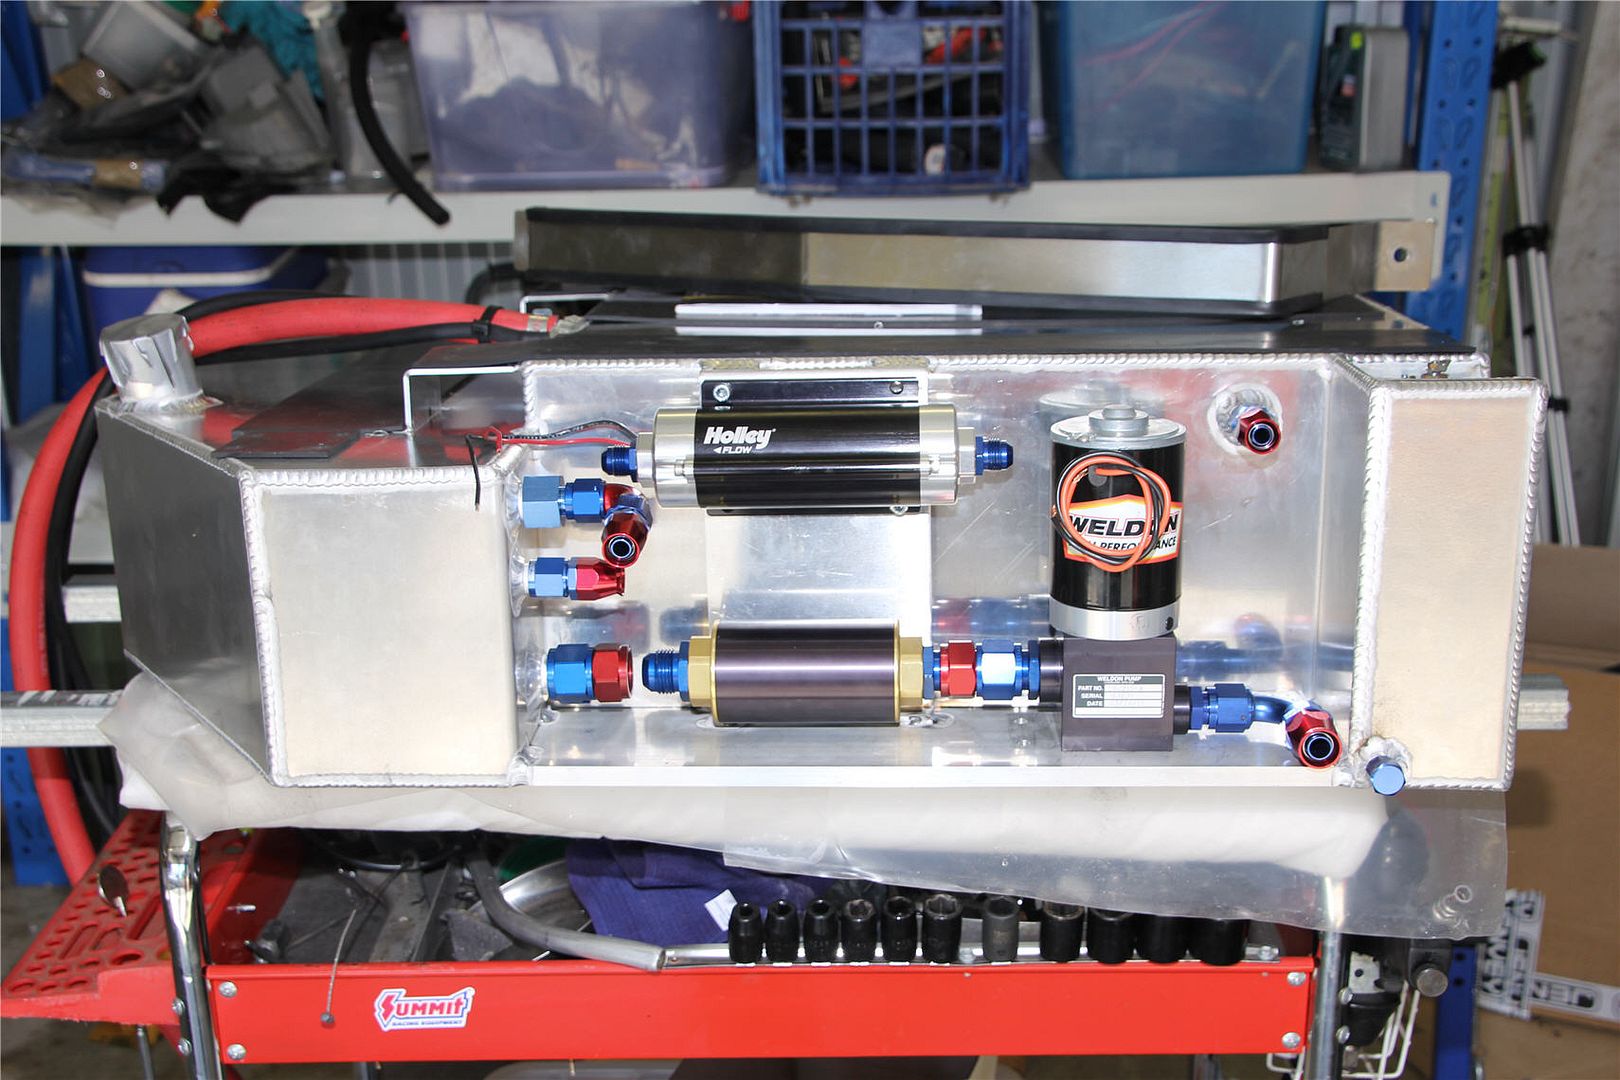
Well bloody stoked with how the tank has worked out. Took ages to try and work out a neat way to do the lines to the lift pump. Tried a lot of different ways but in the end I decided to make up hard lines, truly thought of taking a picture of all the bends that didn’t work out in the bin for a laugh but decided against it. Took my misses out an showed proudly showed off my handiwork and she just shrugged and said why did that take so long. Sometimes it takes a lot of time and effort to make something simple I guess. Just need to sort an extension for the 12AN to the Weldon.
Have to say a word about “full flow fittings” to me they are a con. They have exactly the same bore through them as the regular 200. Yes they are a tighter radius, but actually from the fluid point of view it would make them worse flow wise. Only thing in their favour is the outside is larger so maybe they are physically stronger, and if room is an issue the tighter bend is a good option. To me either will work as well as each other.
Anyhow, a few pics of how it sits, out of action tomorrow at the Bay to Birdwood but hopefully will get time to make up a list of the fittings I need so I can do the under bonnet, and hopefully that’s the fuel system sorted

Not long now, exhaust, ecu and loom etc, and some odds and sods.
February 18, 2015 at 1:55 am #454
VRSenator065Participant- Adelaide SA
- VR Senator LSx454 1960 Kombi (project) 1921 Nash Hot Rod (future project)
View build HERE
Posts: 5 777
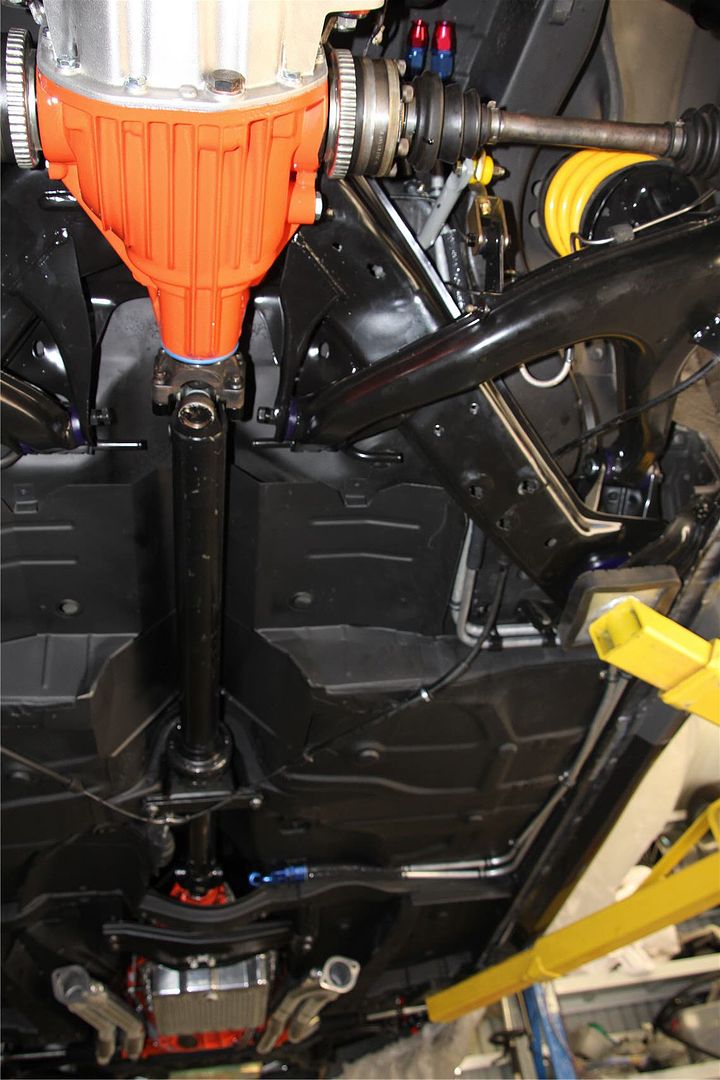
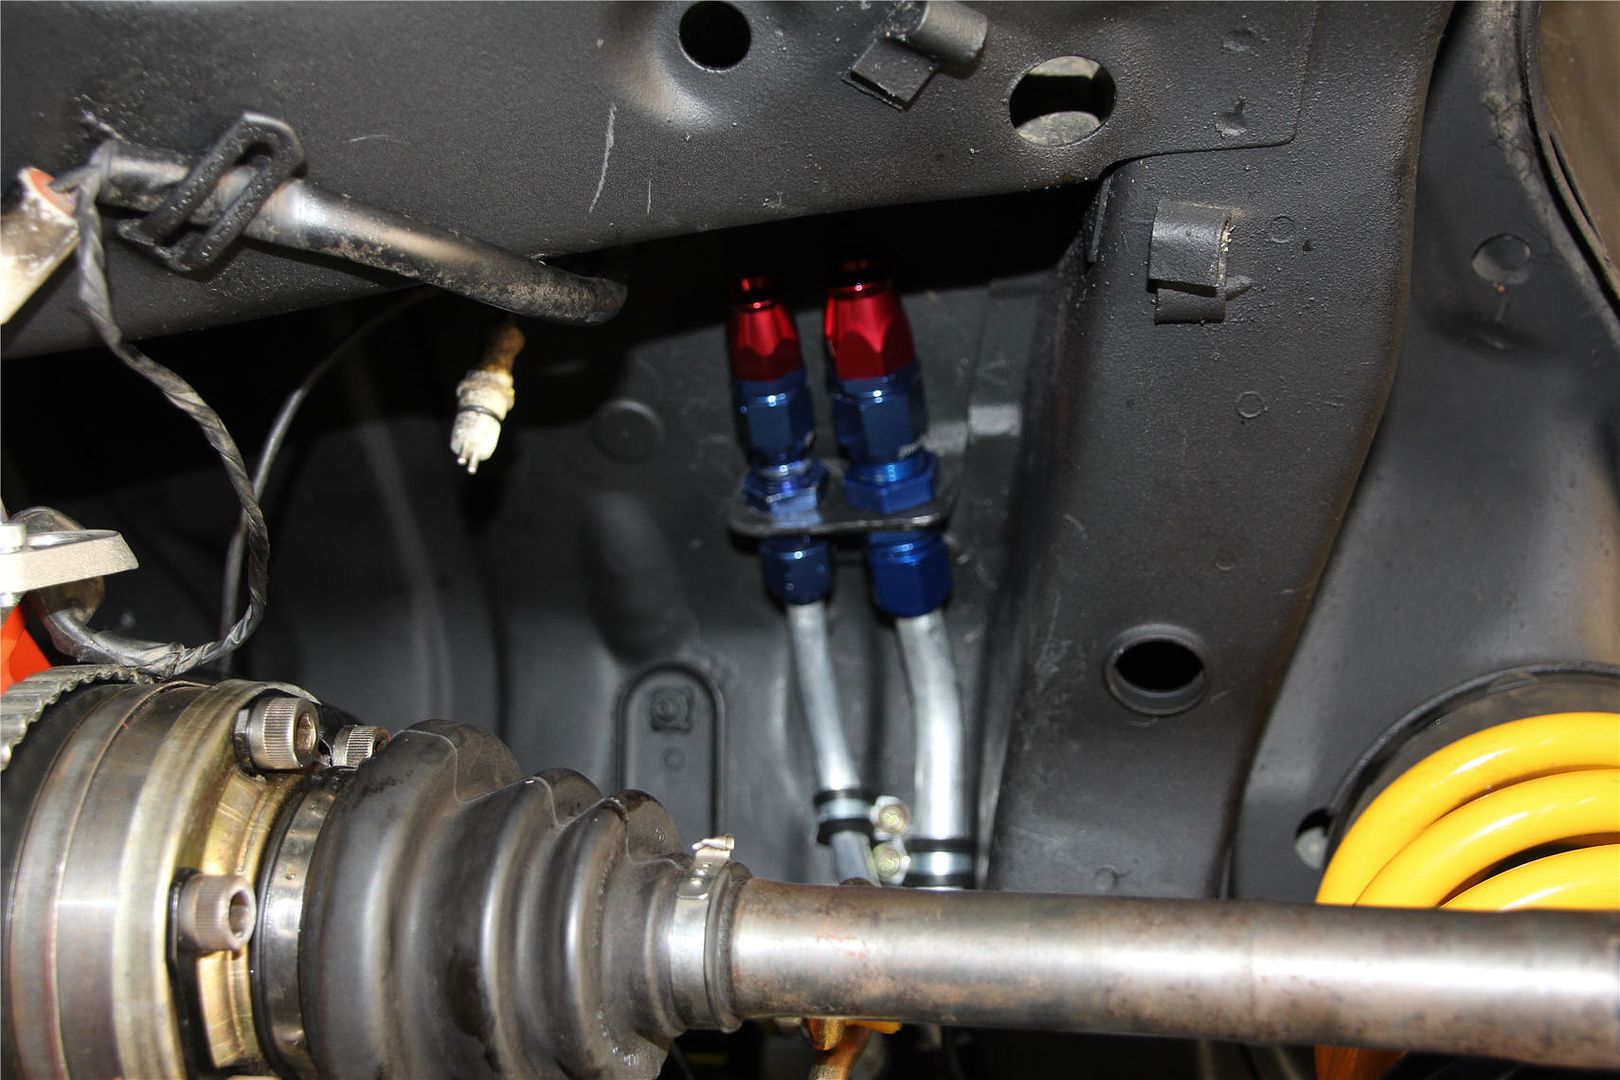
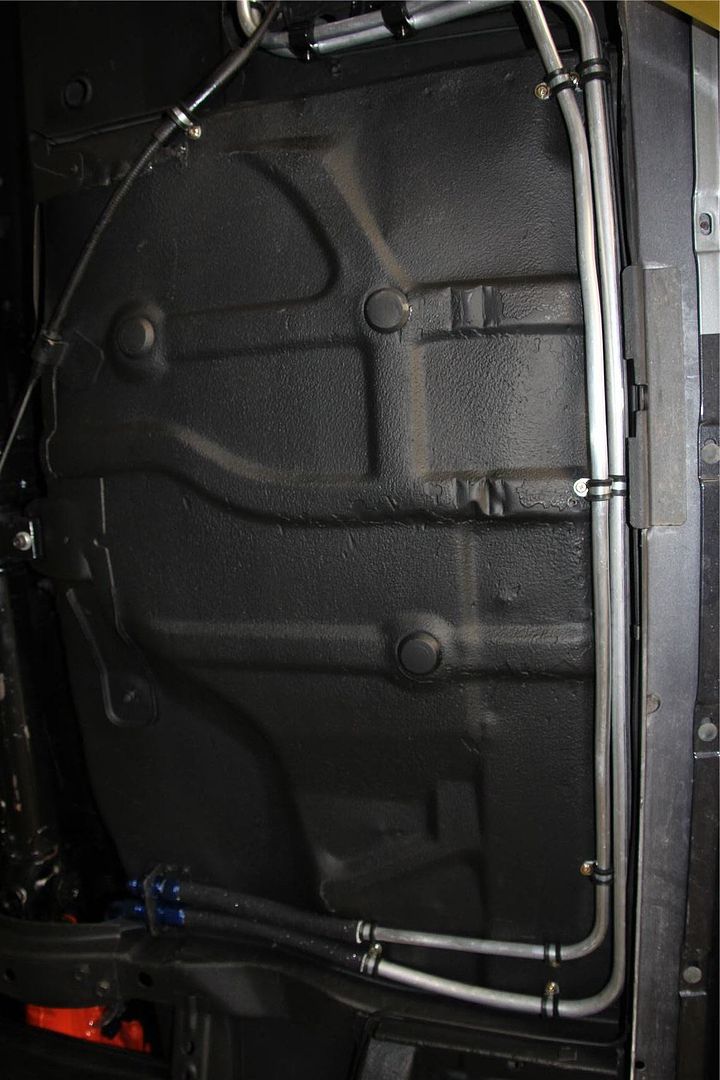
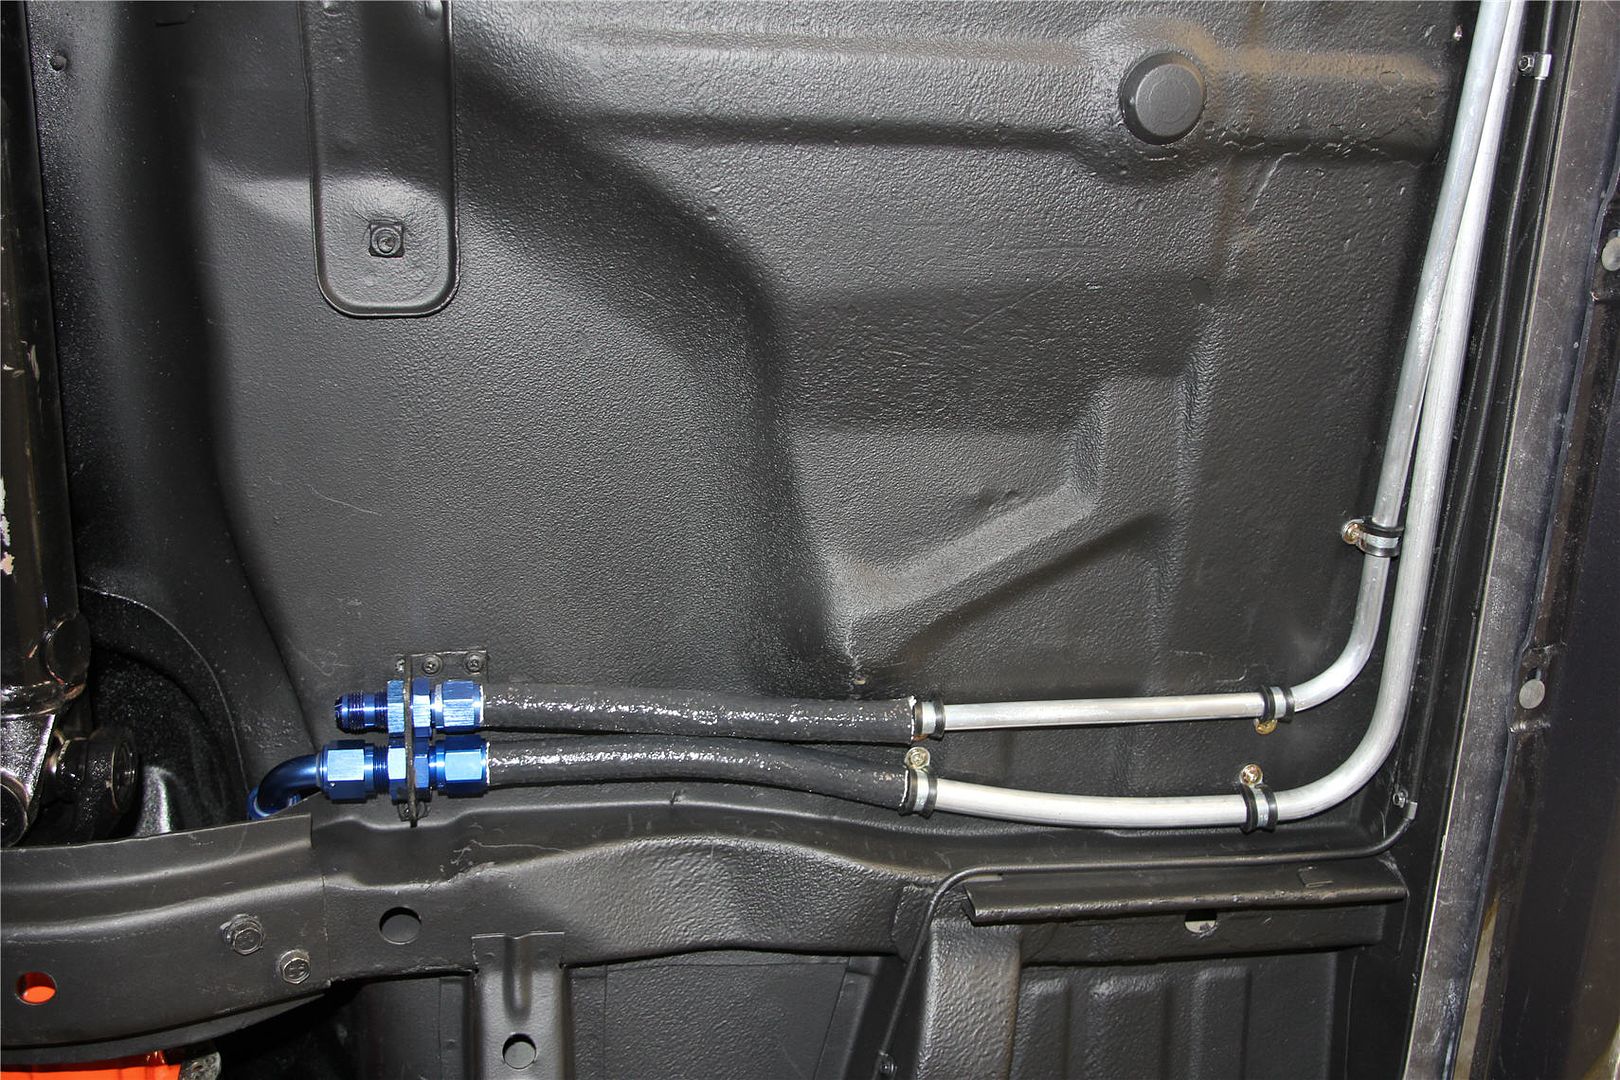
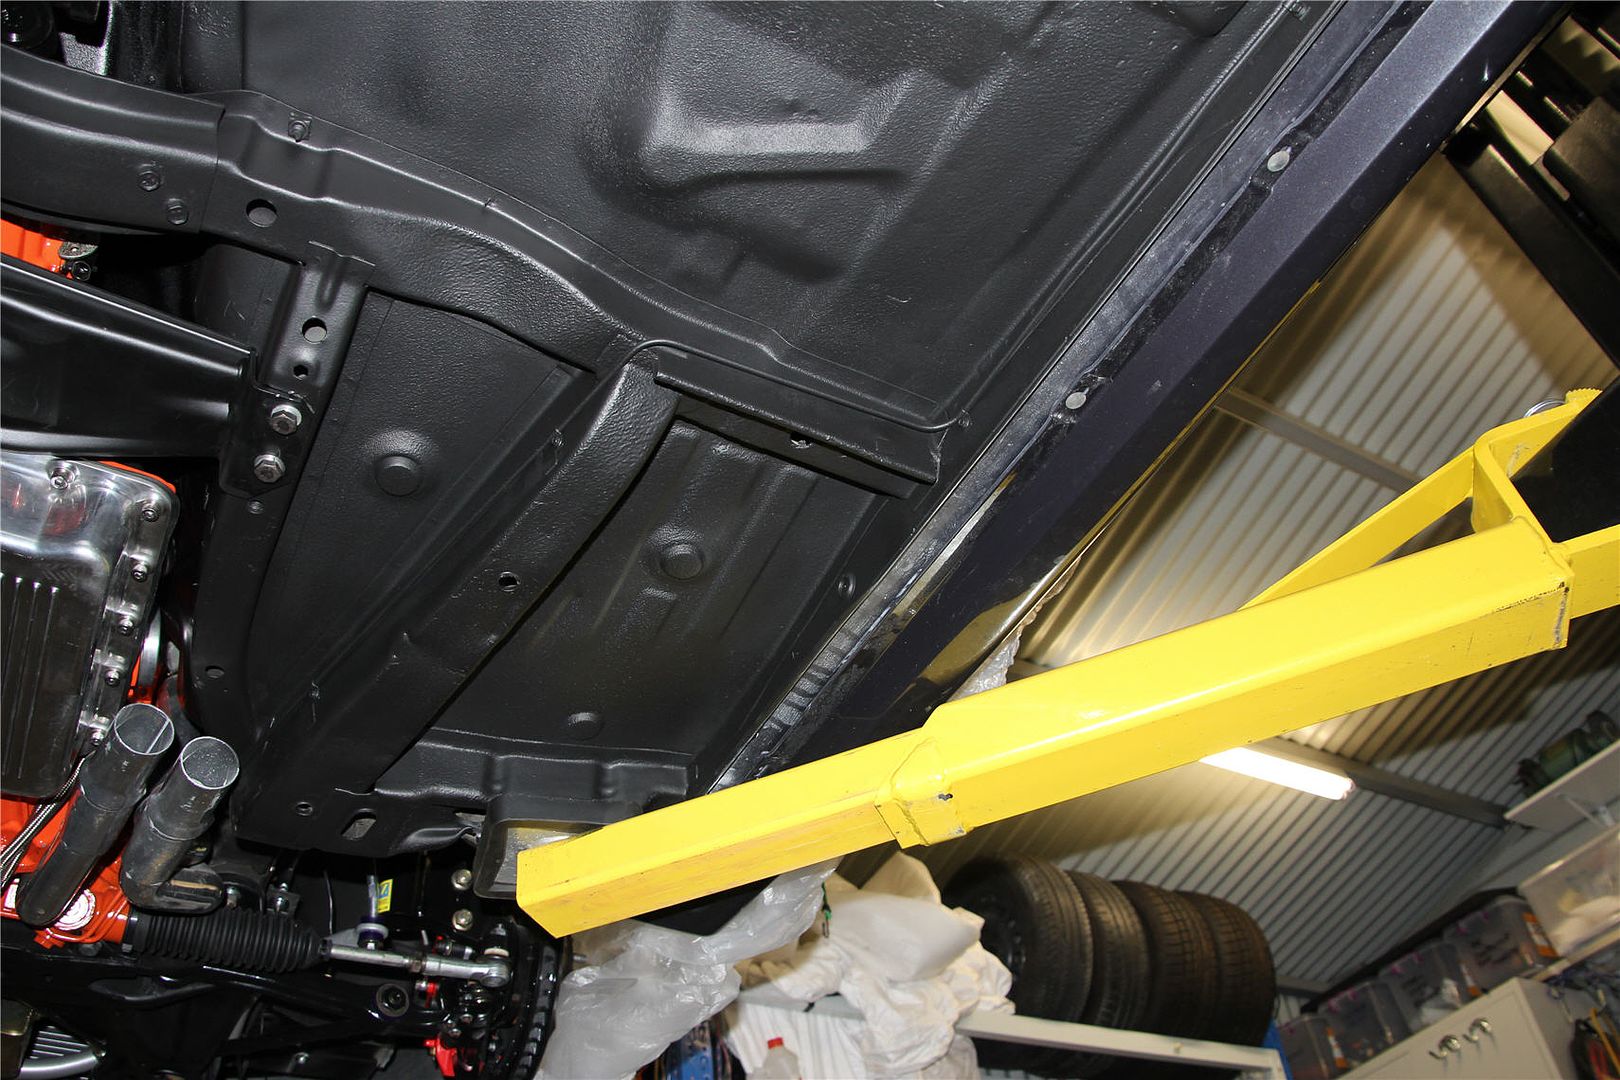
Well a lot of bloody work with not that much to show for it! Got the fuel hard lines made up and routed. Decided to go 5/8″ feed, and 1/2″ return. Made up two bulkhead plates, one at the back up tucked up high above the drive shaft area. Will then go 200 series braid to the tank. At the other end decided to go across the car to a bulkhead then going to go through two swept bends and braid up to the engine. Just waiting on Bain to send me down the regulator, when I have that I will tackle the under bonnet part. I think if I ever have the engine and trans out I may make up hard lines up through the tunnel but for now the braid will work. The hard lines are a very finicky job, I have never done them before so pretty happy with it. Hugged up under the sill as much as possible so its quite well protected, also used some heat shield sleeving where the exhaust will run, also at the rear. Made up a neoprene rubber piece at the rear where it sits along the floor between the cradle so it should be nice and solid and protected
Also started on finishing off the front of the tank, had some clearance issues, spoken to Jack at earls (who’s bloody brilliant btw) and have some slimline fitting he’s sending down. Unfortunately at least for now most likely will have a couple of black fitting on the there as he didn’t have red/blue but it will get me moving and you wont really see them under the car I guess.
February 18, 2015 at 1:55 am #452
VRSenator065Participant- Adelaide SA
- VR Senator LSx454 1960 Kombi (project) 1921 Nash Hot Rod (future project)
View build HERE
Posts: 5 777
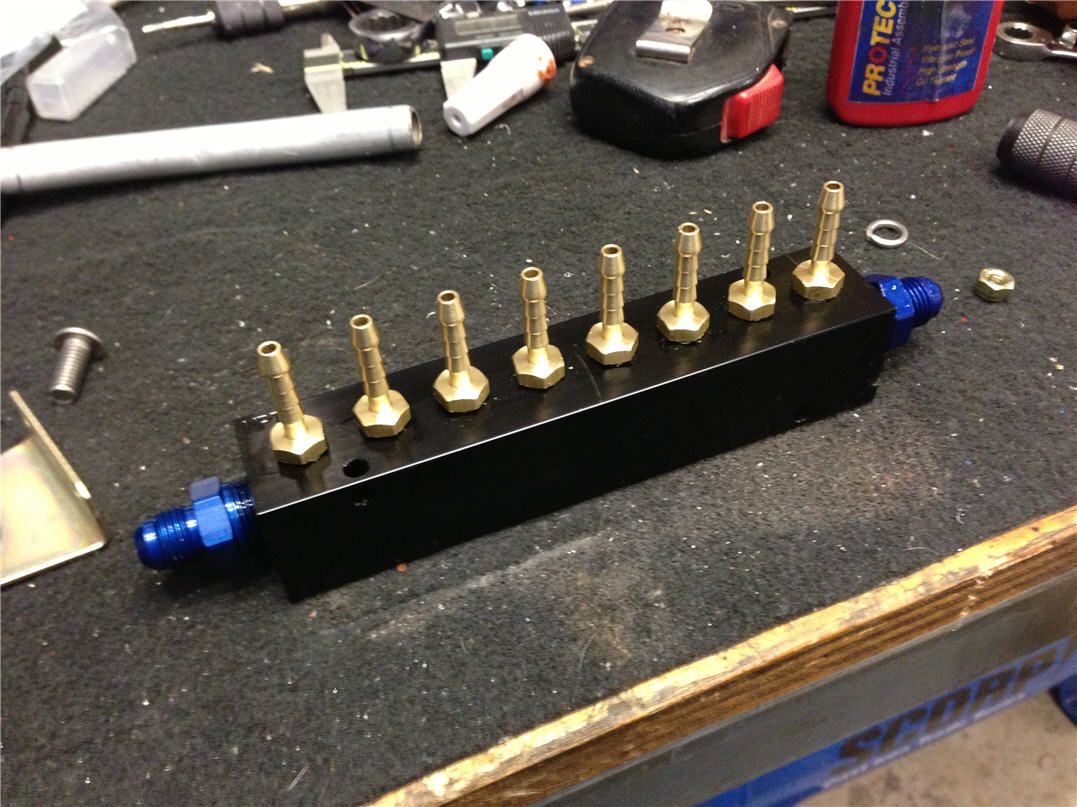
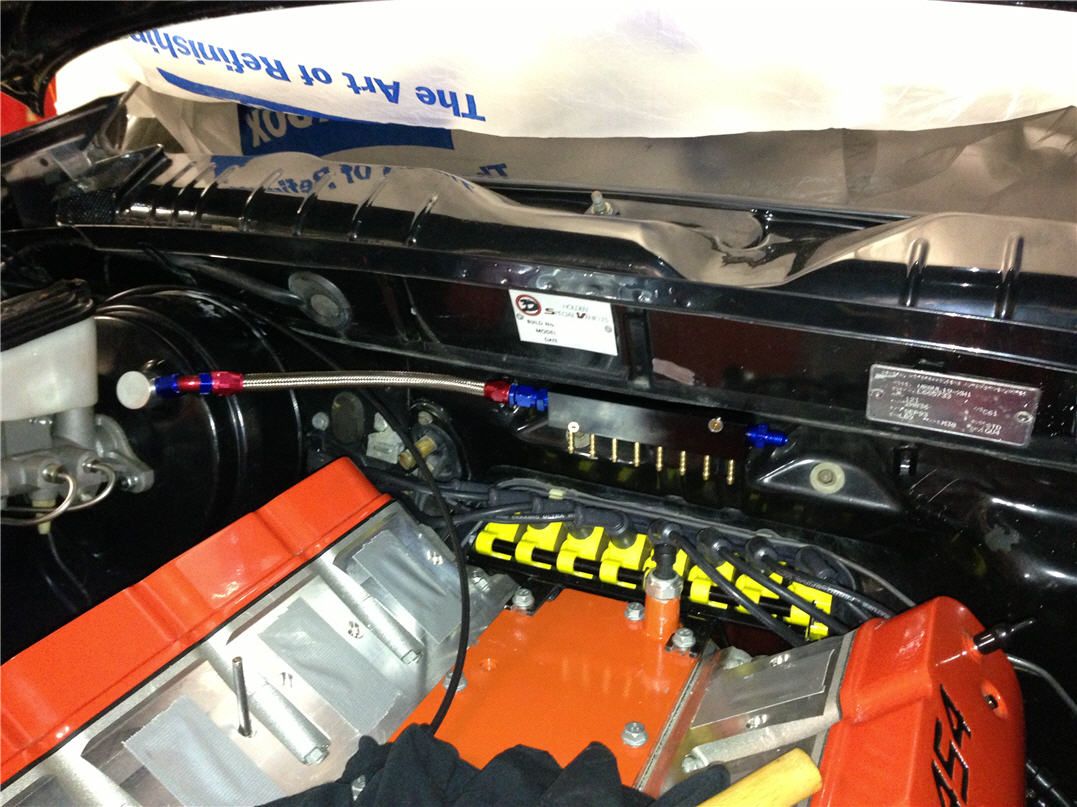
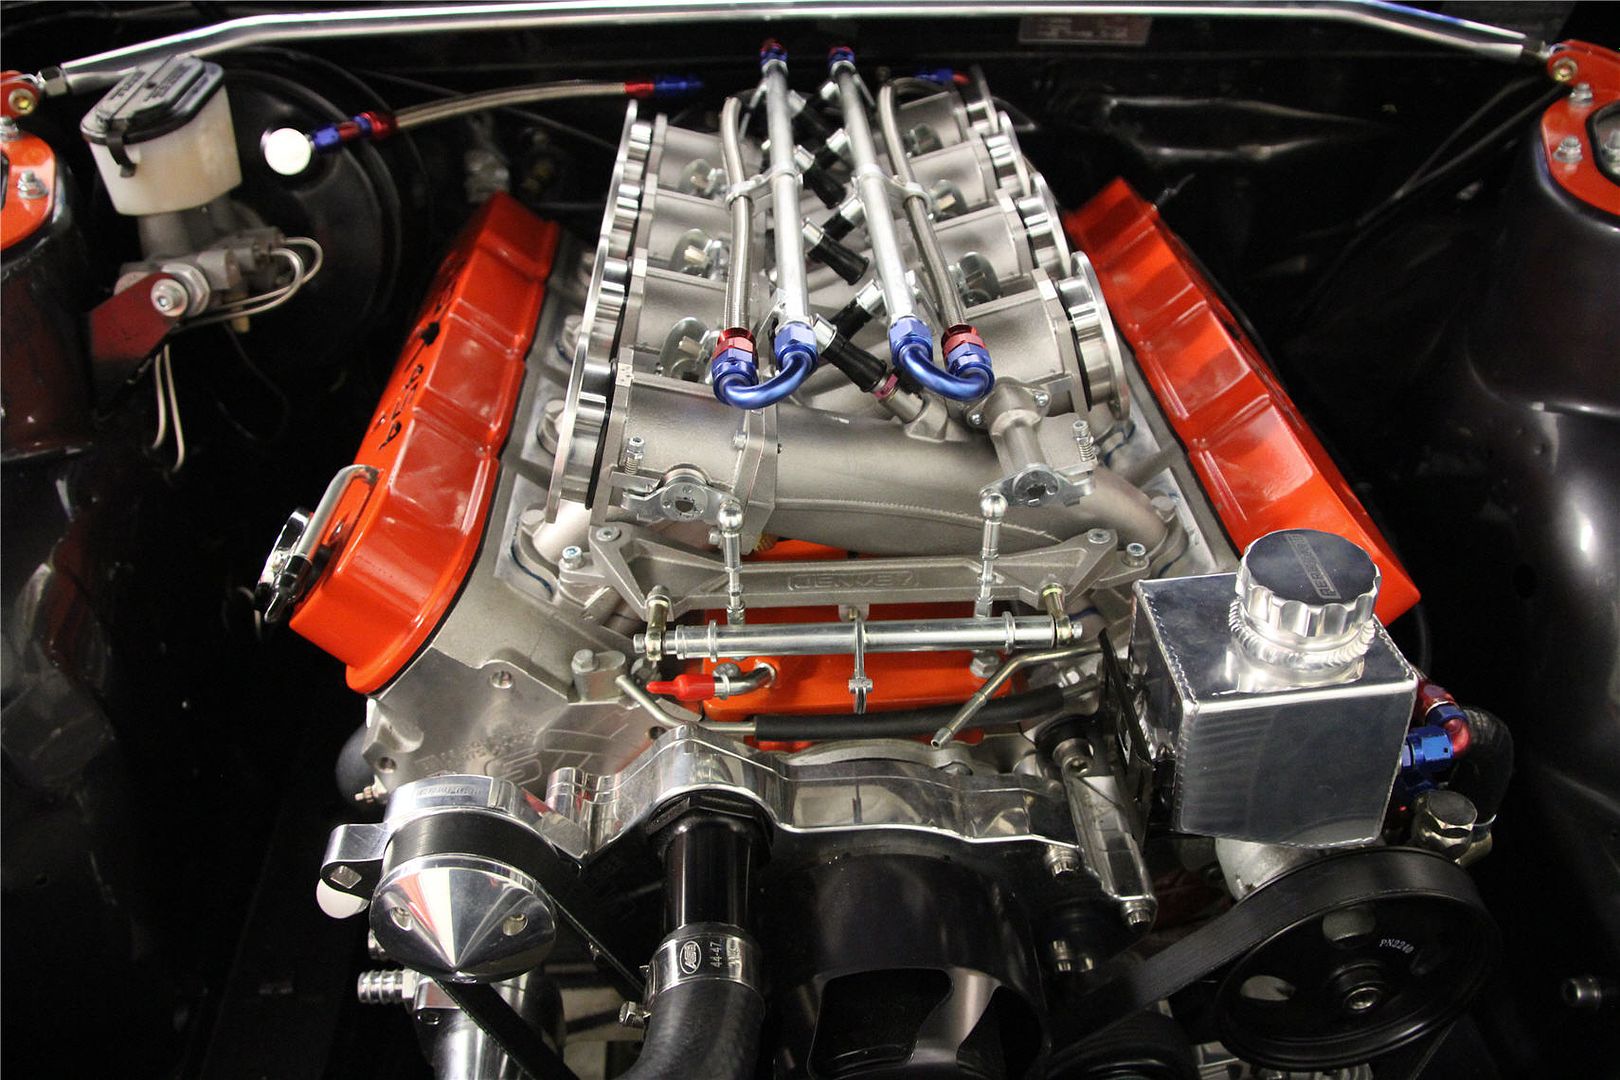
Didn’t get a great deal of time on the week end, had a wedding to go to and my sons birthday. Got stuck into it tonight. Took a bit of finding but came up with a really nice vacuum manifold block from the US. Was tapped NPT, so had to re-tap it 1/8 bsp, mounted really nicely up on the firewall. Also spent a fair bit of time massaging the power steering reservoir bracket and managed to get it sitting quite a bit lower, imo looks much better, doesn’t stand out so much. Also have started sorting the fuel lines, have modelled up some nice custom clamp plates so sit on top of the manifold, but in the mean time have just used some clamps I had lying around. Really happy with hows it turned out.
February 18, 2015 at 1:54 am #450
VRSenator065Participant- Adelaide SA
- VR Senator LSx454 1960 Kombi (project) 1921 Nash Hot Rod (future project)
View build HERE
Posts: 5 777
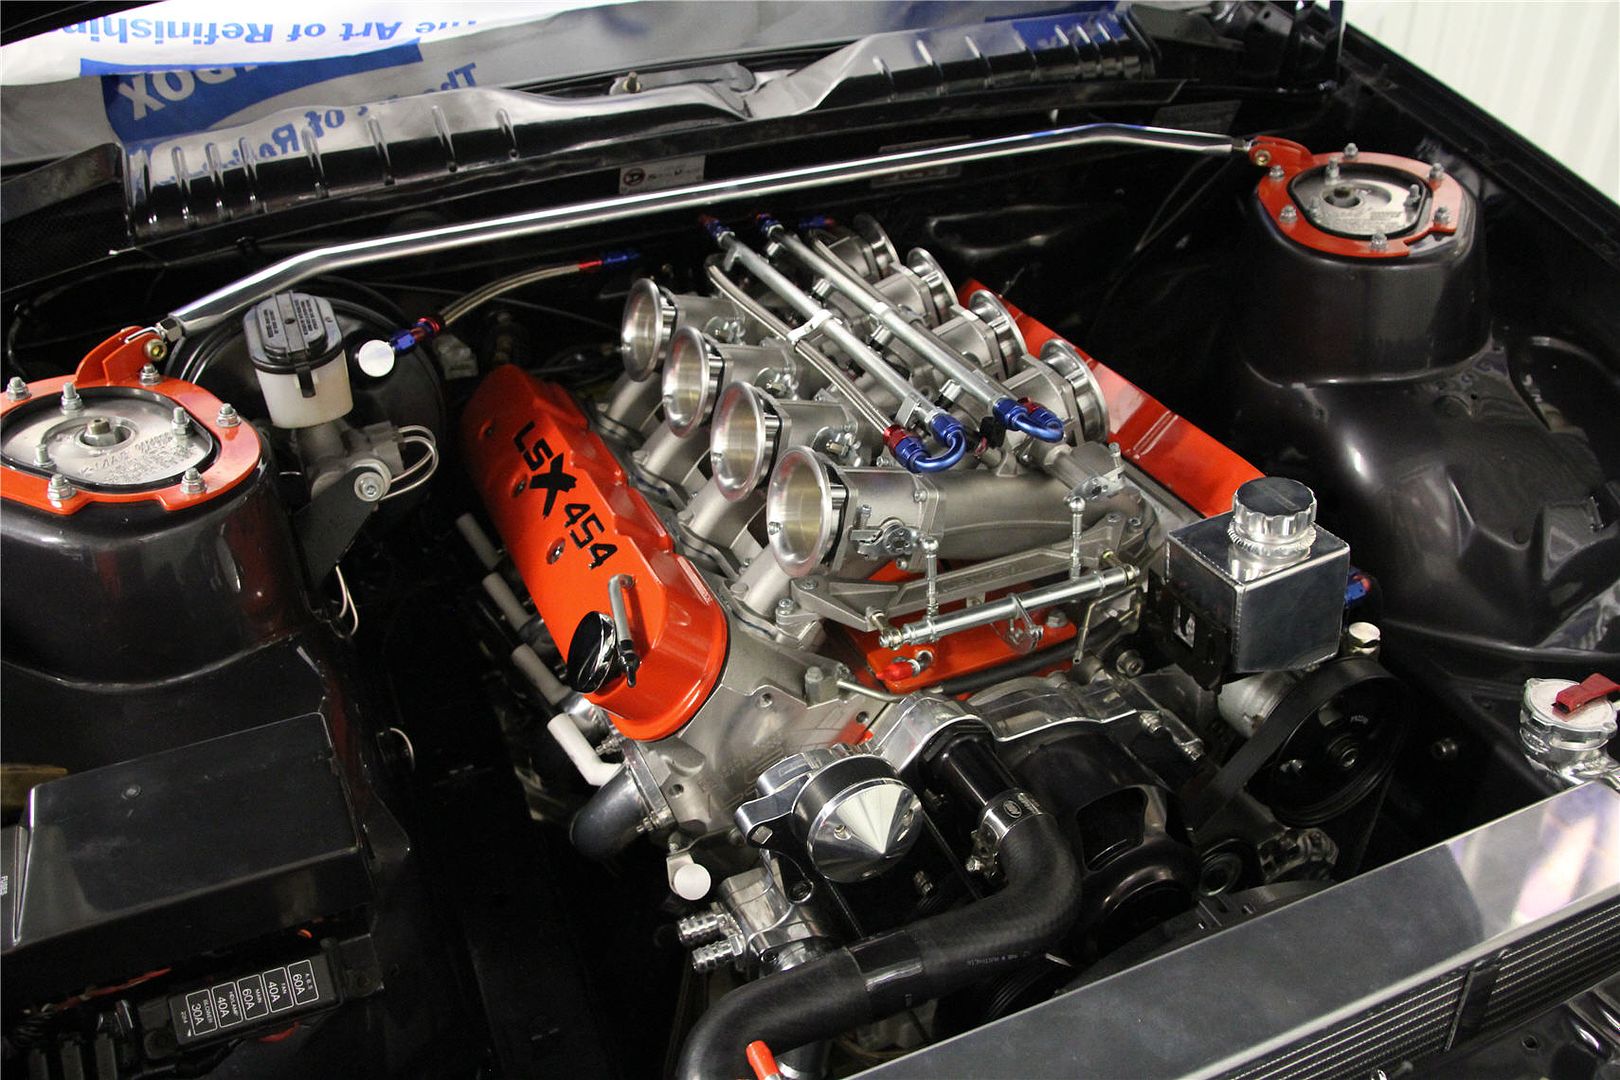
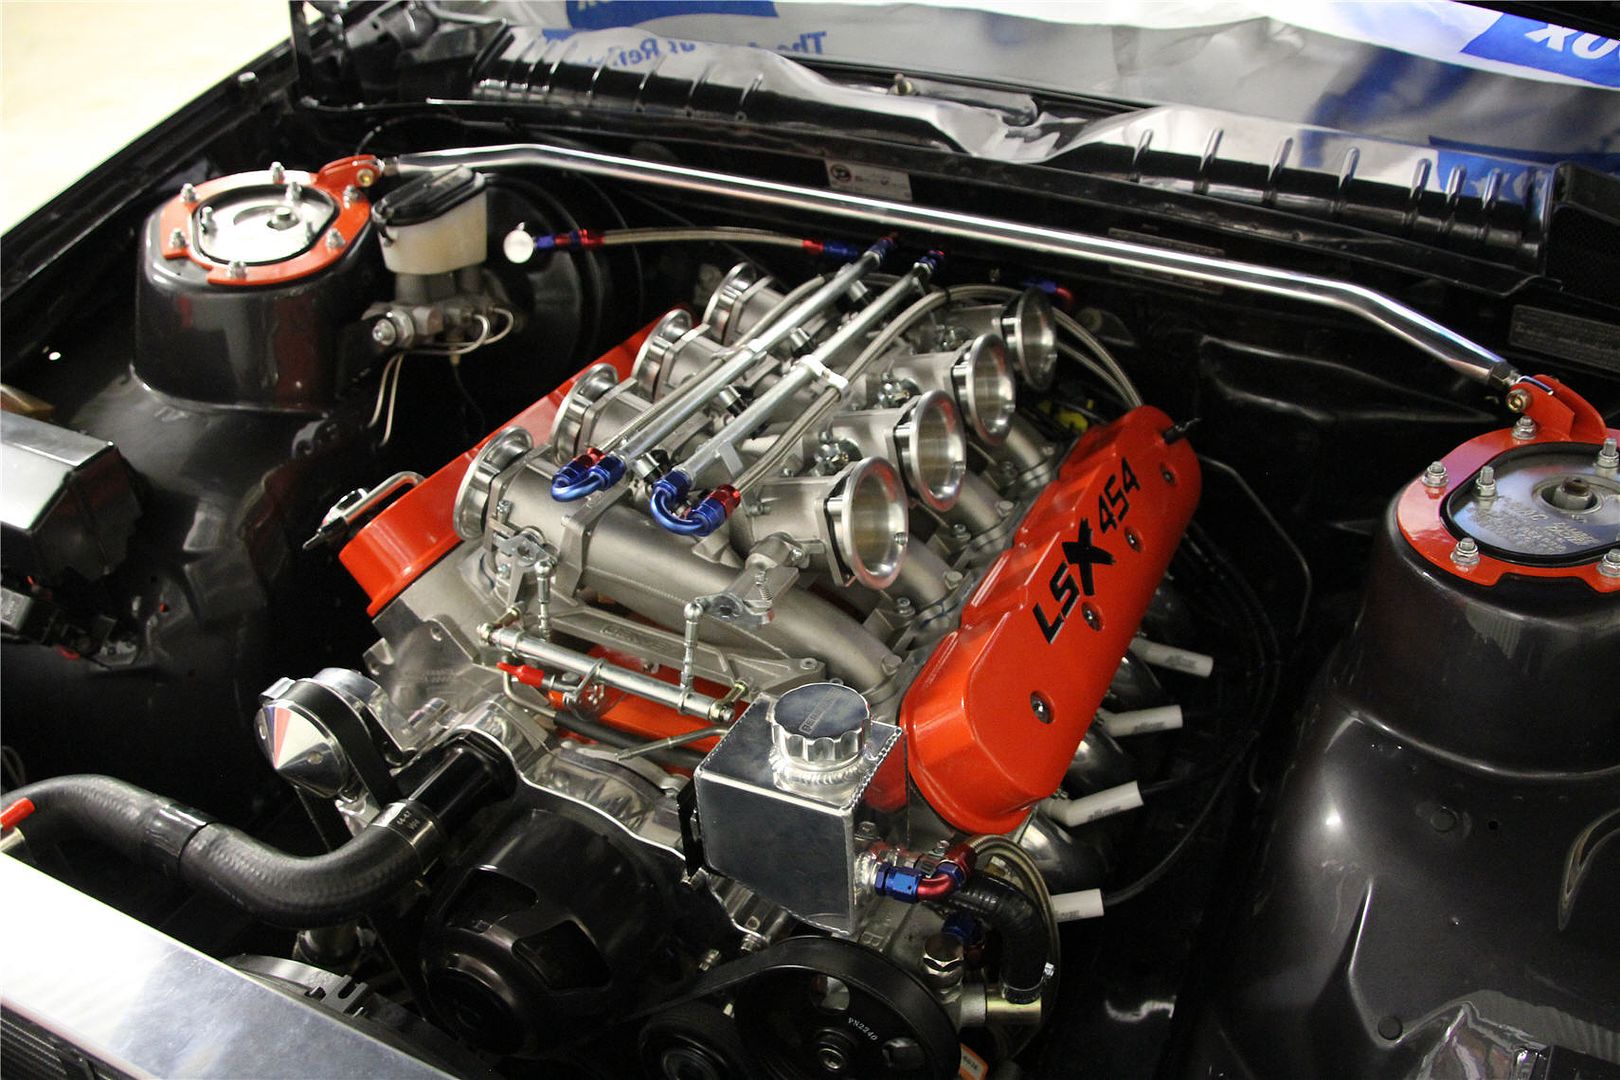
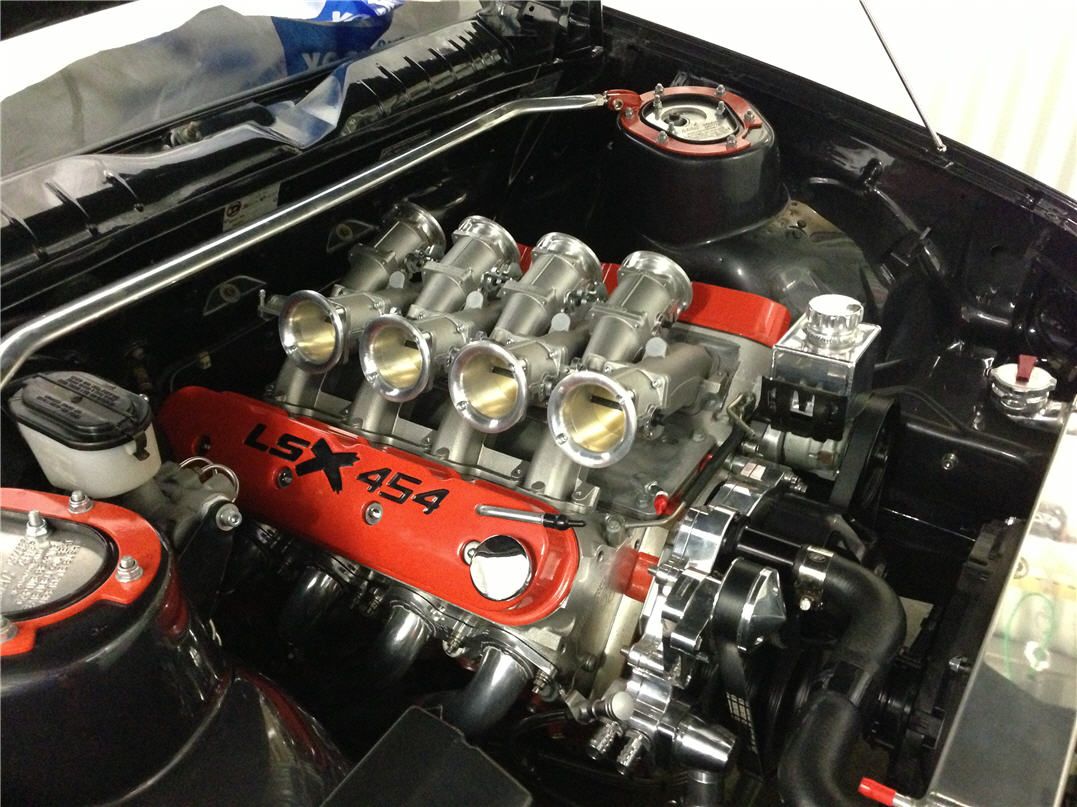
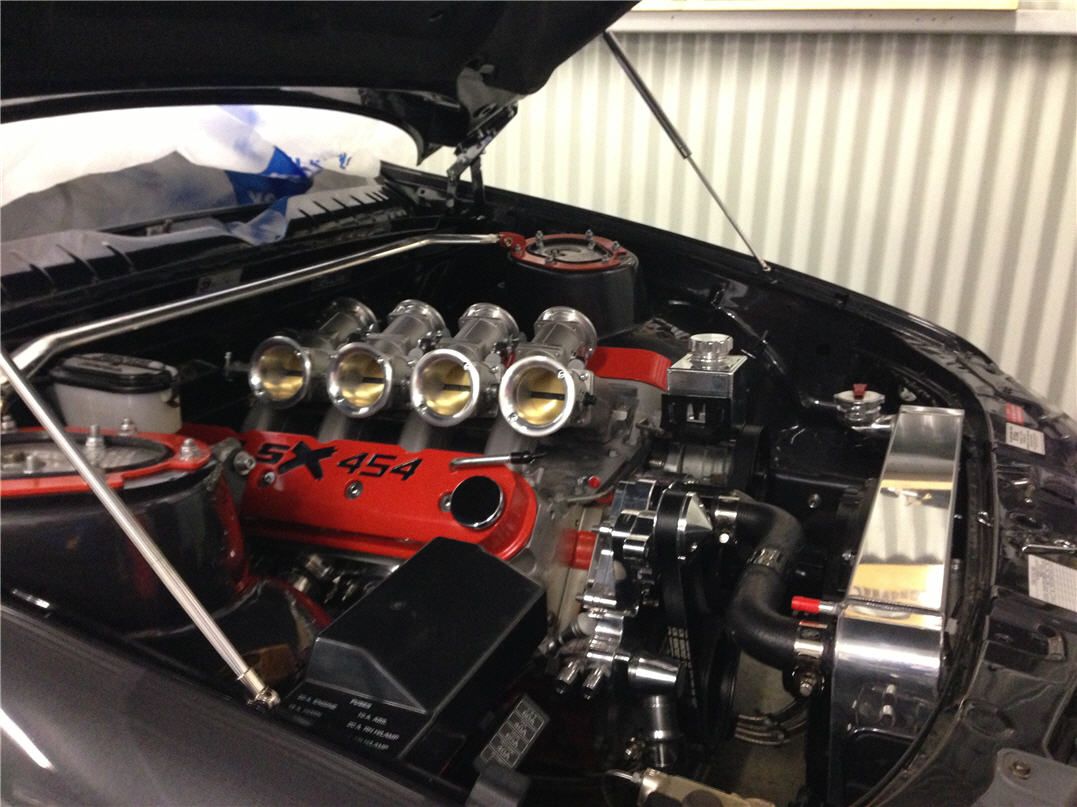
Had a good week end, first chance to post. First things first, had a really good look at both ways and have decided to go with the aluminium trumpets. I just prefer it, although the cf looks nice too. I am going to keep the cf, so I could change them for a display at a show or something.
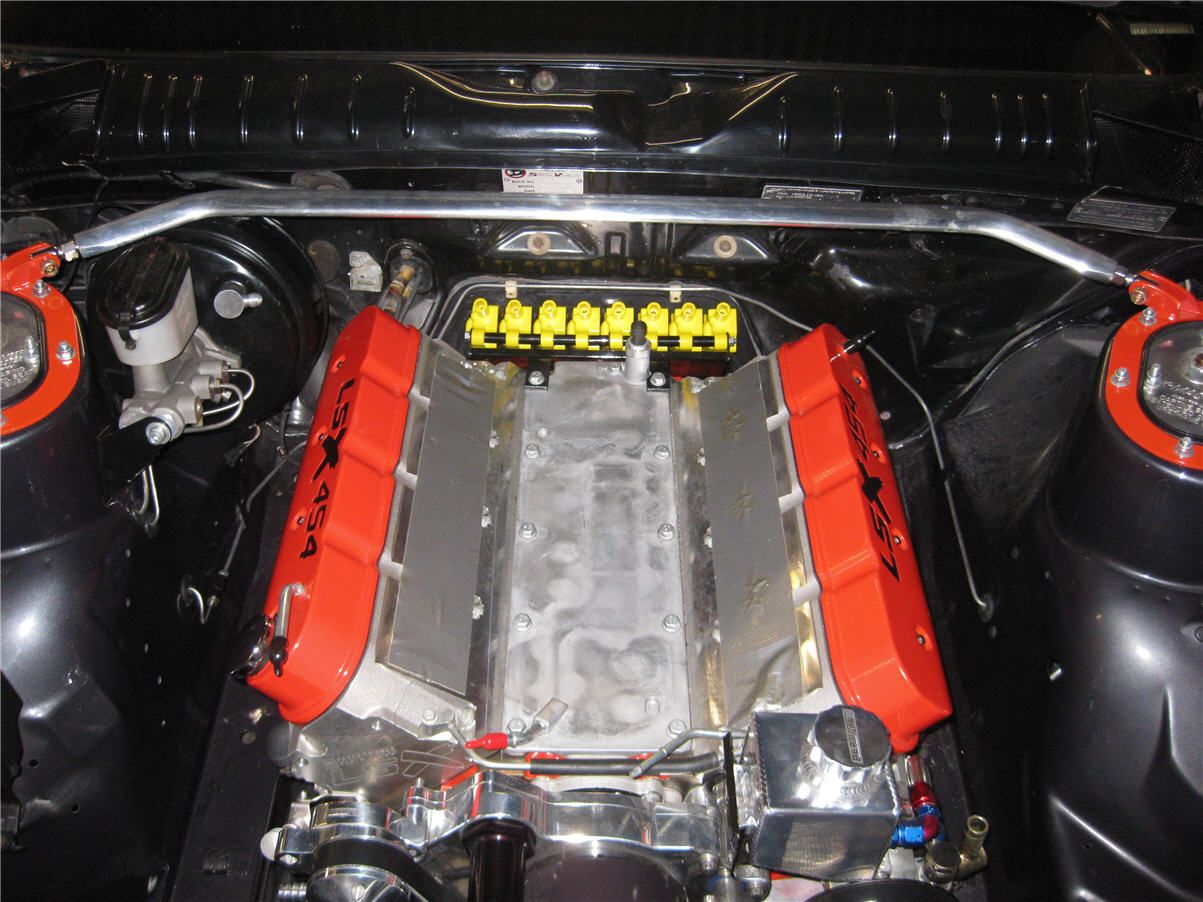
Got all the plug leads made and fitted up, bit of a false start as the set I was given weren’t suited to the coil packs, so I had to get some different ends and boots. All good though, really happy with how that’s all worked out, the coil packs are tucked away nicely.
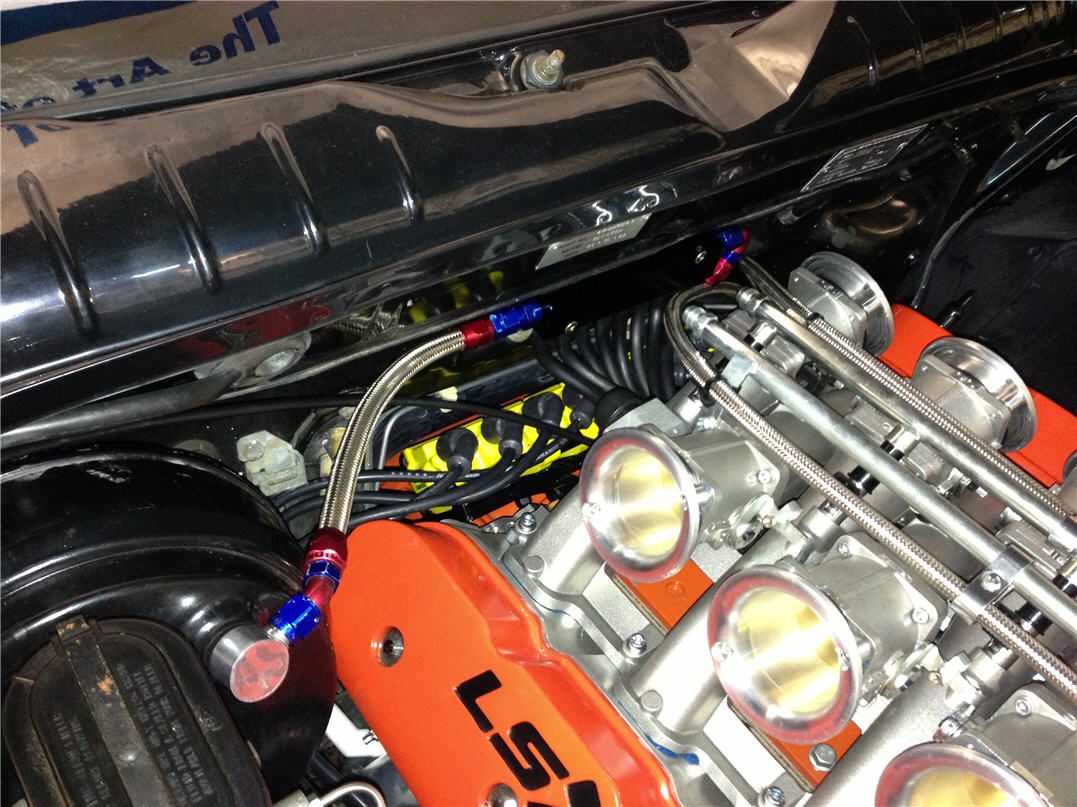
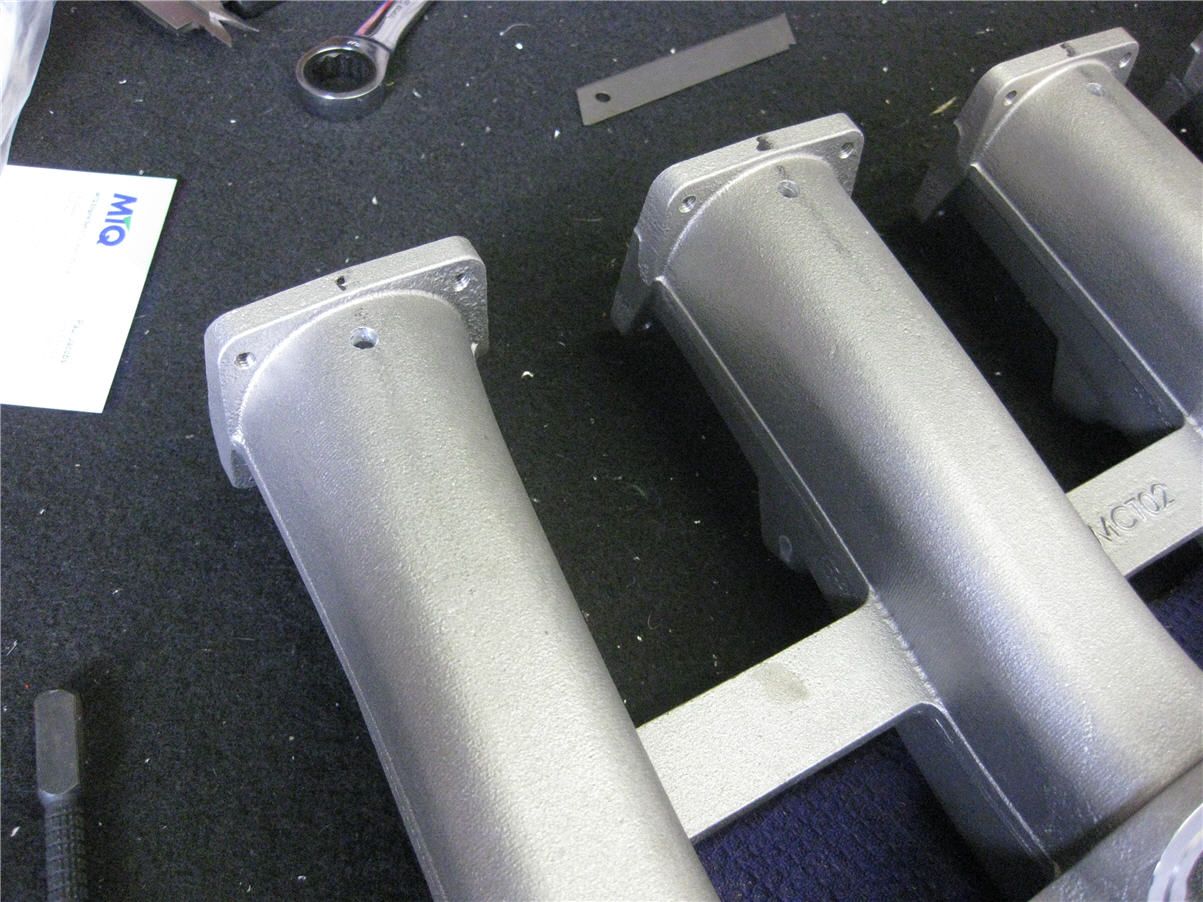
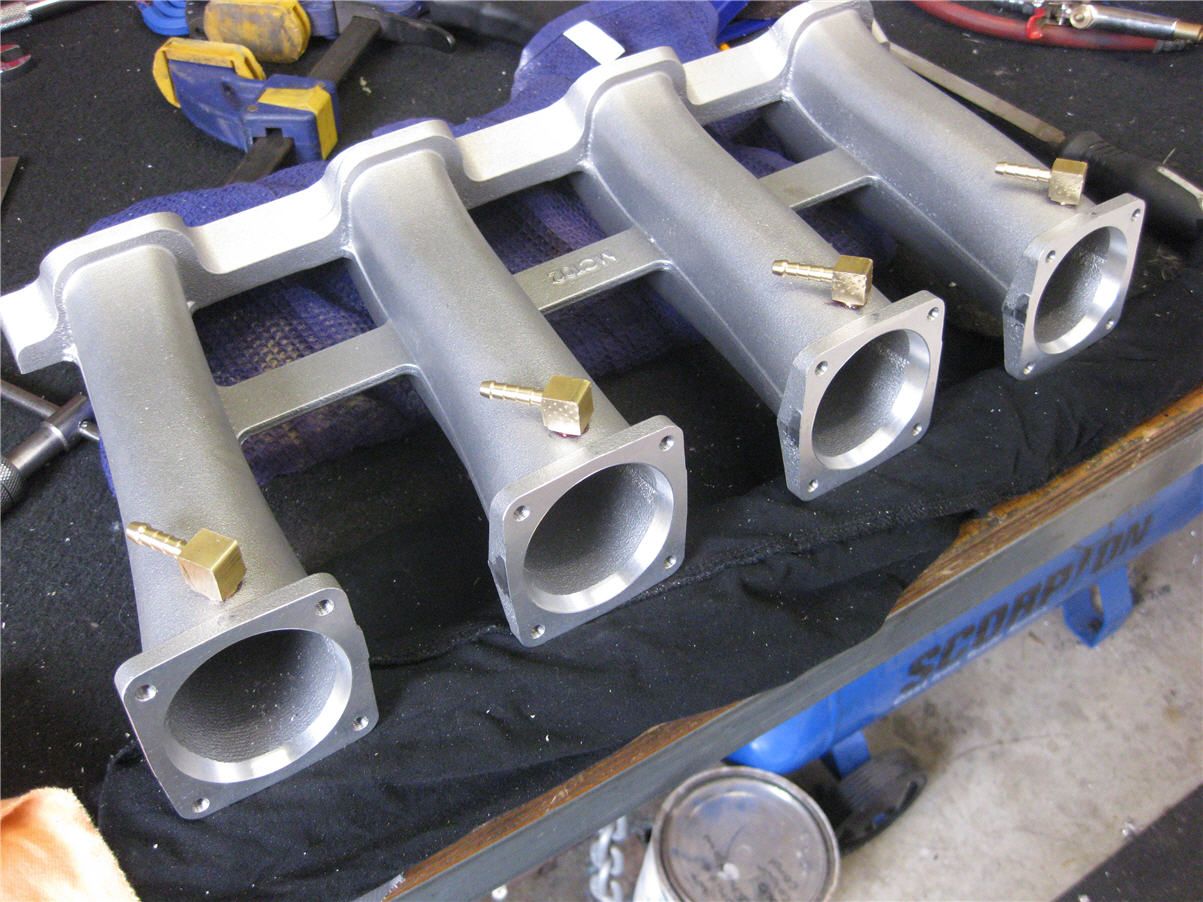
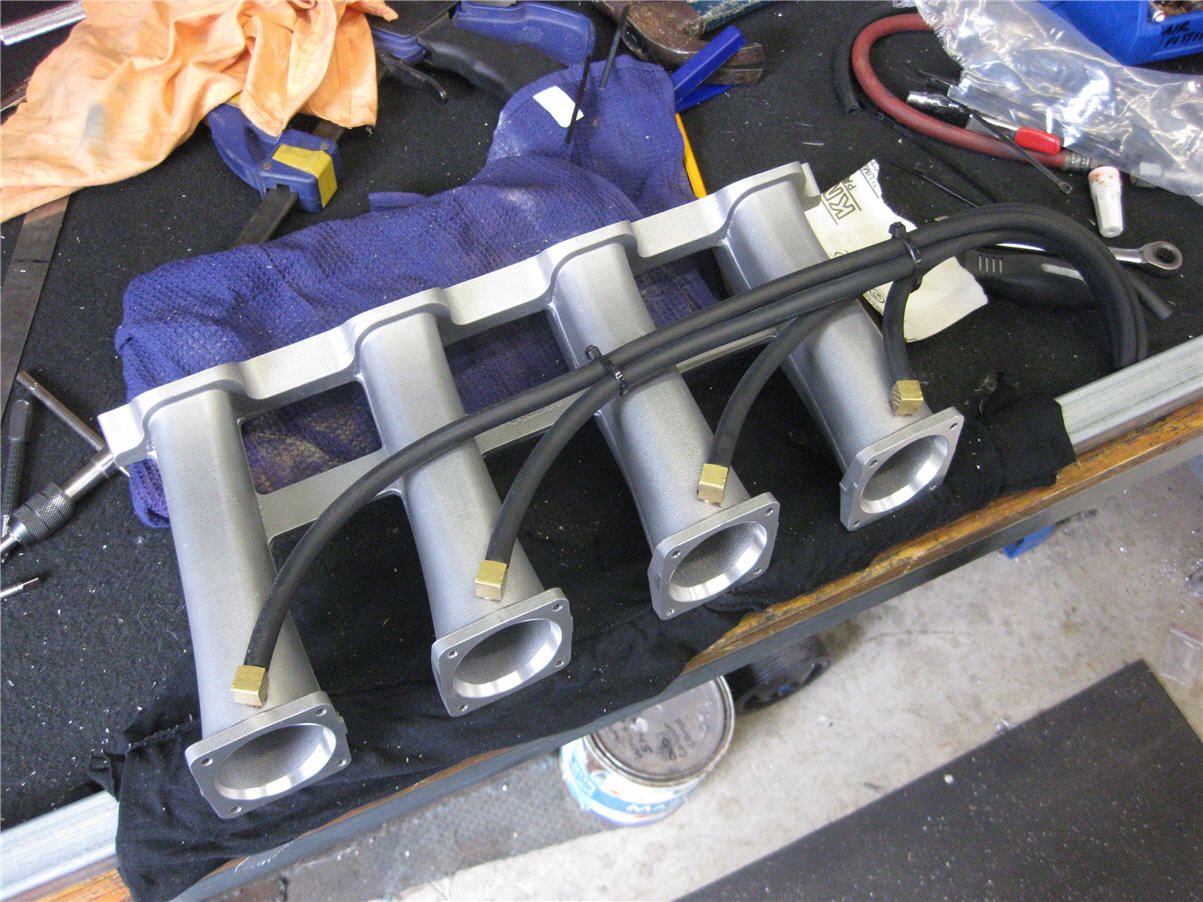
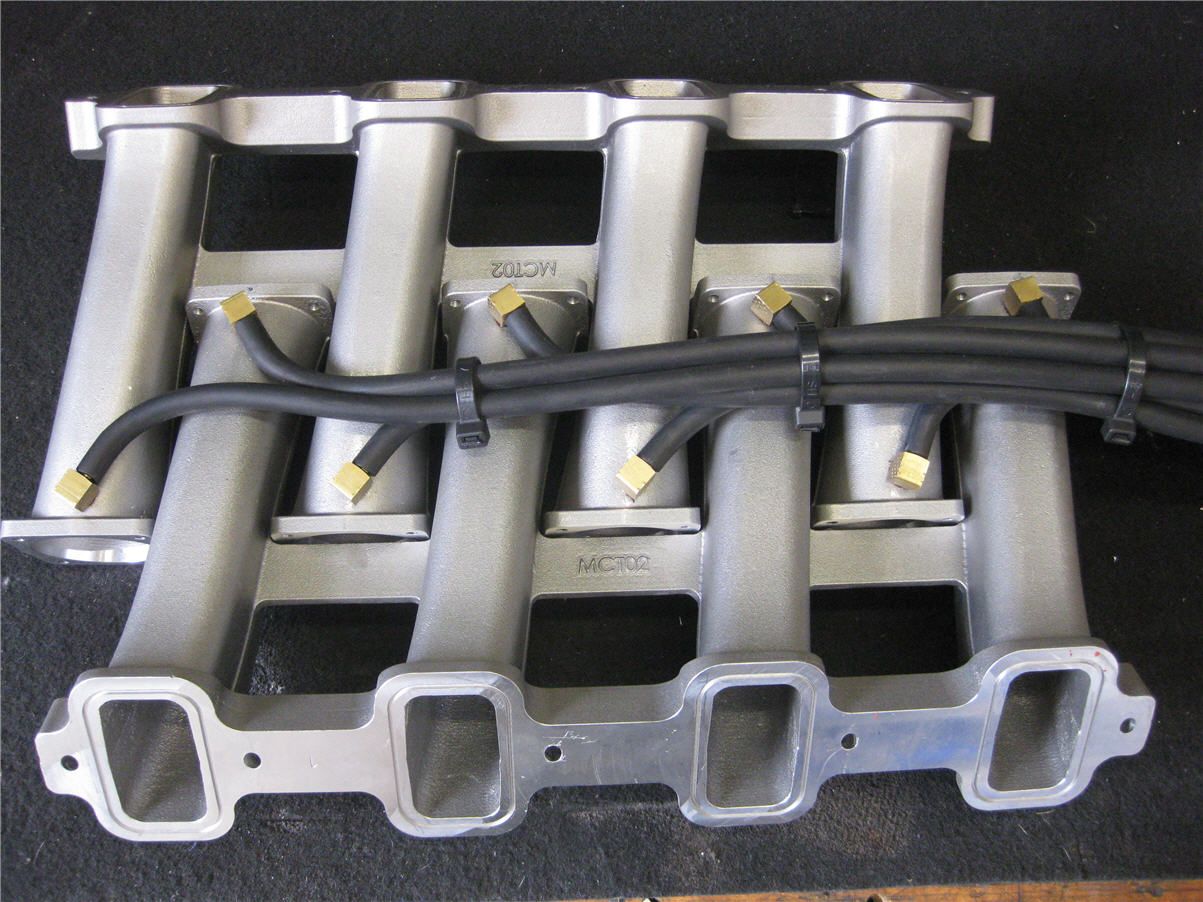
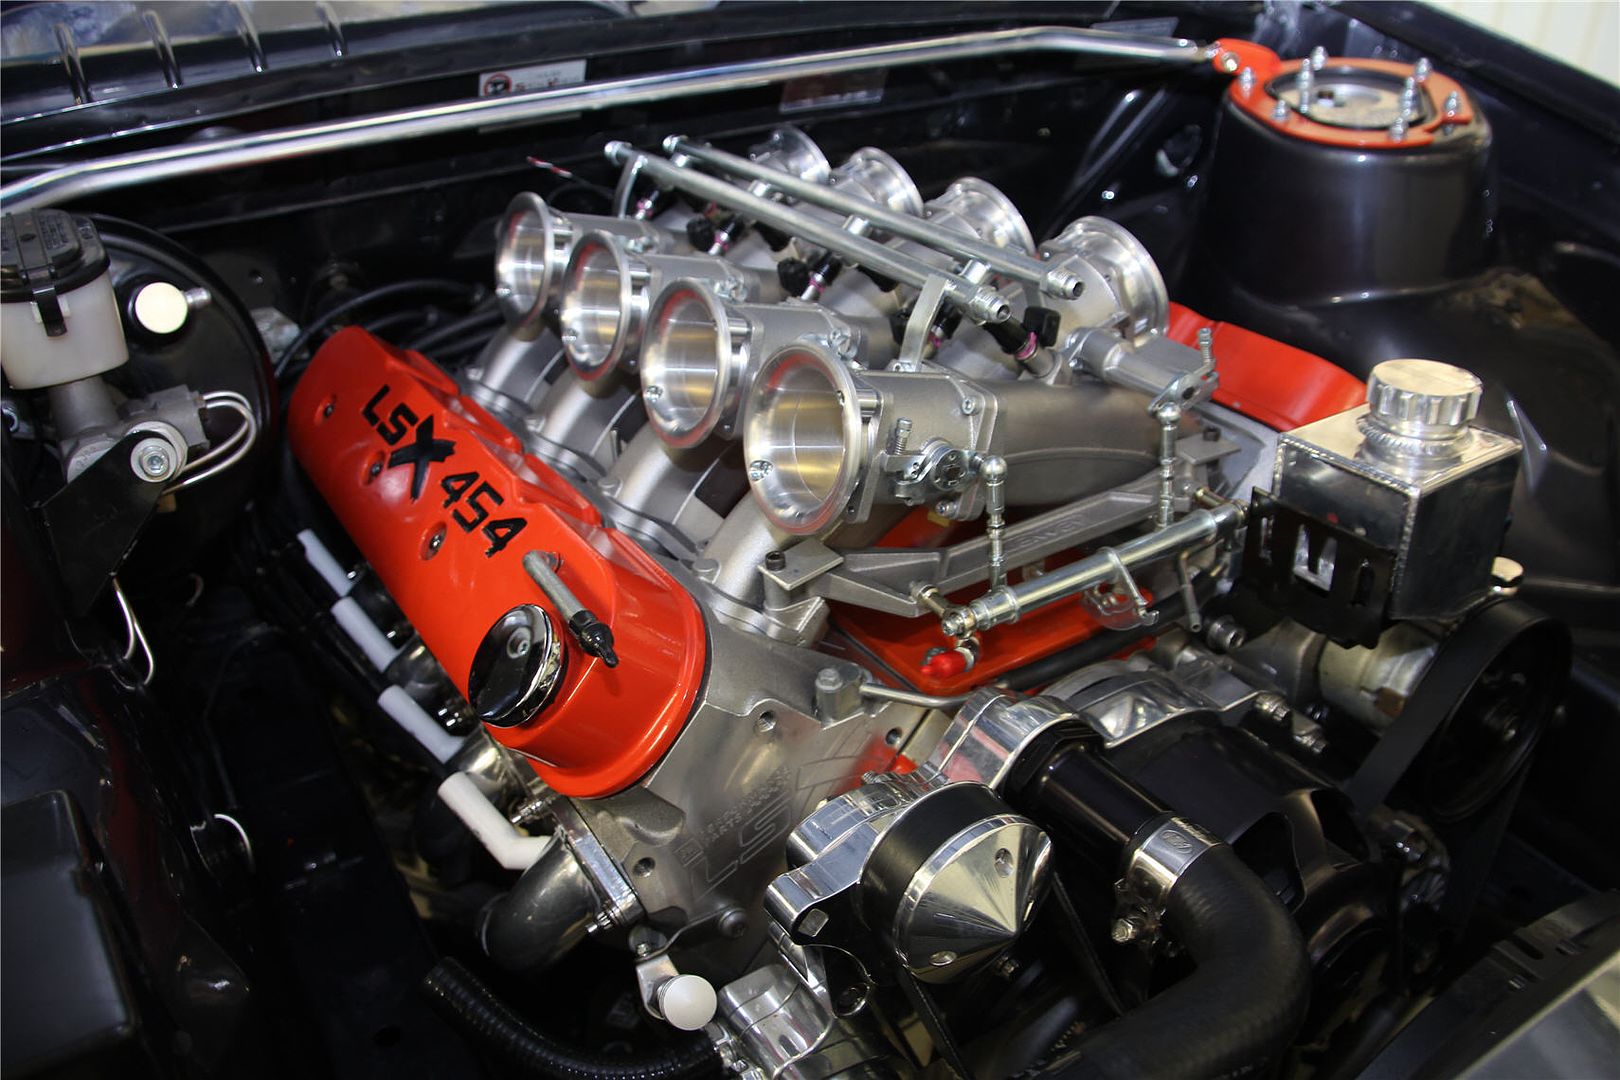
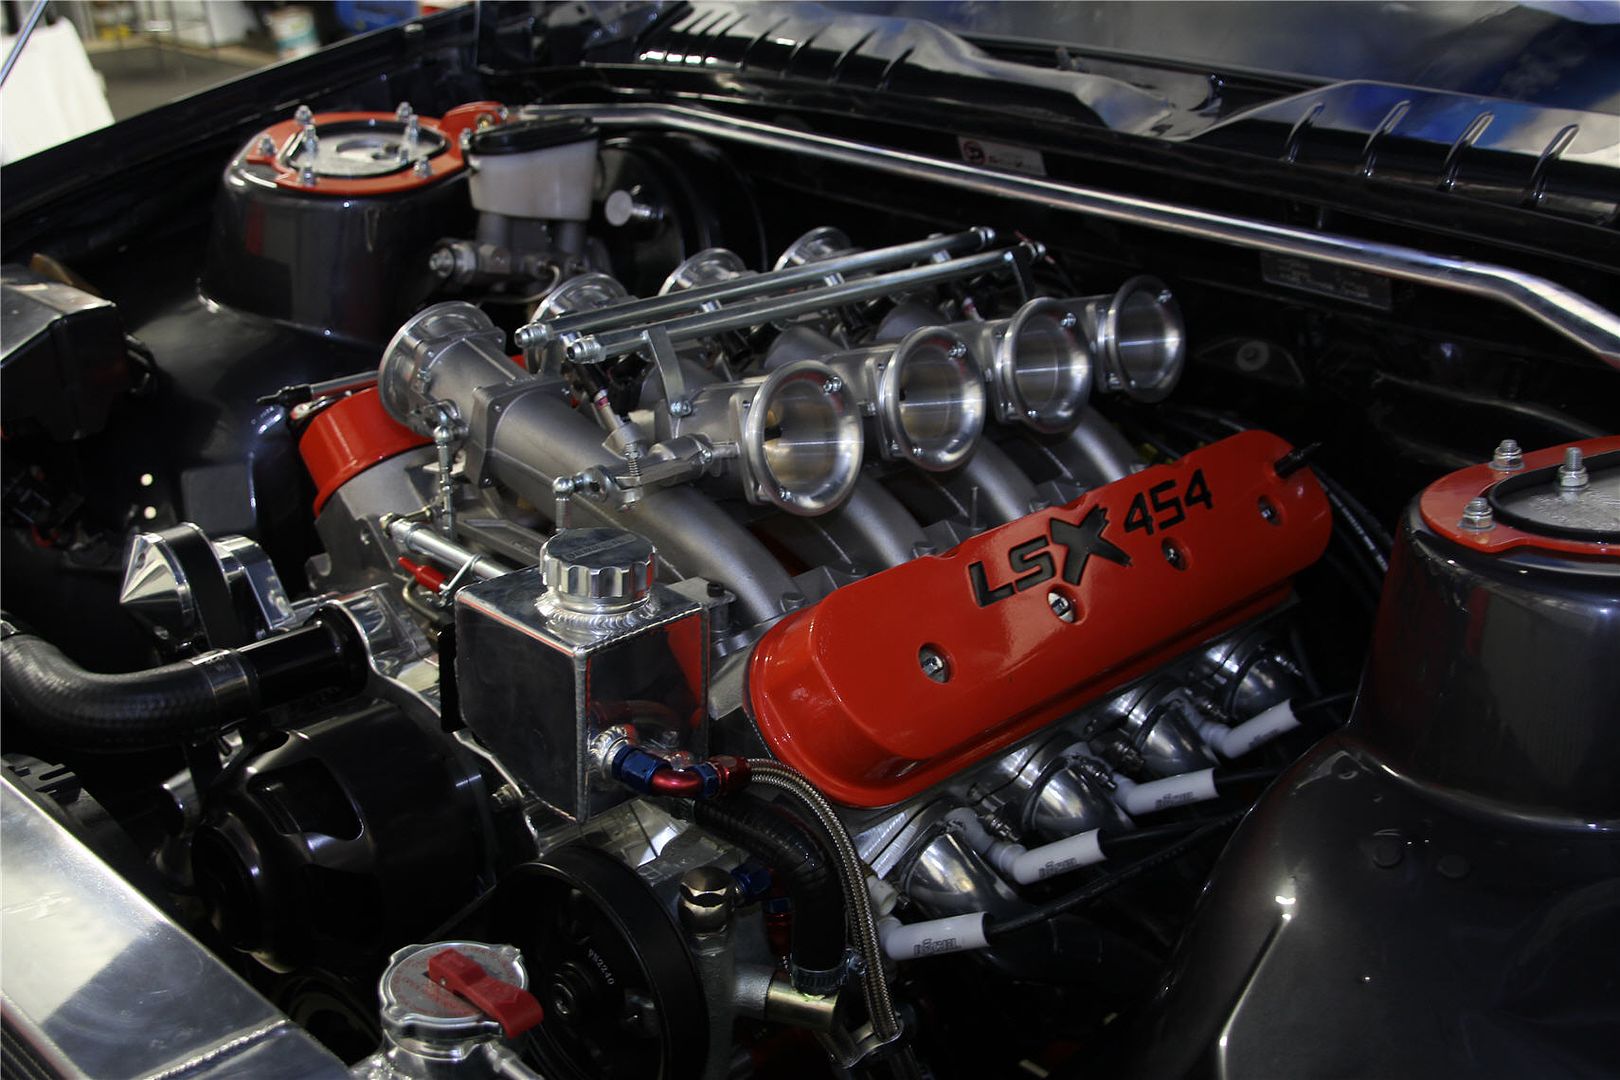
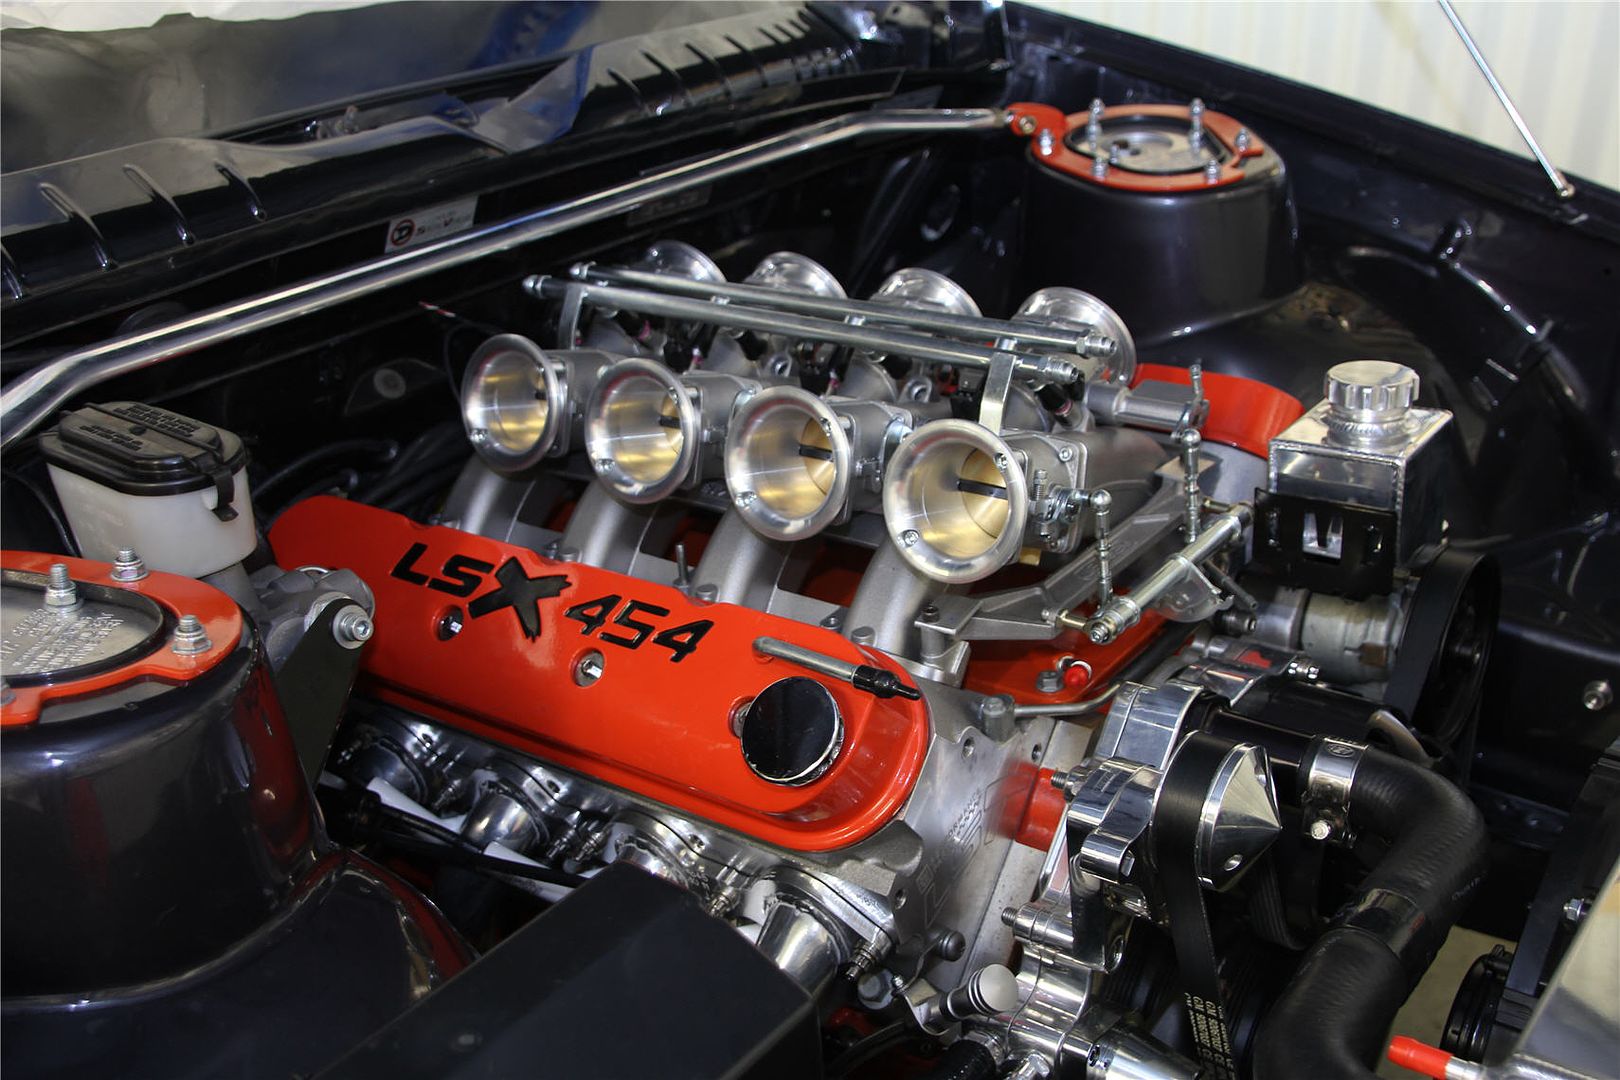
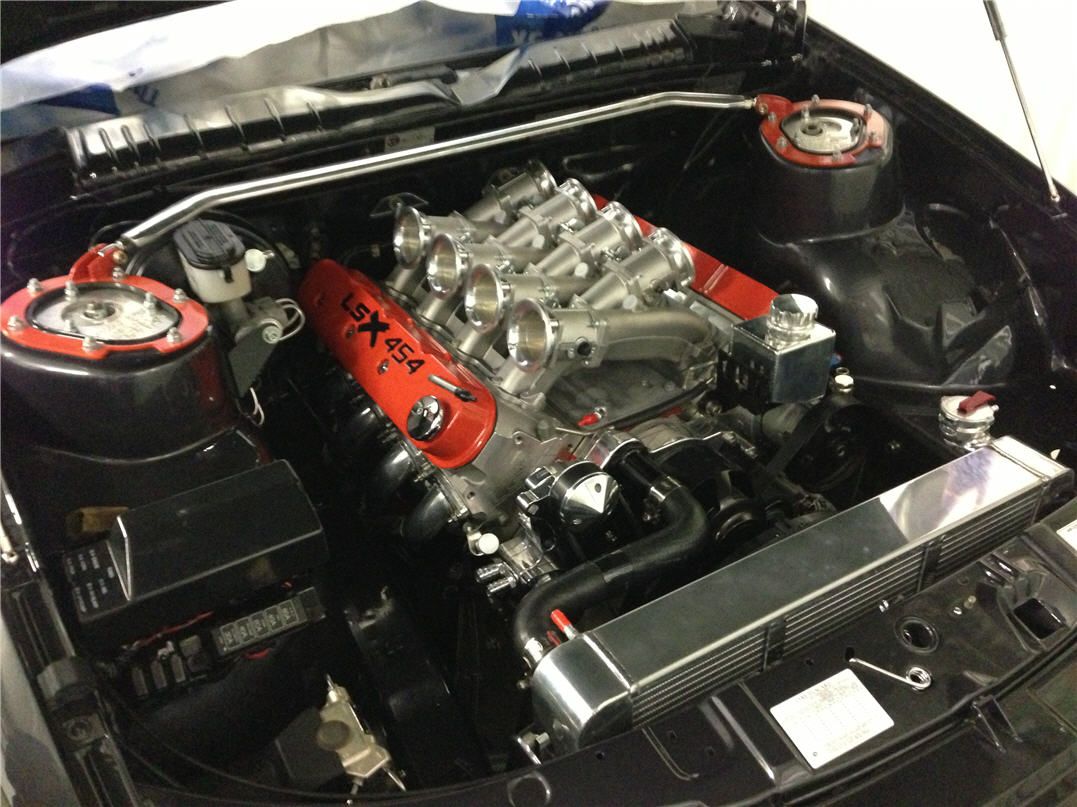
Big job was the vacuum for the manifold. As its a racing set up its not made for vacuum for brake boost. I spoke to Mike Jenvey and came up with a good layout. I probably could have got away with only drilling and tapping one runner but this way I get a nice even vacuum. I wont know if I need an auxiliary tank until its all running. My guess is with the standard cam in it I should be OK, if I go a bit more aggressive we will see. Going to run a rectangular log manifold across behind the injection, with a 6AN fitting on the end for the booster hose. Would be lying if I said I wasn’t shitting pellets when i was marking out where to drill and tap, must have checked and double checked it 4 or 5 times. Pretty happy with how neat it all worked out.
And this is how it looks in position, haven’t got the rear manifold yet, but once it arrives should be pretty straight forward to plumb up.
Just working through all the fuel fittings, think I have worked out a nice way to do them, hopefully I get that stuff by the week end for a bit of a go at it, may have the fuel tank by then also.
February 18, 2015 at 1:54 am #449
VRSenator065Participant- Adelaide SA
- VR Senator LSx454 1960 Kombi (project) 1921 Nash Hot Rod (future project)
View build HERE
Posts: 5 777 February 18, 2015 at 1:53 am #448
VRSenator065Participant- Adelaide SA
- VR Senator LSx454 1960 Kombi (project) 1921 Nash Hot Rod (future project)
View build HERE
Posts: 5 777 February 18, 2015 at 1:53 am #447
VRSenator065Participant- Adelaide SA
- VR Senator LSx454 1960 Kombi (project) 1921 Nash Hot Rod (future project)
View build HERE
Posts: 5 777
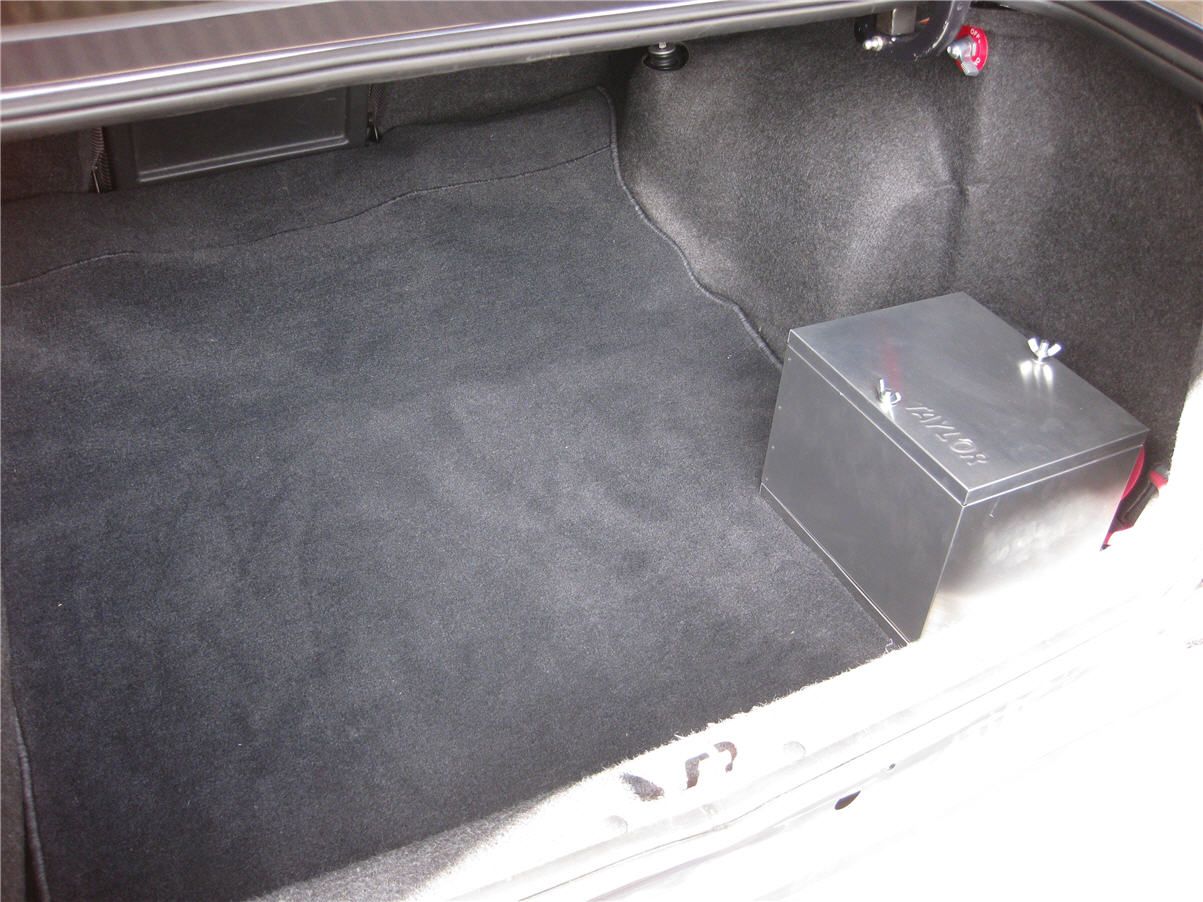
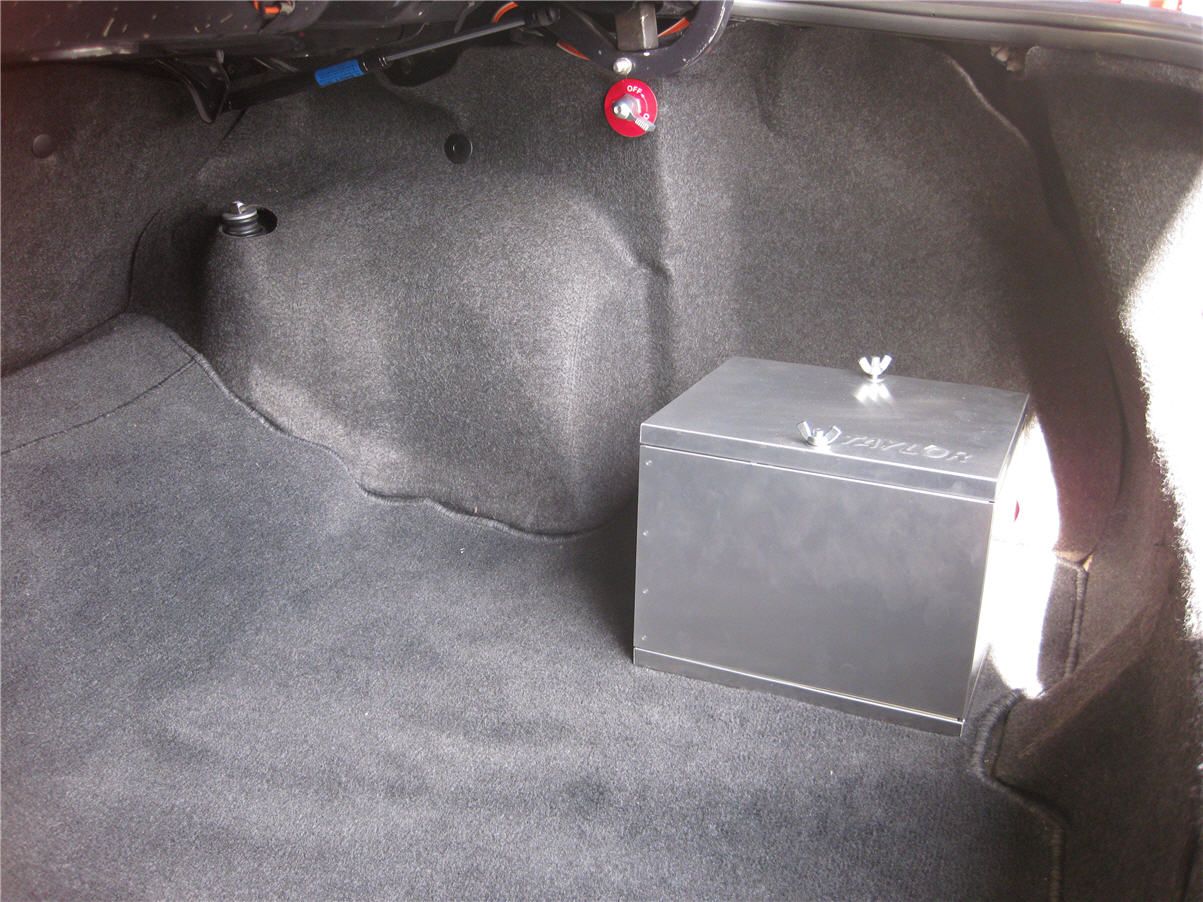
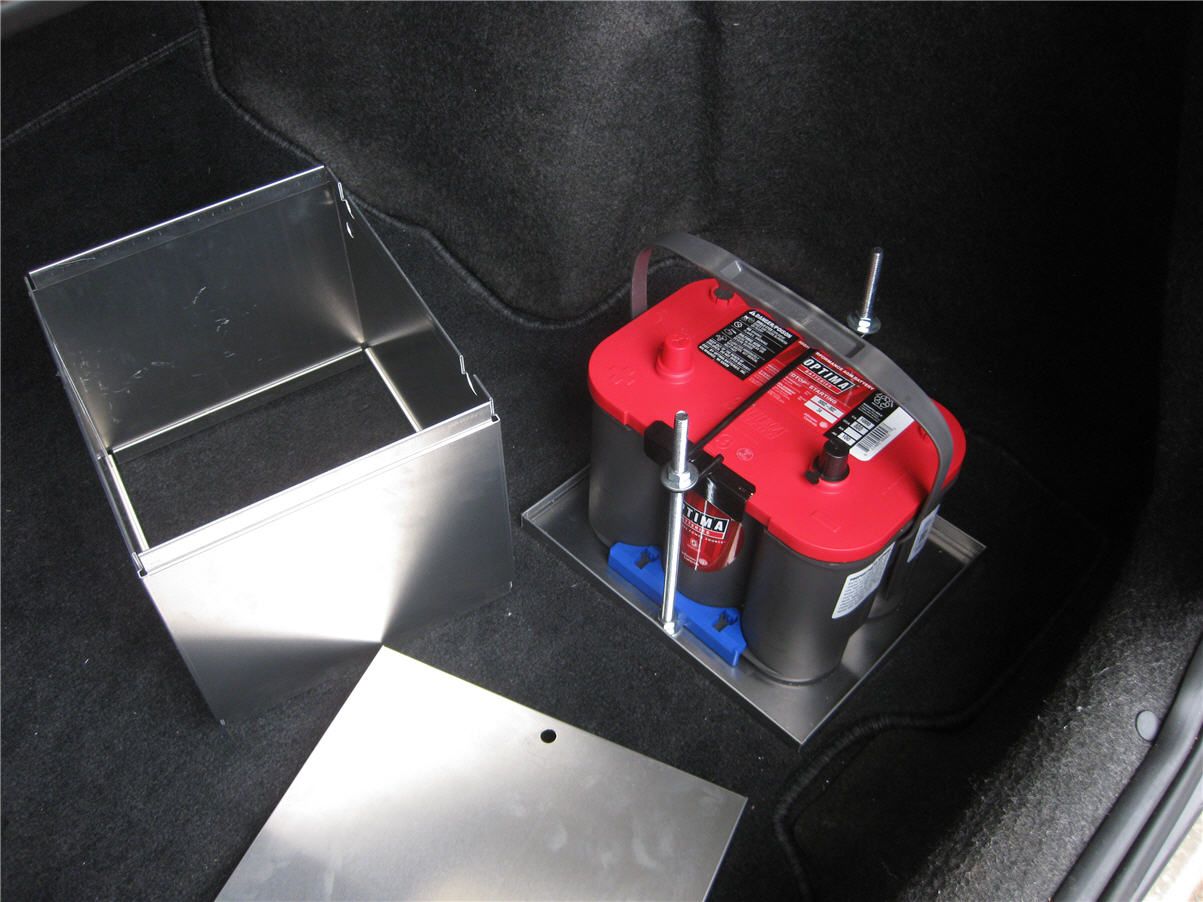
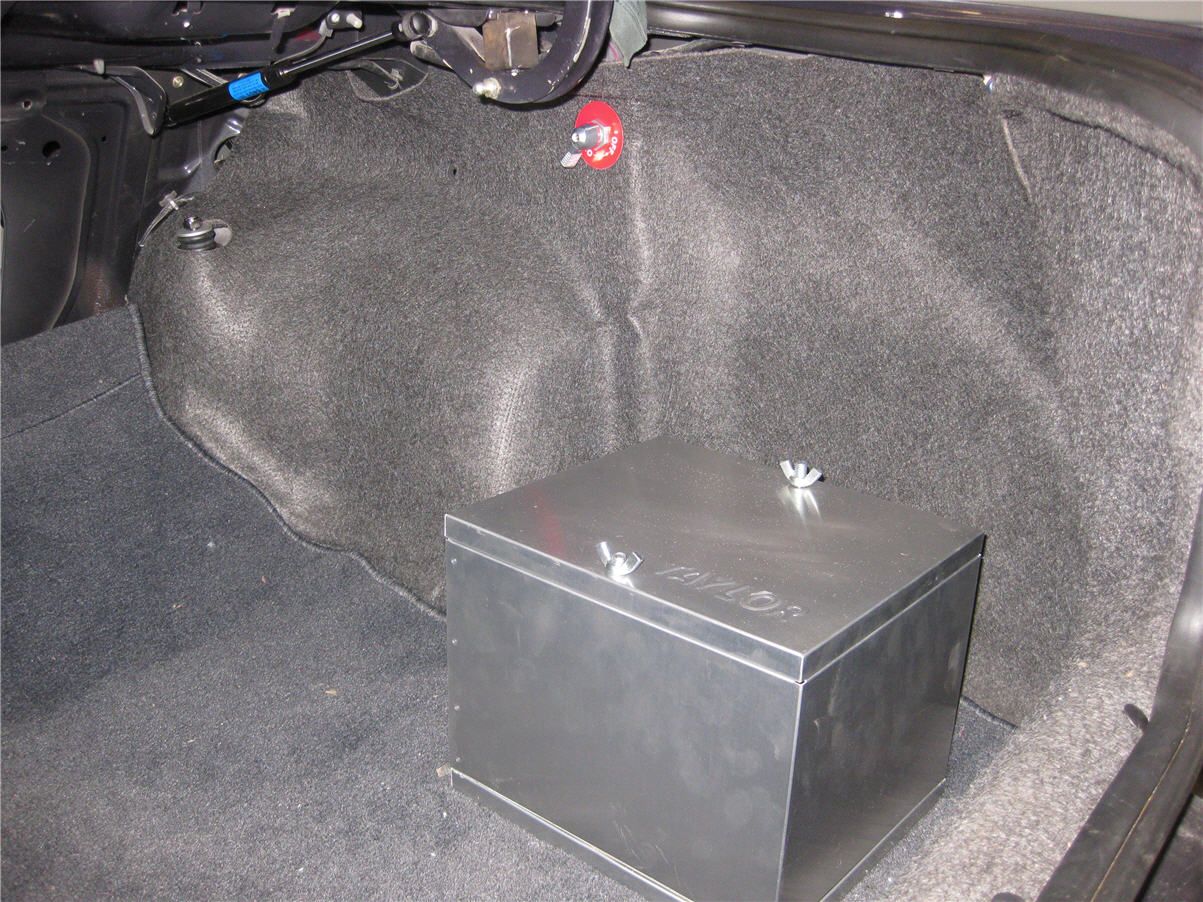
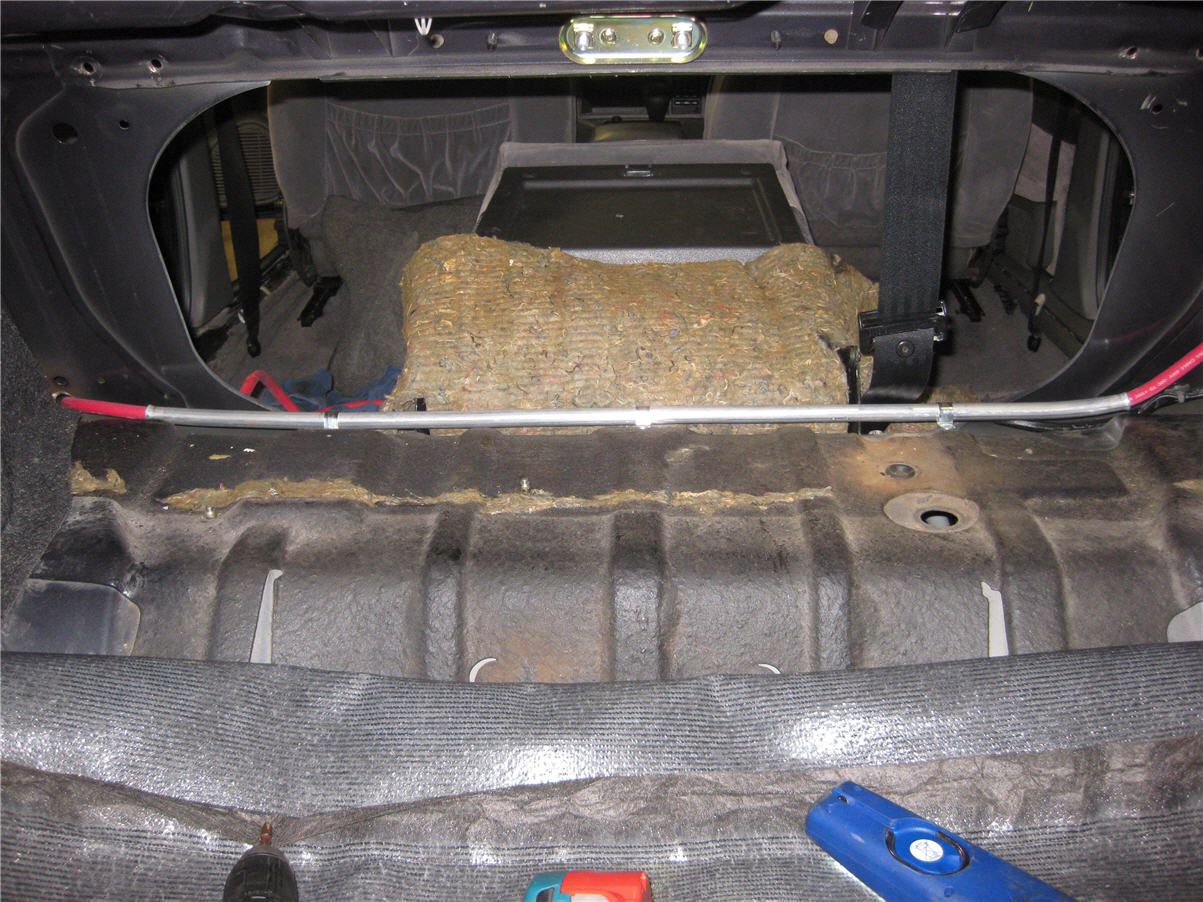
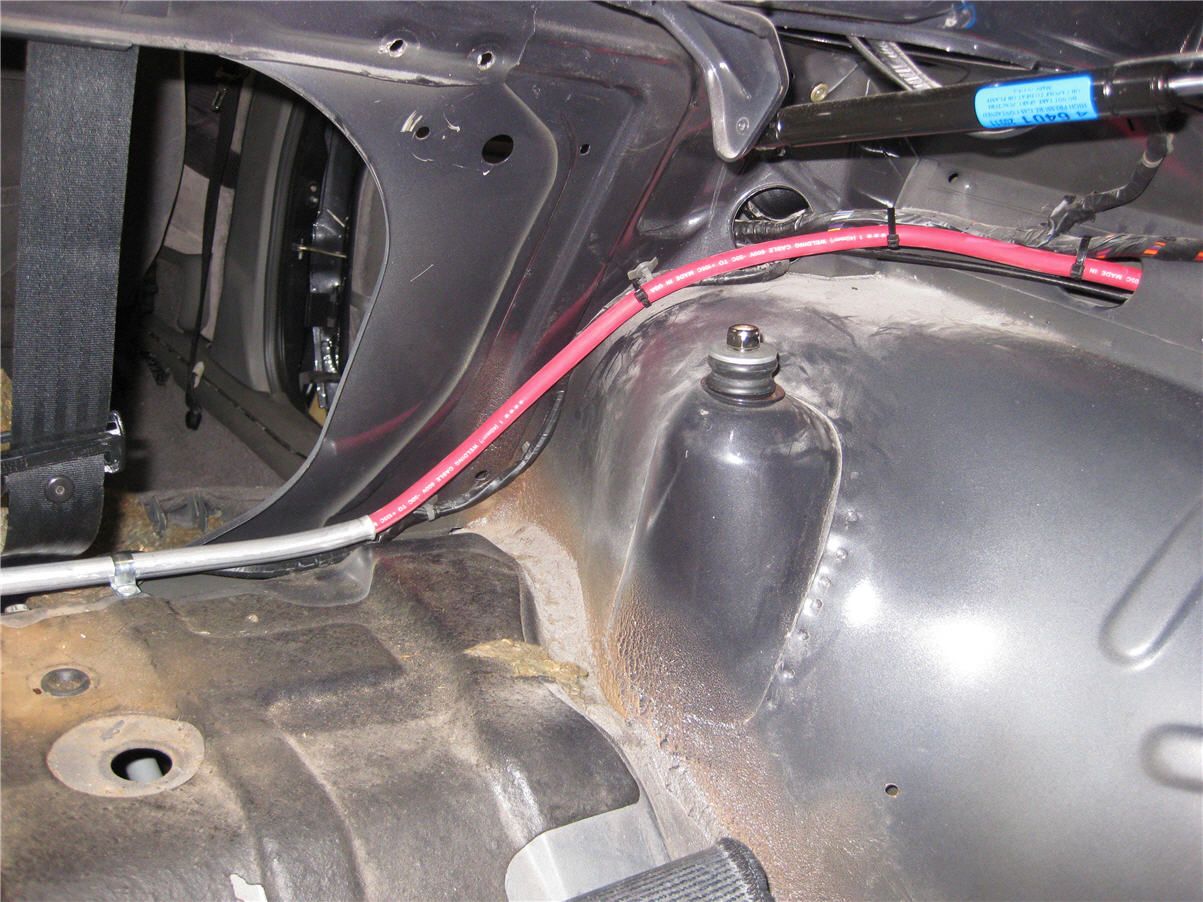
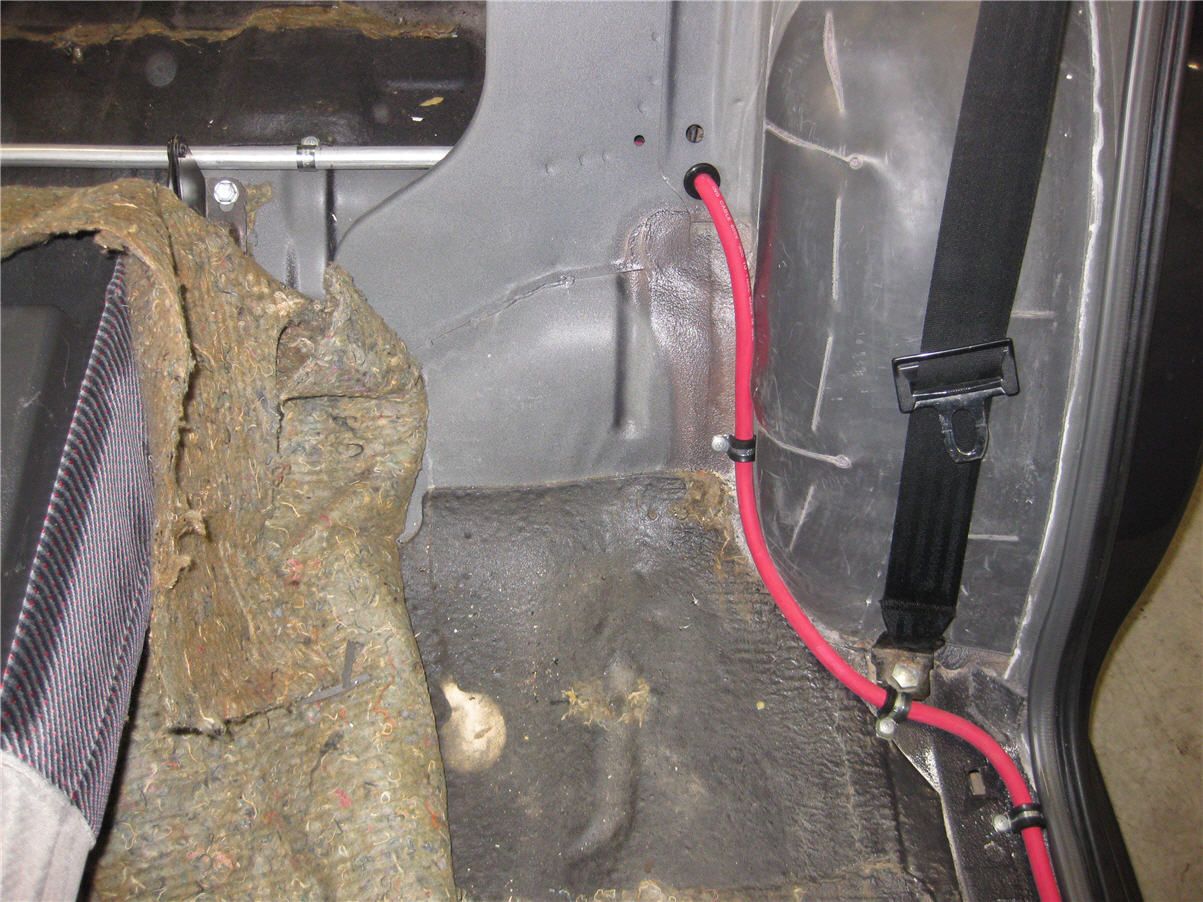
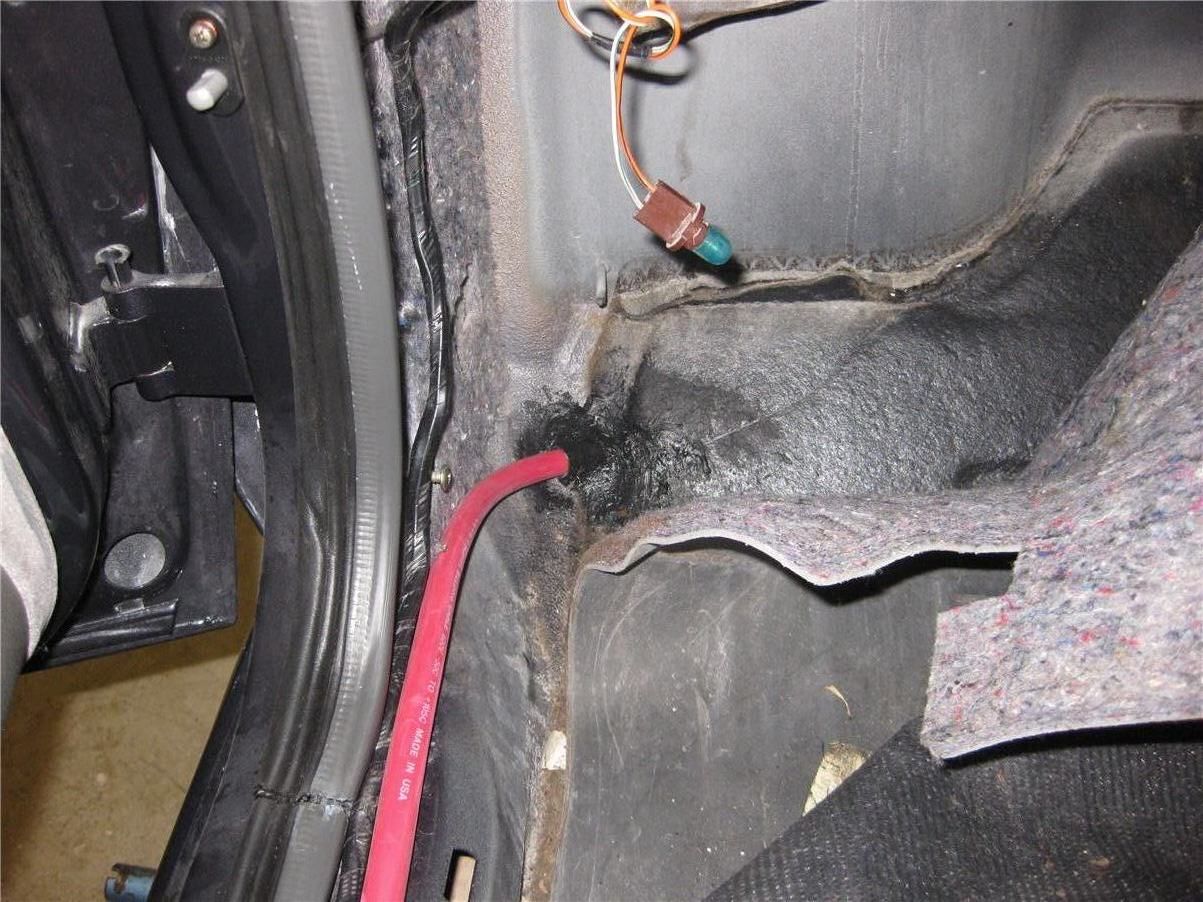
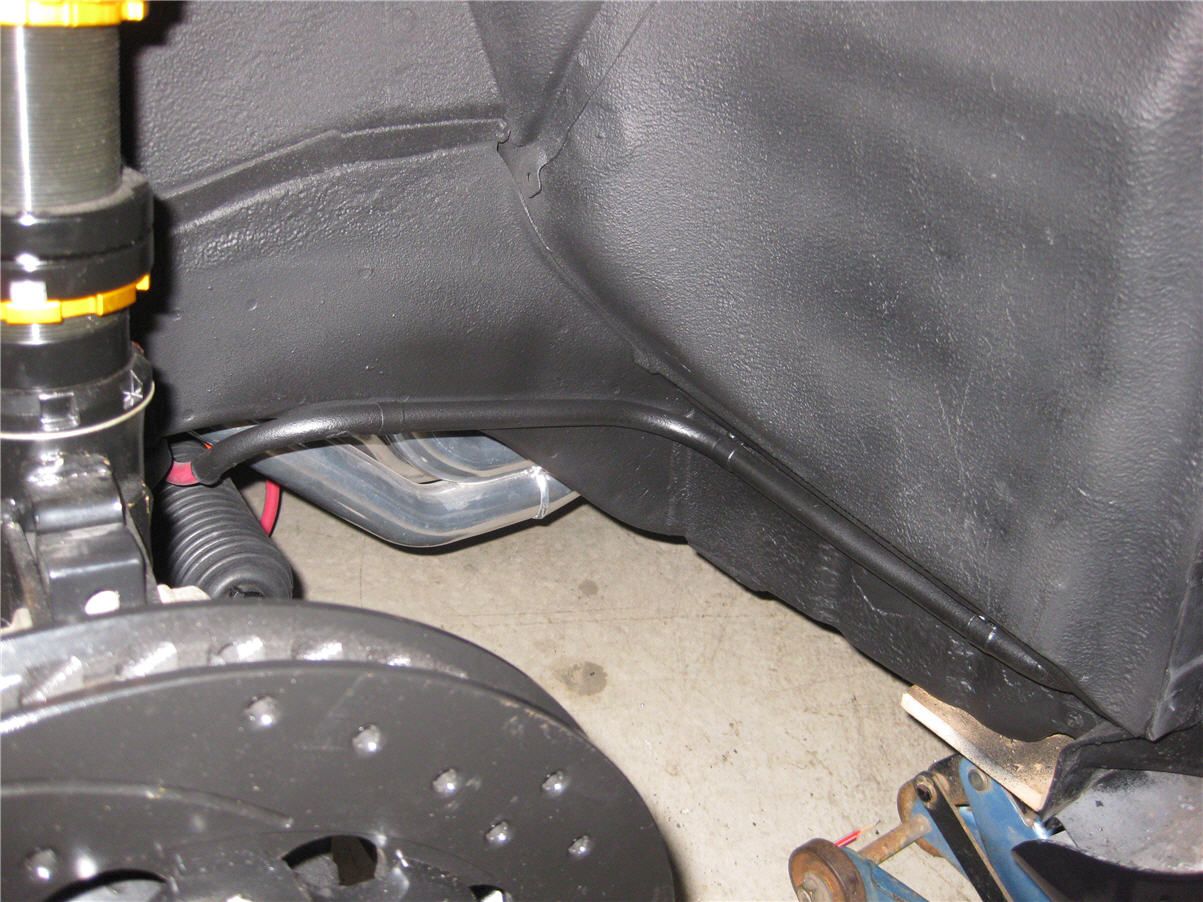
Got the battery relocation totally finished. Thought I would post some pics of it completely done, that’s with all the ends crimped and I used some heat shielded flexible tubing where it goes across to the starter.
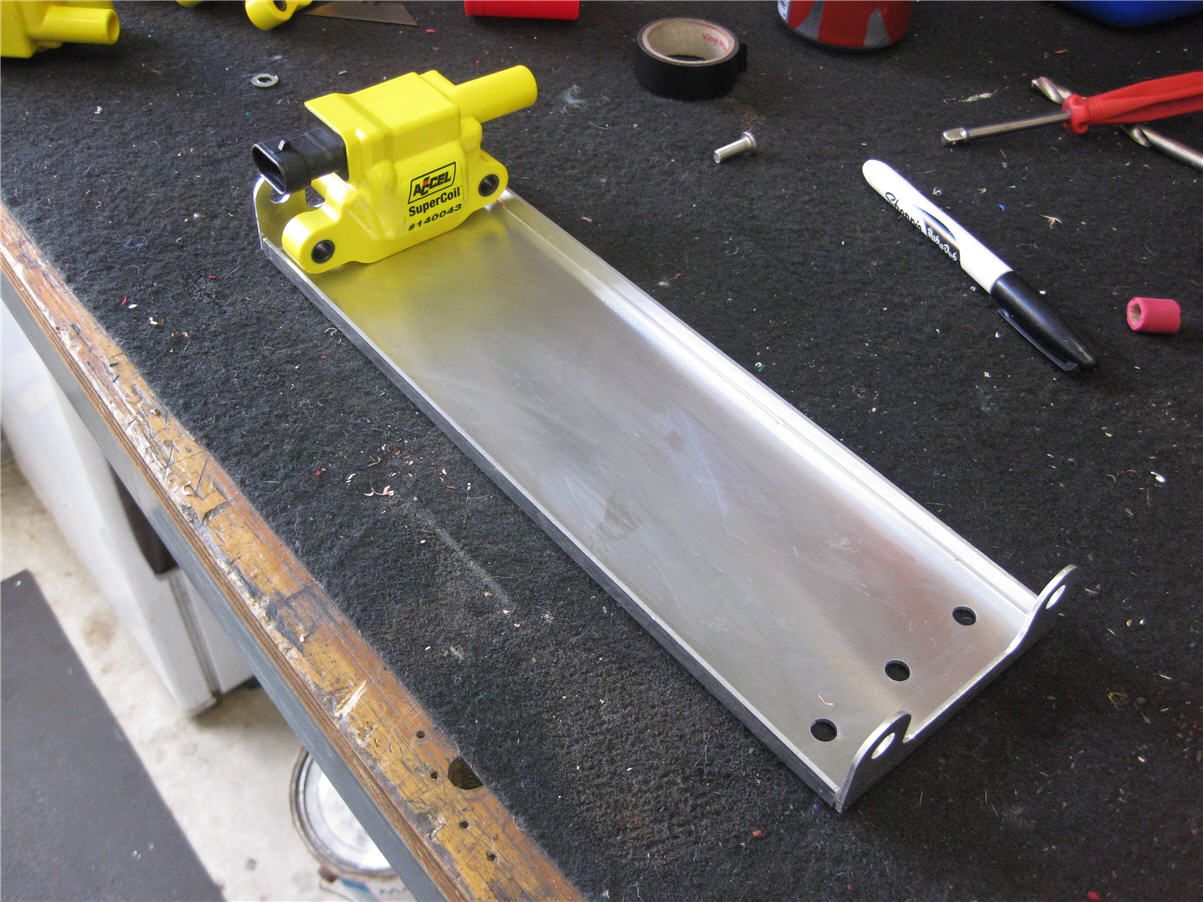
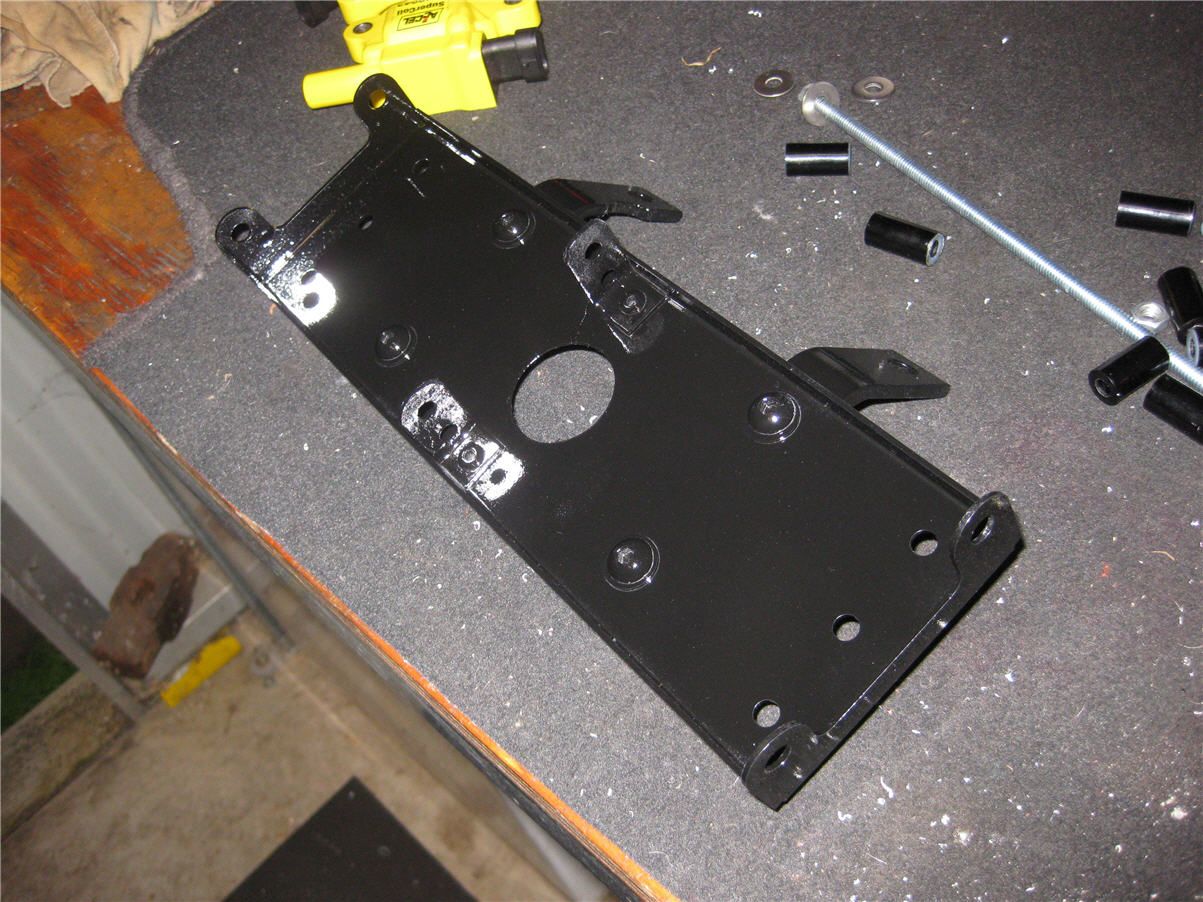
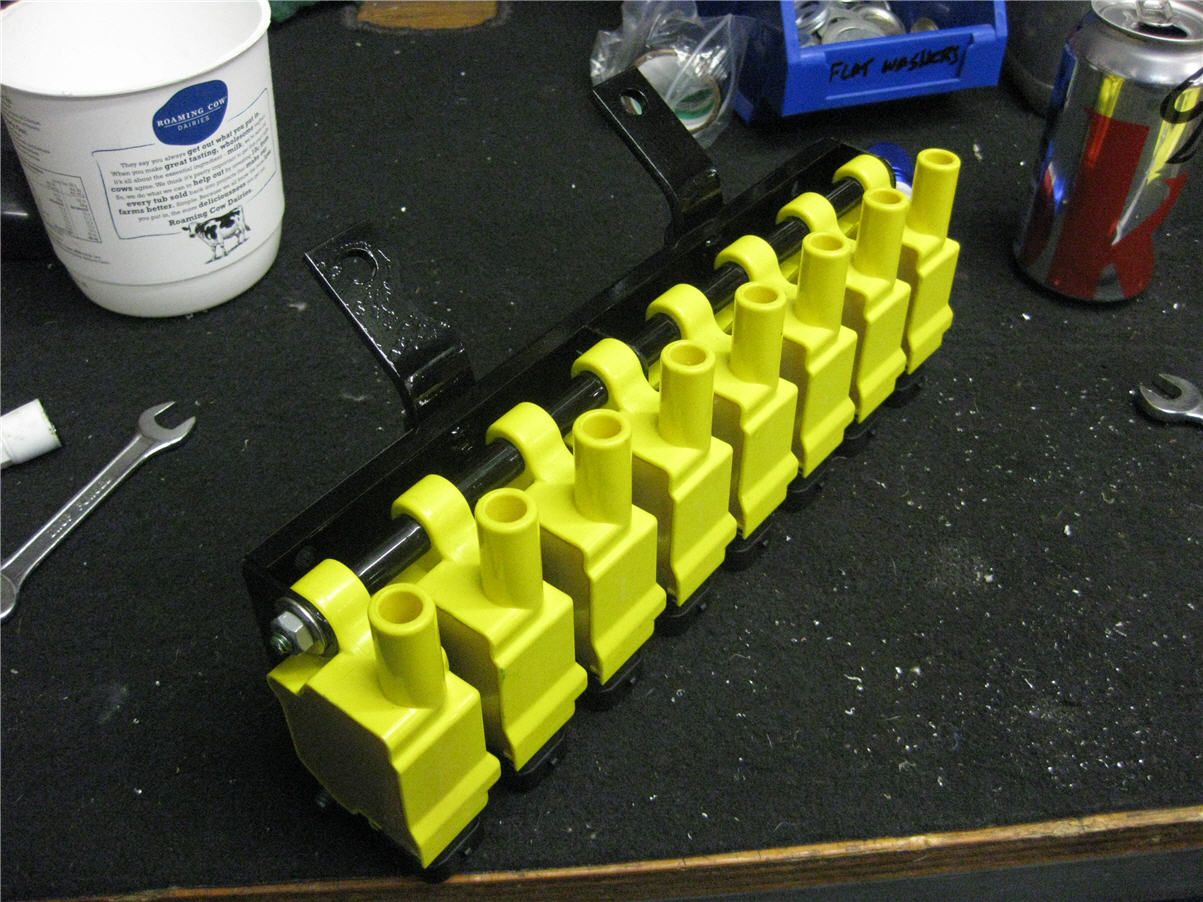
Also got the coil packs all mounted, I like the way its turned out. Got a nice set of Accel leads but tonight went to fit them and I think they have supplied the wrong style. Oh well poop happens I guess.
February 18, 2015 at 1:52 am #446
VRSenator065Participant- Adelaide SA
- VR Senator LSx454 1960 Kombi (project) 1921 Nash Hot Rod (future project)
View build HERE
Posts: 5 777
Well yesterday got to one of those points where I truly thought the car was fighting against me ha ha. Doing the battery relocation, sort of thought it would be straight forward (laughingly I now realise) Crap loads of head scratching and working out a nice way. Biggest issue was the engine end. There is just no room whatsoever between the engine, pacemakers and firewall, no where to sensibly run the cable. I used some of the 5/8 hard line I had to make up a routing tube (like the back across the boot) and flared the ends so it really nice. With the boot, once the underlay and carpet is in place you cant even notice it. I mounted the isolation with up under near the boot hinge, cut a hole for the side felt panel, really happy with how it turned out. Not totally finished as I am borrowing a crimp tool during the week and am waiting on a 300A circuit breaker, but mostly done.
February 18, 2015 at 1:52 am #445
VRSenator065Participant- Adelaide SA
- VR Senator LSx454 1960 Kombi (project) 1921 Nash Hot Rod (future project)
View build HERE
Posts: 5 777
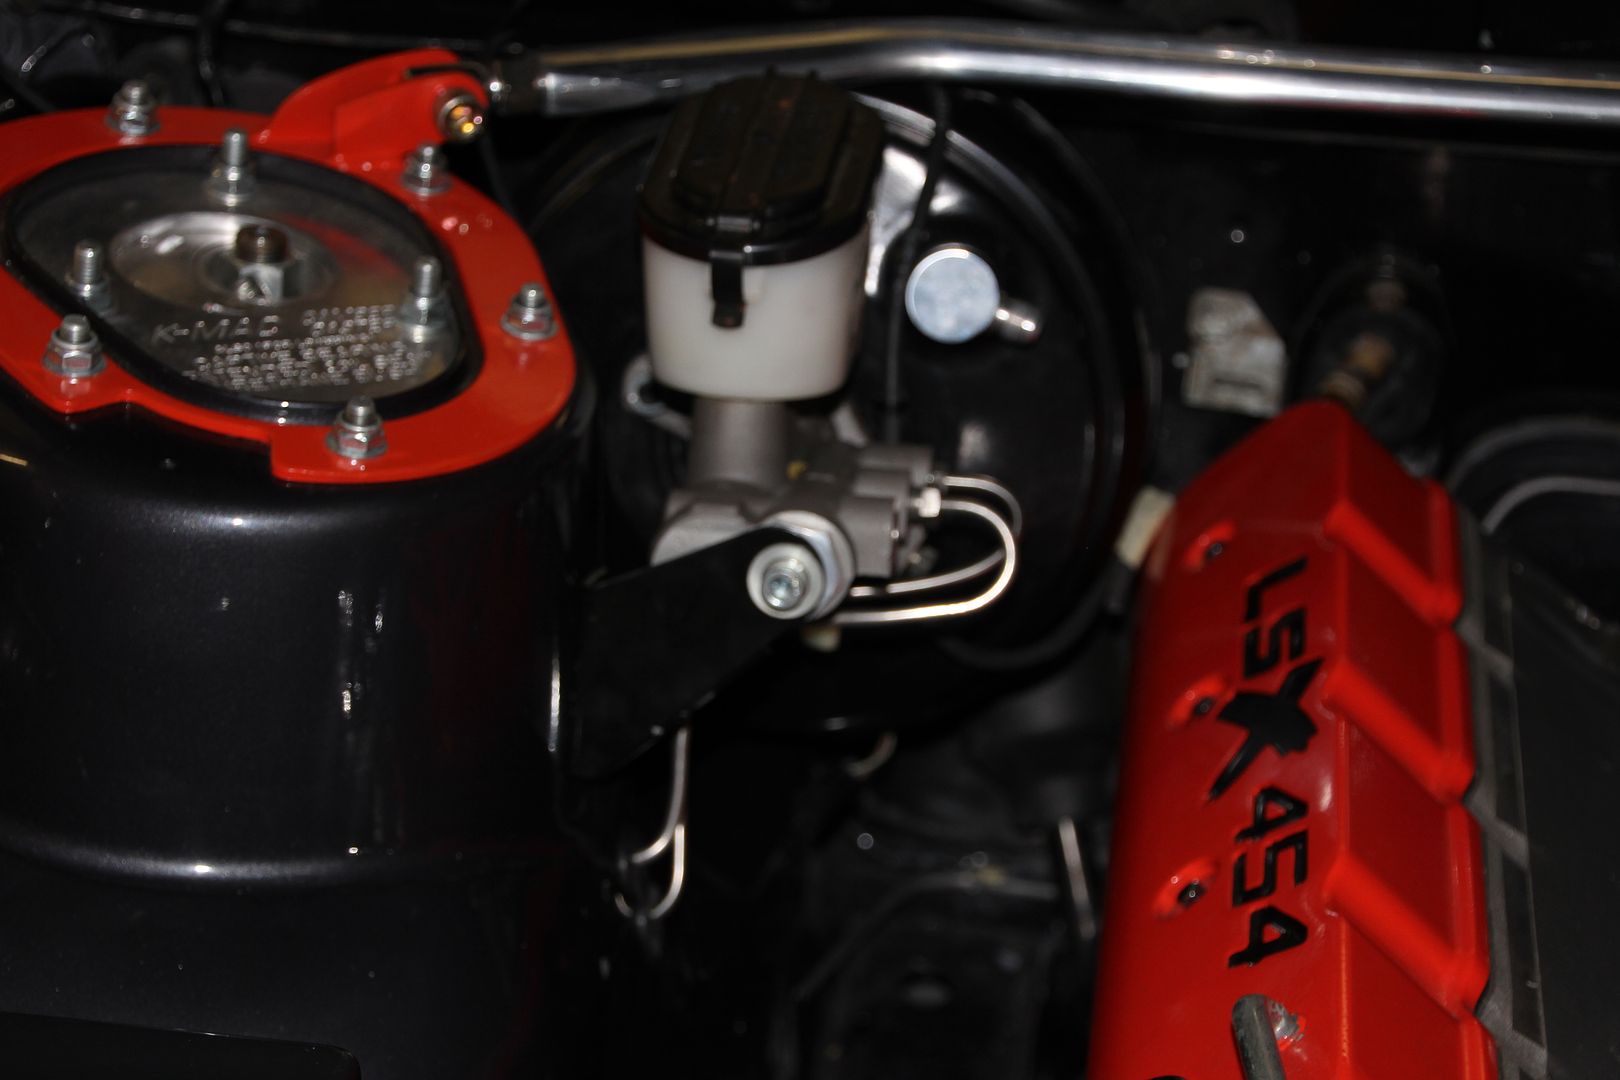
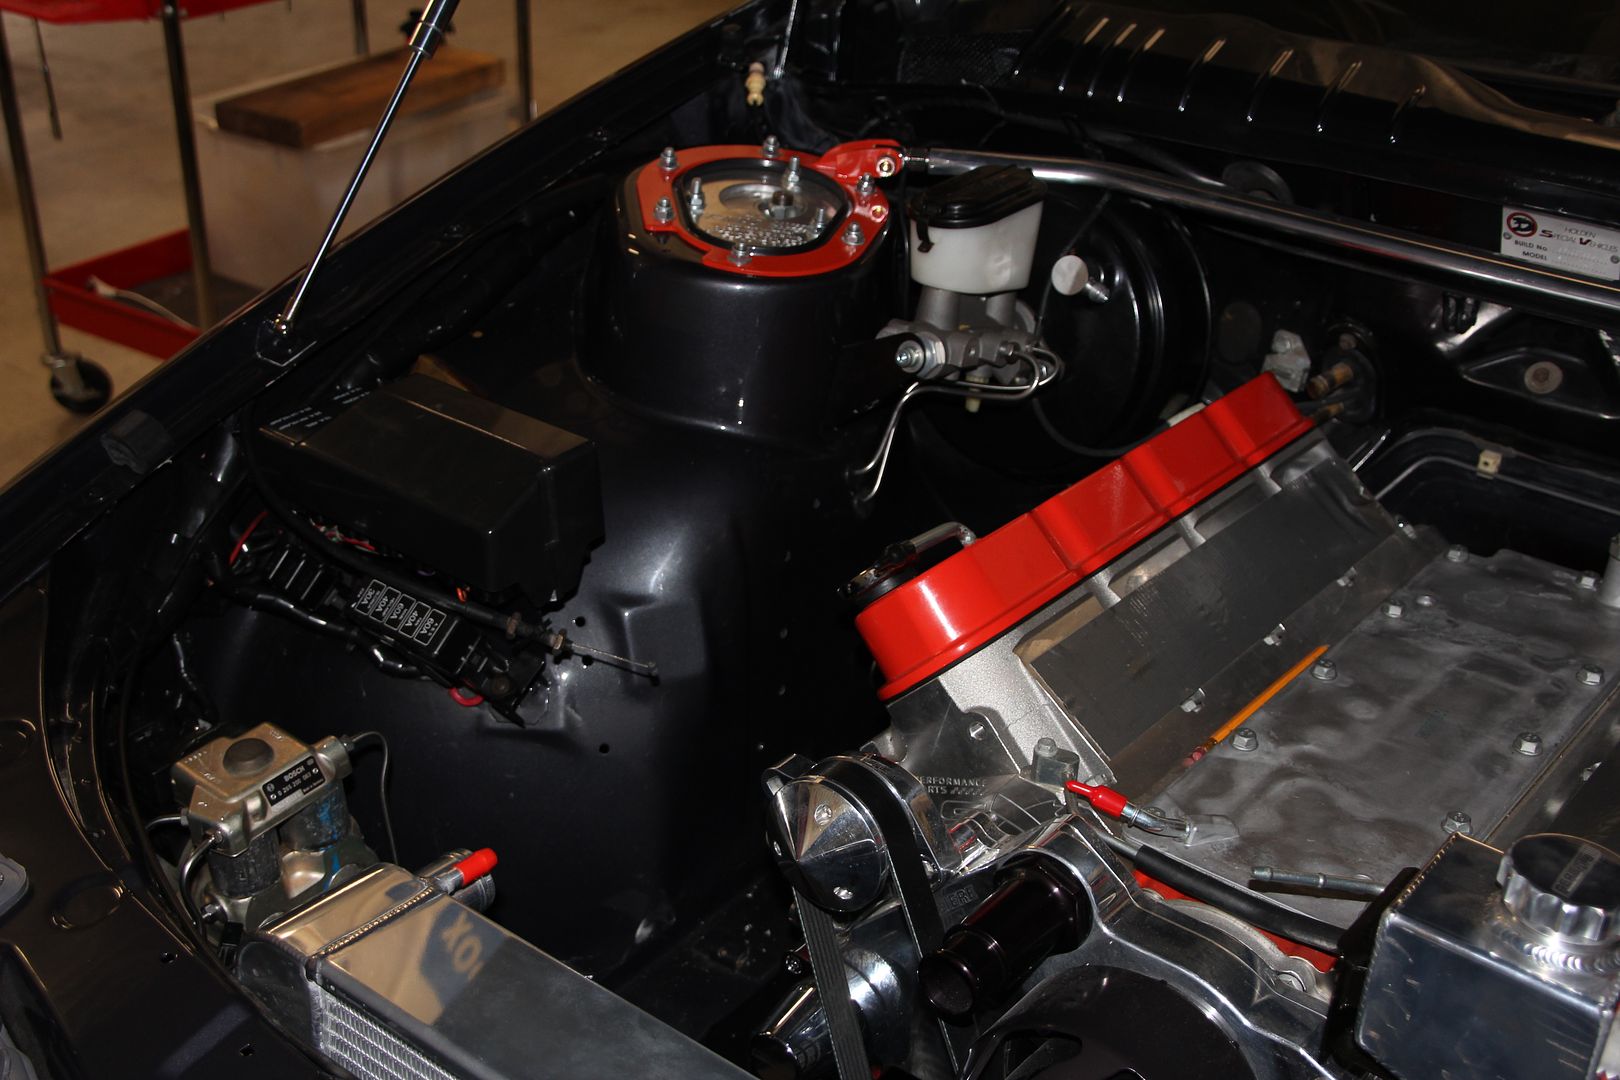
Bloody hell, these brakes remind me of doing the trans, very fiddly, time consuming, frustrating but satisfying. Not sure I would want to do another. Not finished yet, one more line, but have run out of tube ( and patience) for the week end, getting there though.
 February 18, 2015 at 1:52 am #444
VRSenator065Participant- Adelaide SA
- VR Senator LSx454 1960 Kombi (project) 1921 Nash Hot Rod (future project)
View build HERE
Posts: 5 777
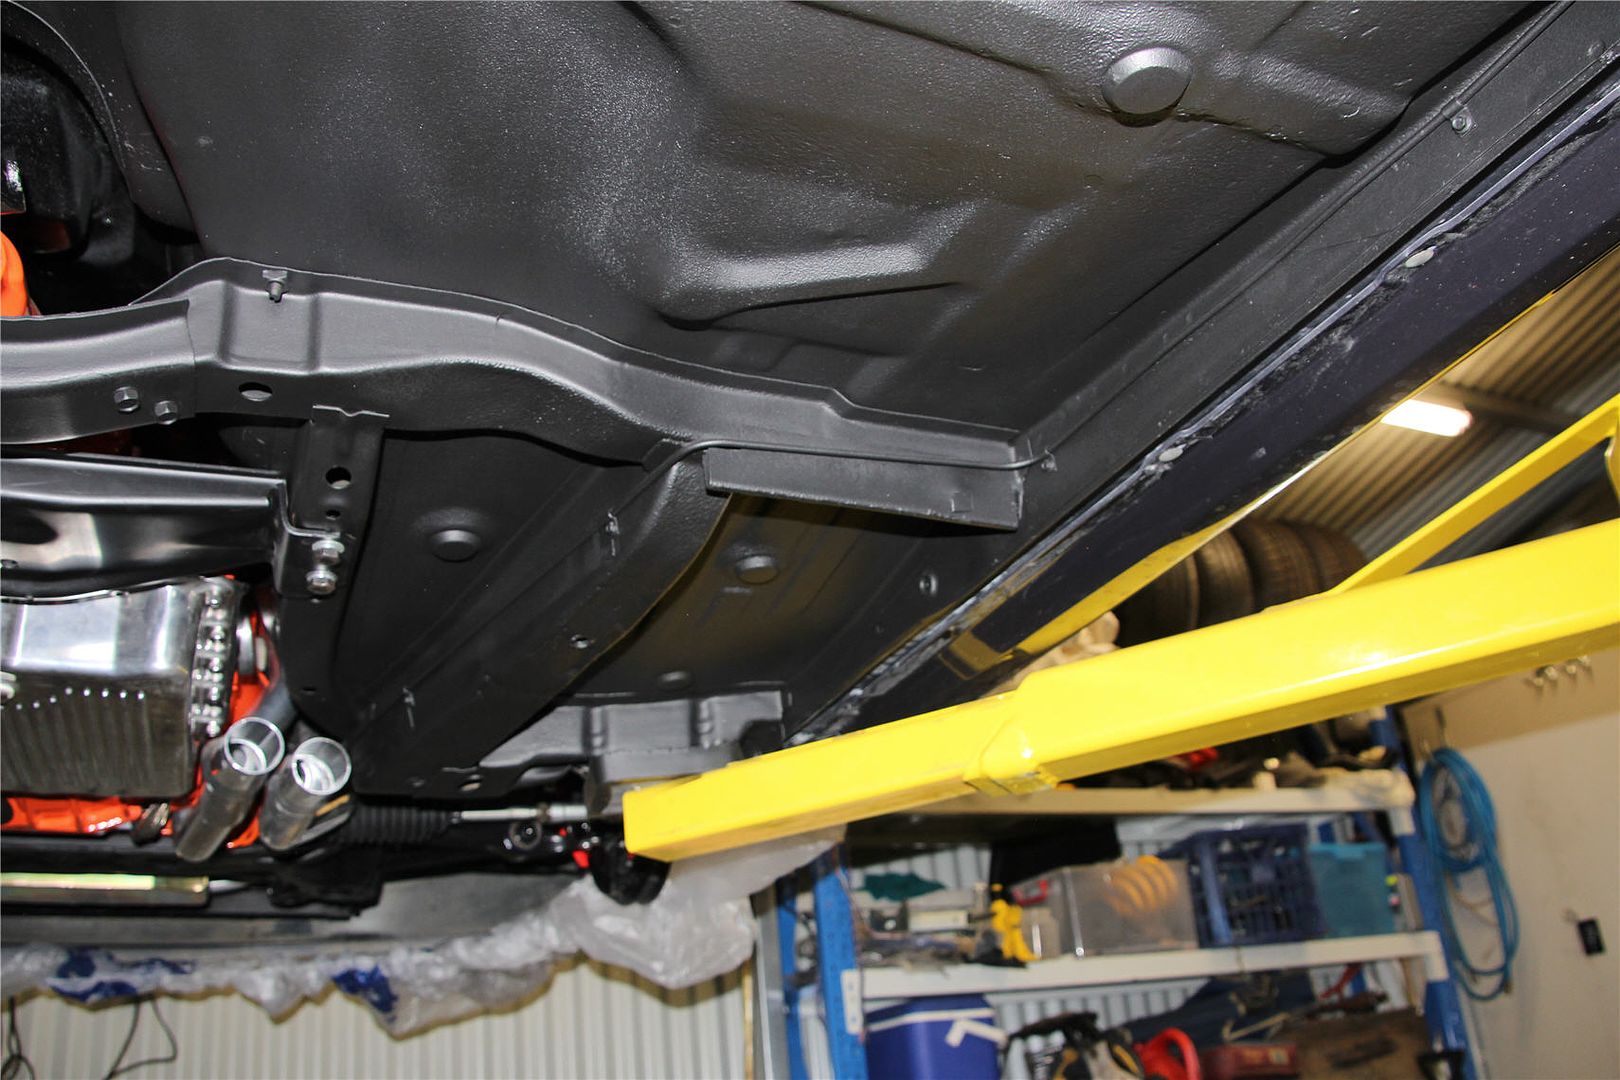
Long day today. During the week I pulled out the existing fuel lines, which are also run with the rear brake line. I wanted to re route the rear line out of the bay now the ABS is where the battery was, also get it away form the exhaust, but to be able to flare the end of the tube I needed it out of the car so I could take it the vice to use the flaring tool.
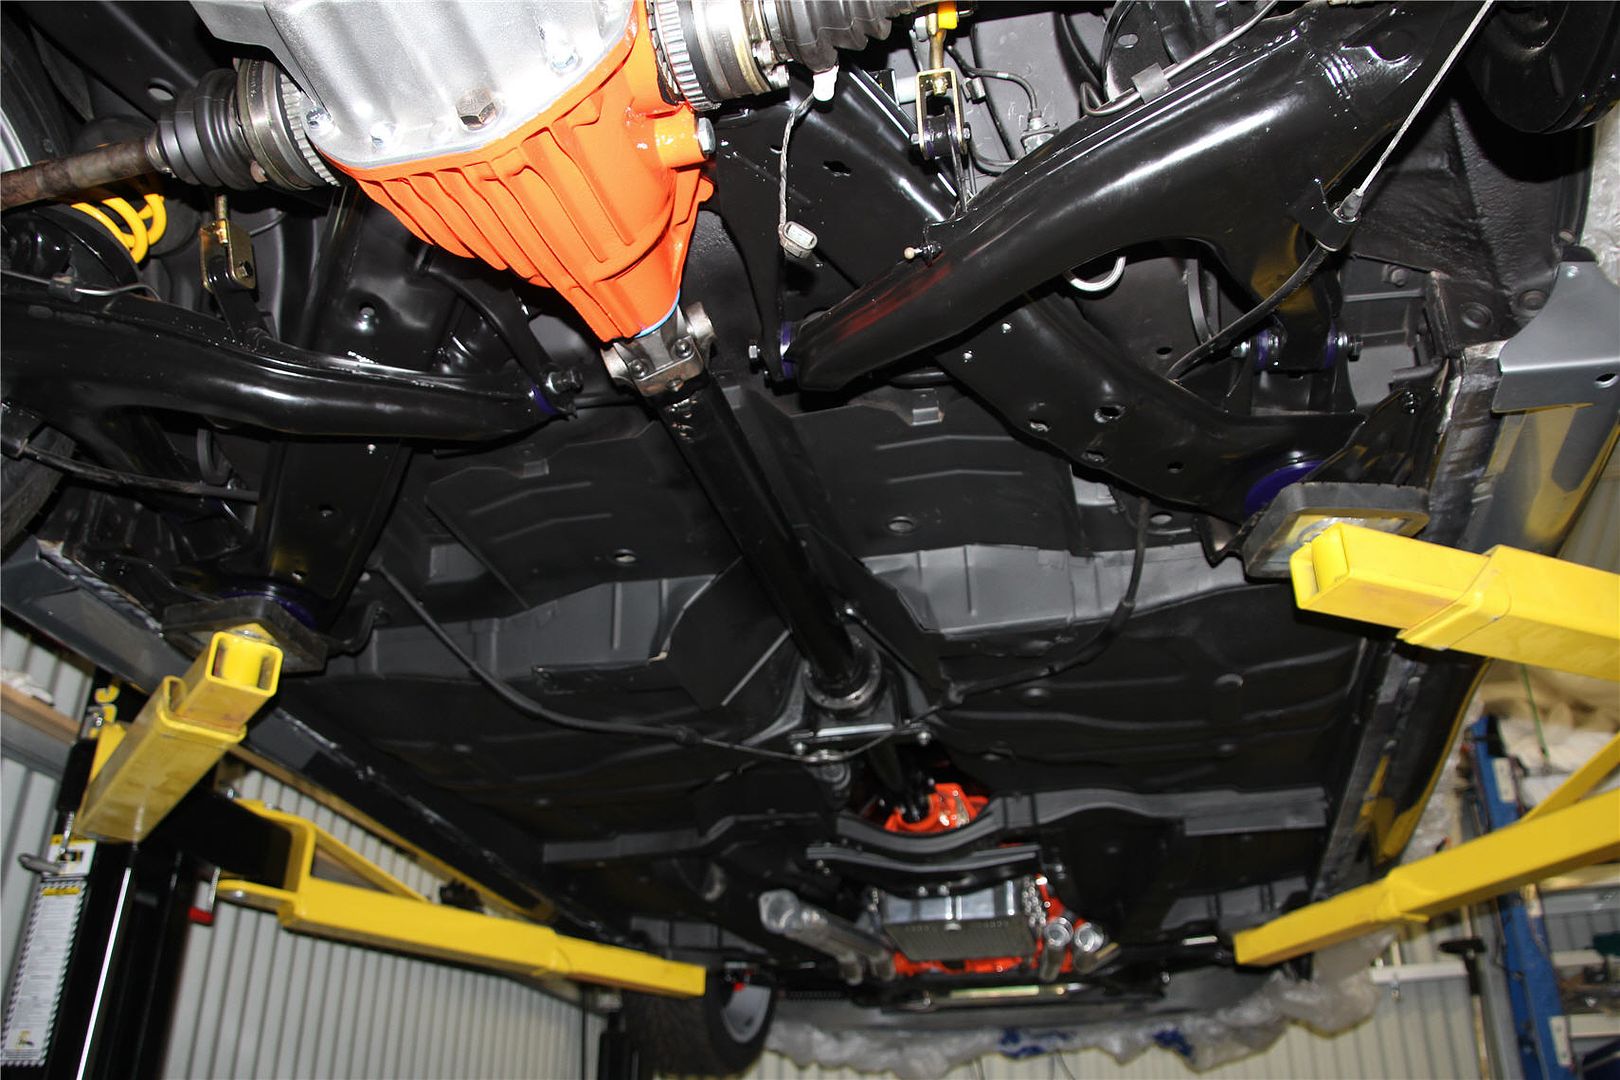
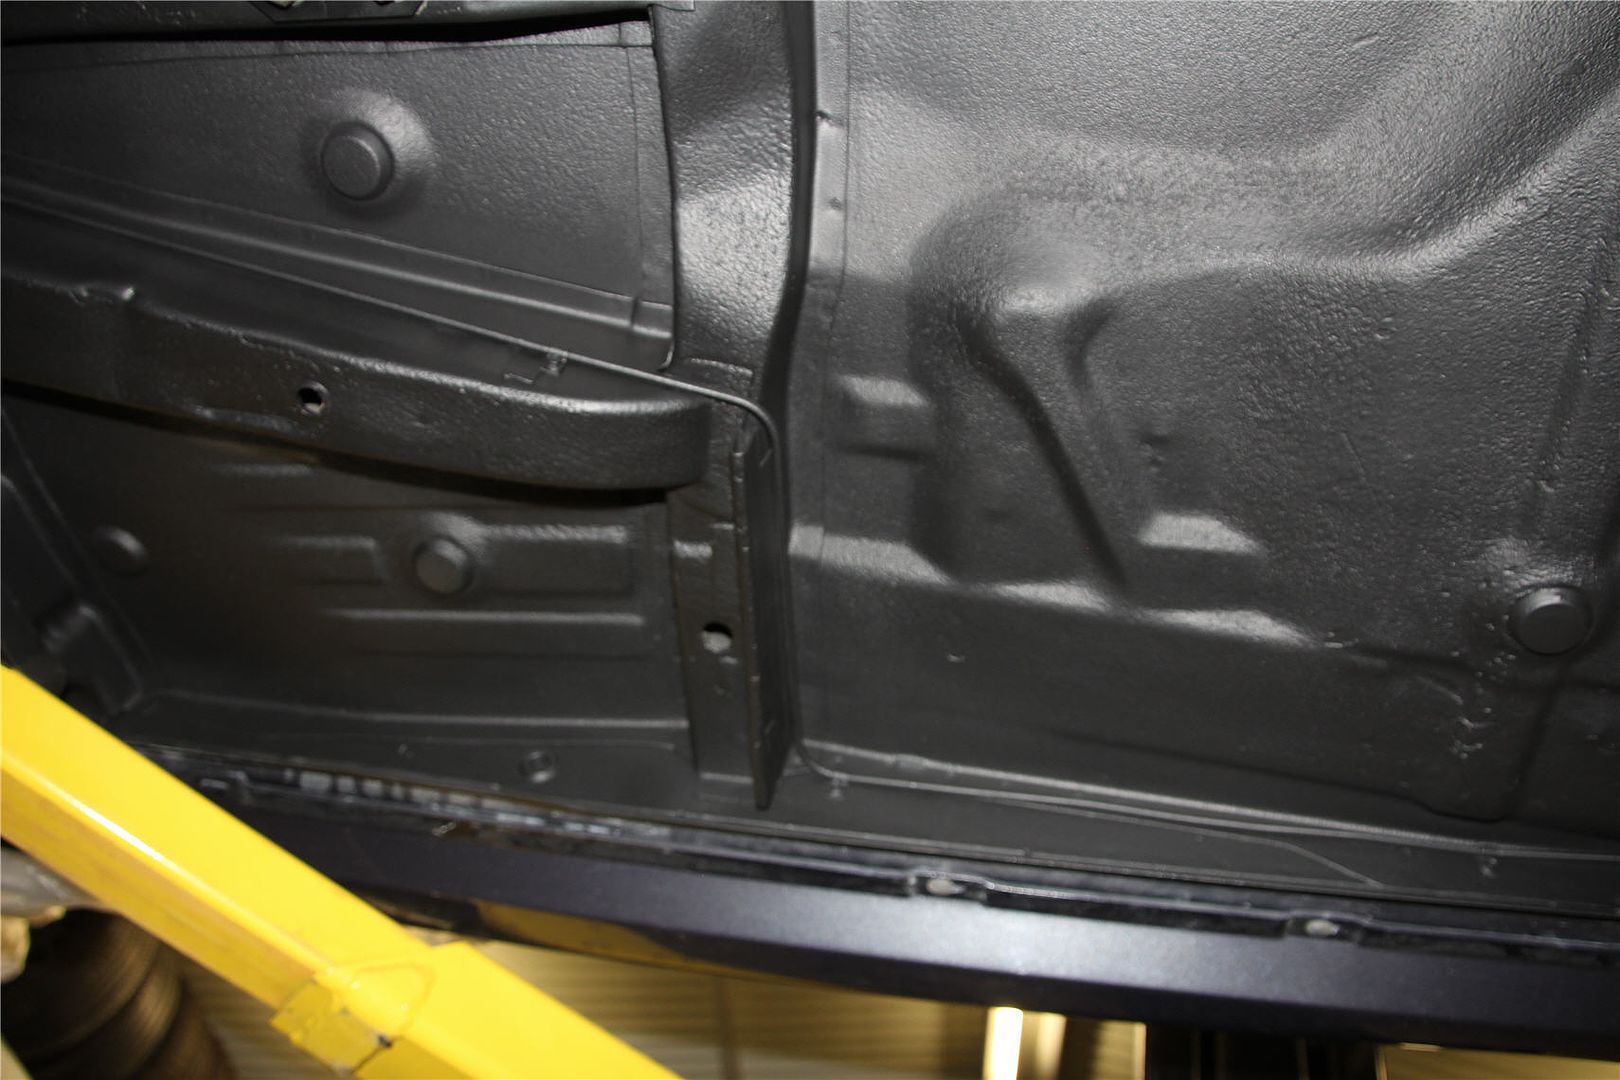
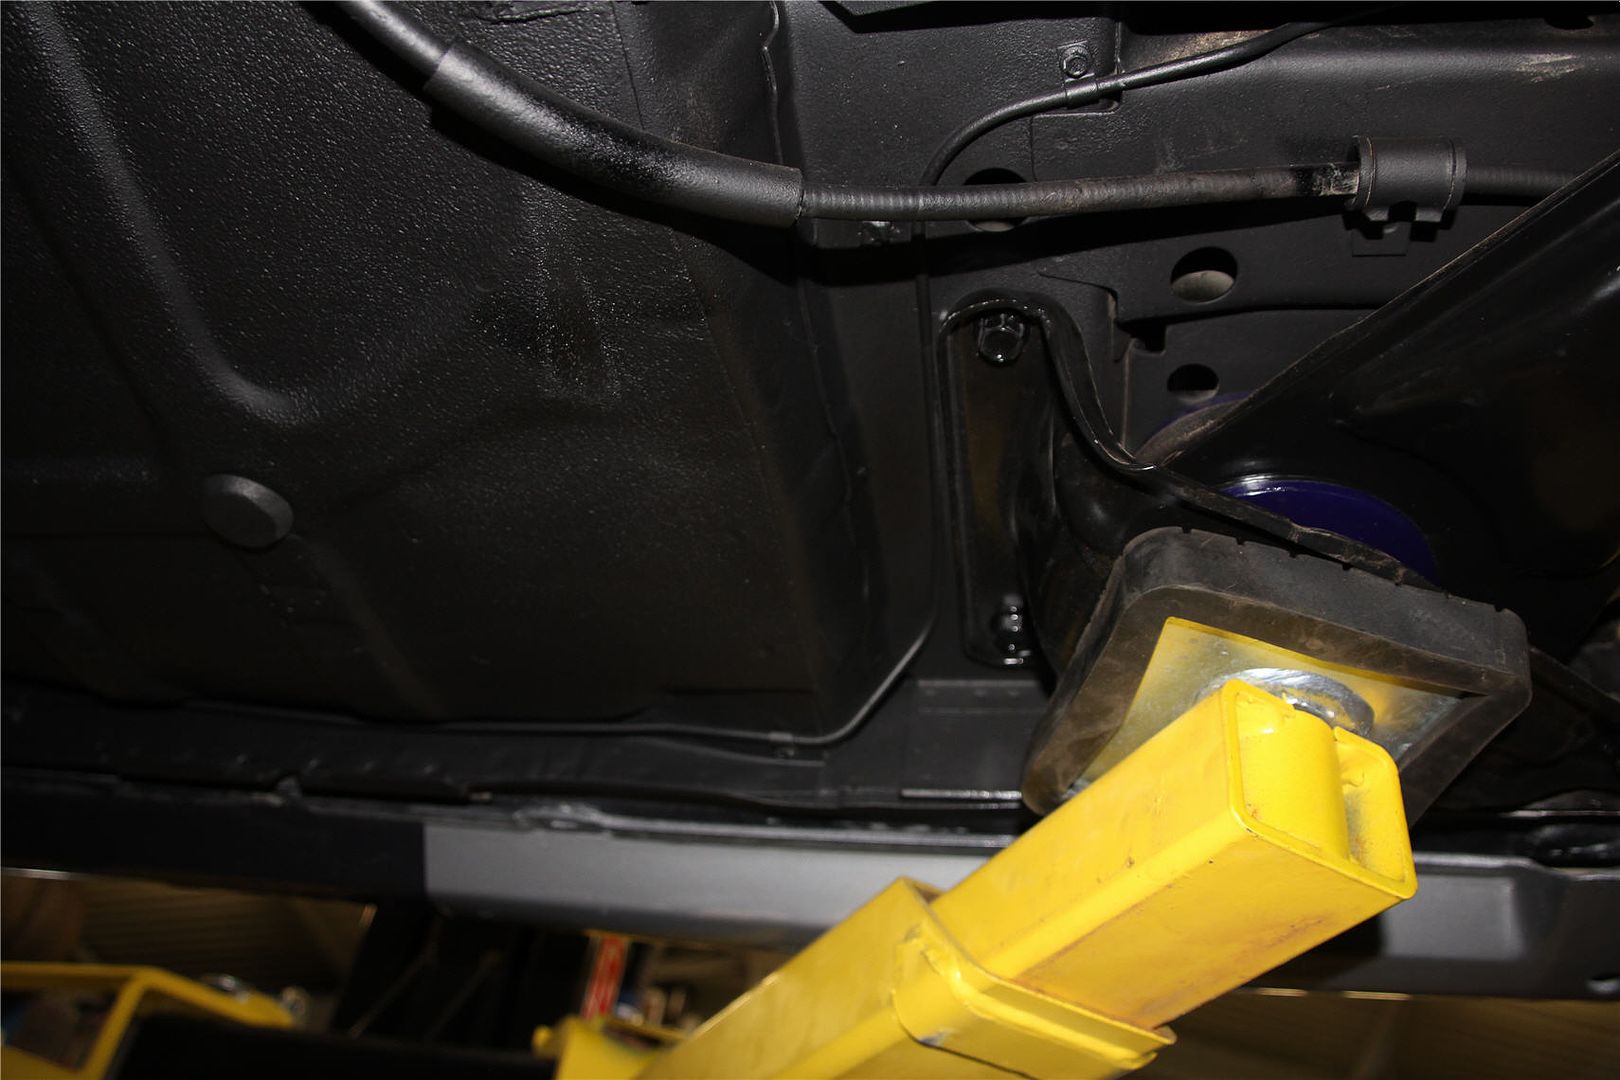
So I pulled it out and a thing that has been annoying me has been the difference in gloss between the body shutz and the areas I have done with the spay can texture coat. So since I was redoing the brake line I masked off the underside of the car and have done it all so it looks matched. I then redid the rear brake line. I think it come up really neat. Ready to do the new fuel lines.
I also finished off the three hard lines that go to each front wheel and the rears, again very happy with them, am going to get a three way billet clamp to finish it off. Tomorrow I am going to tackle the hard lines from master to ABS, not sure I have enough 3/16 line to both, if not I at least want to try and get one done. Heres some pics
February 18, 2015 at 1:51 am #443
VRSenator065Participant- Adelaide SA
- VR Senator LSx454 1960 Kombi (project) 1921 Nash Hot Rod (future project)
View build HERE
Posts: 5 777 February 18, 2015 at 1:50 am #442
VRSenator065Participant- Adelaide SA
- VR Senator LSx454 1960 Kombi (project) 1921 Nash Hot Rod (future project)
View build HERE
Posts: 5 777 February 18, 2015 at 1:49 am #441
VRSenator065Participant- Adelaide SA
- VR Senator LSx454 1960 Kombi (project) 1921 Nash Hot Rod (future project)
View build HERE
Posts: 5 777 February 18, 2015 at 1:49 am #440
VRSenator065Participant- Adelaide SA
- VR Senator LSx454 1960 Kombi (project) 1921 Nash Hot Rod (future project)
View build HERE
Posts: 5 777
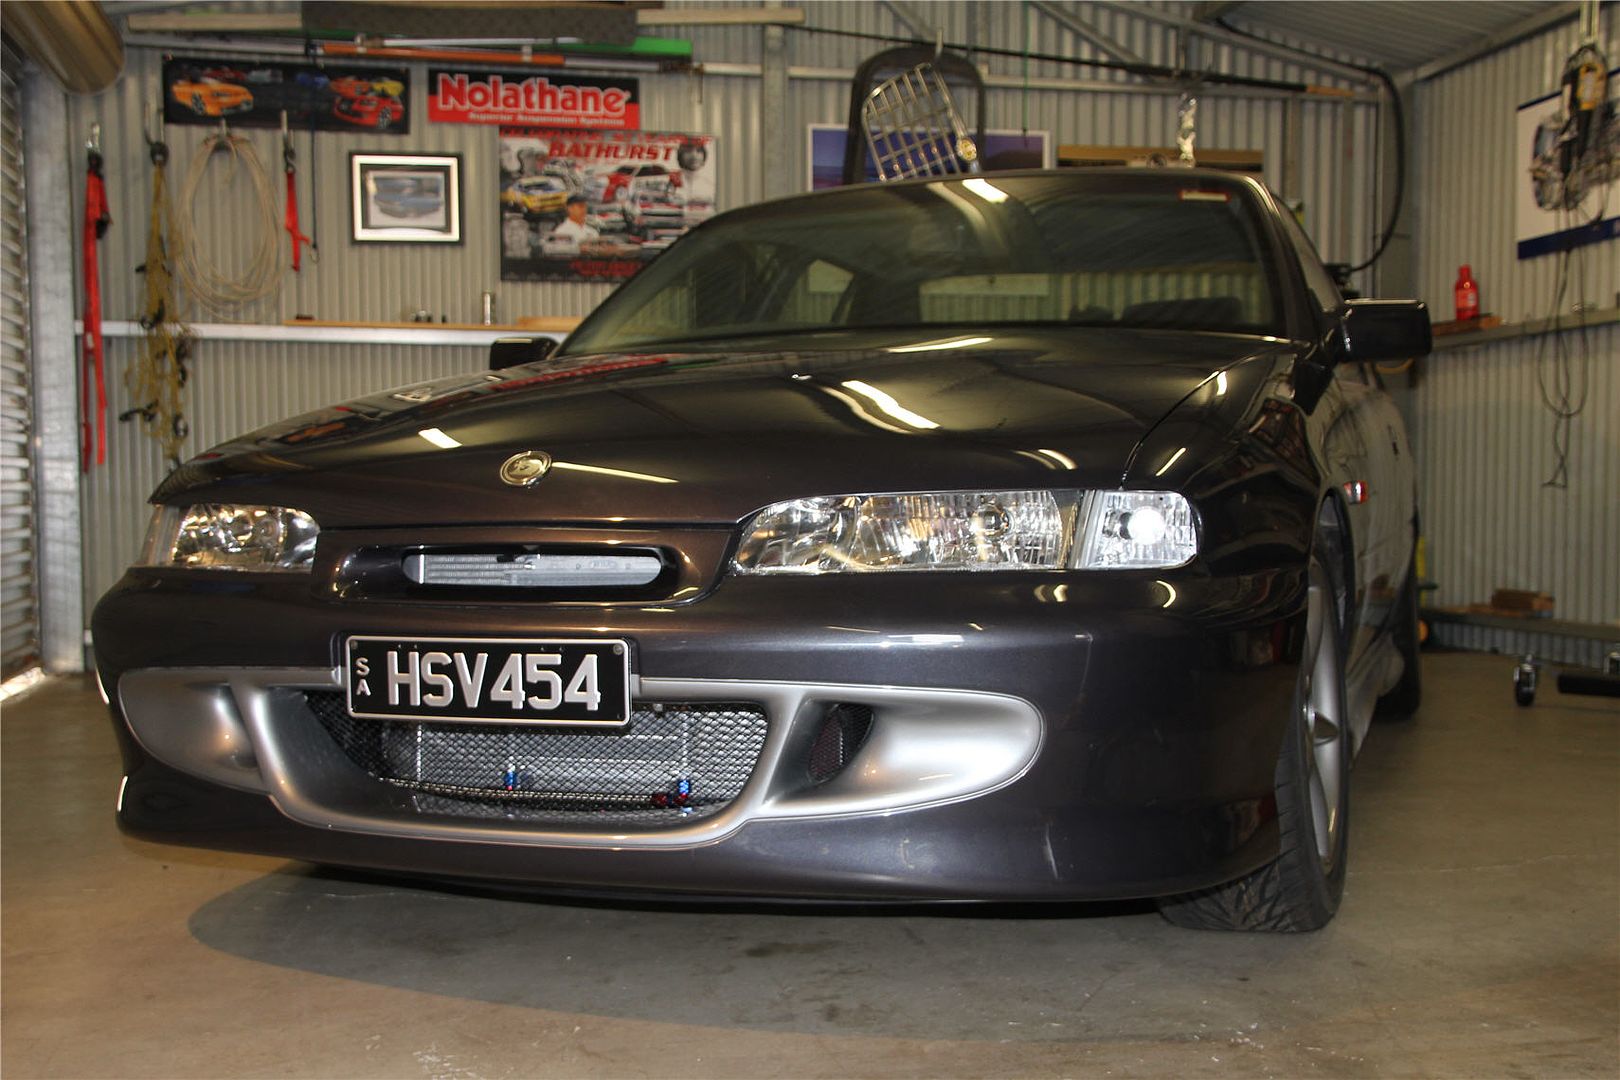
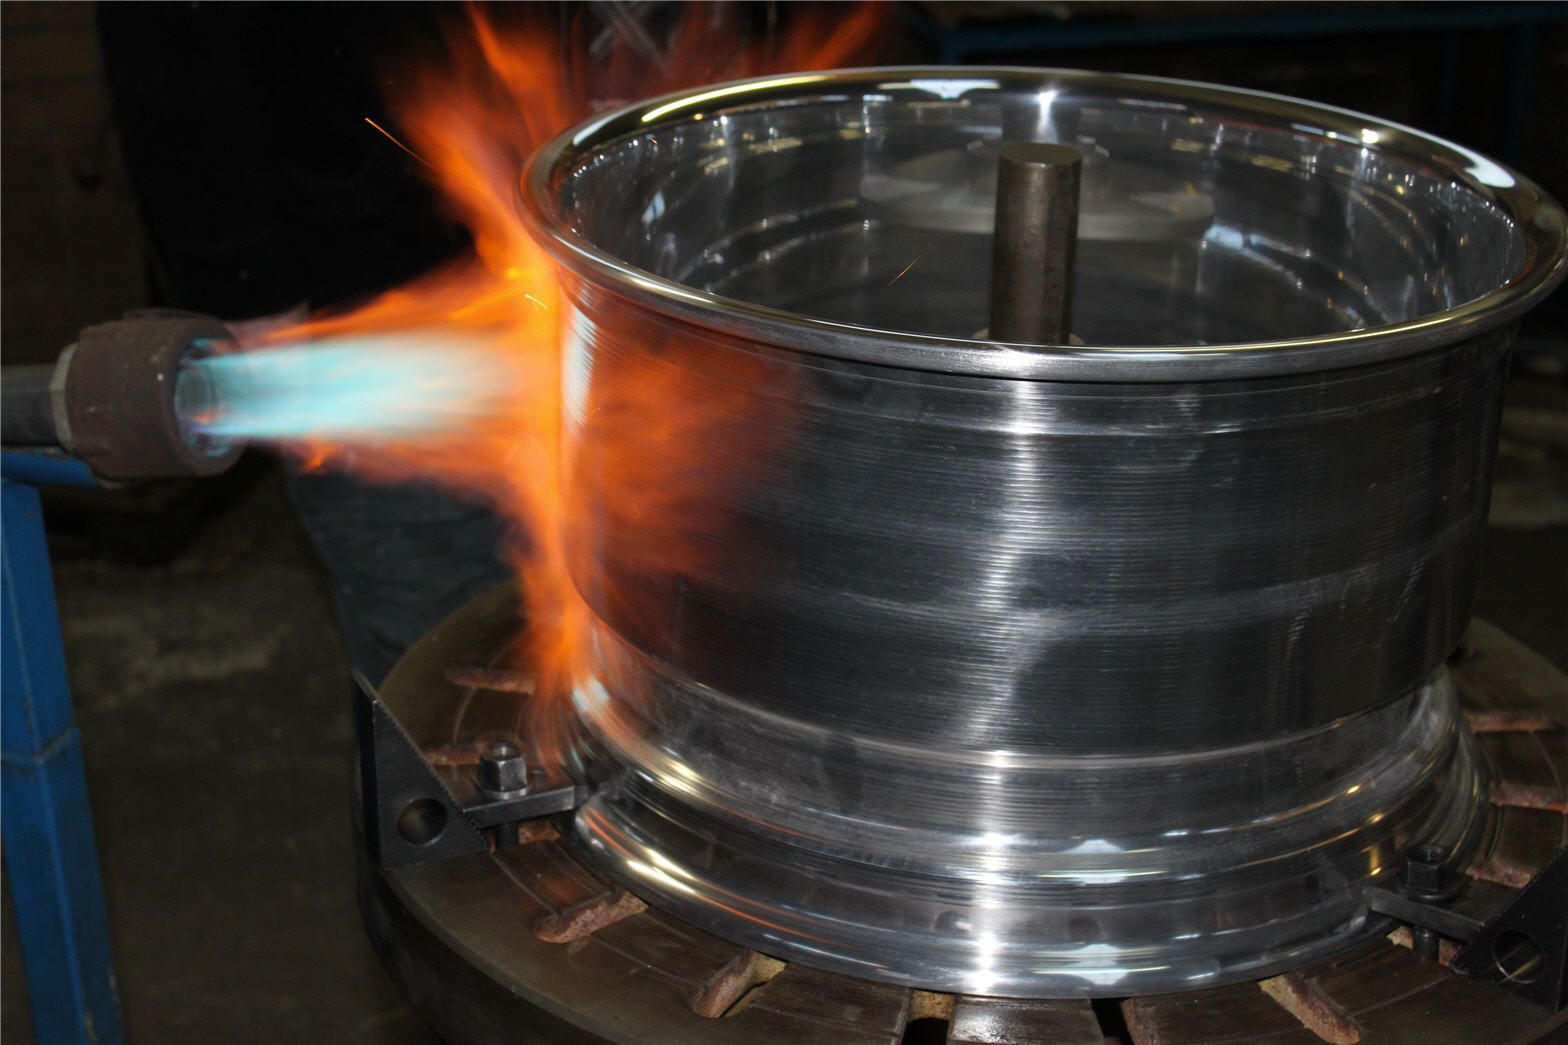
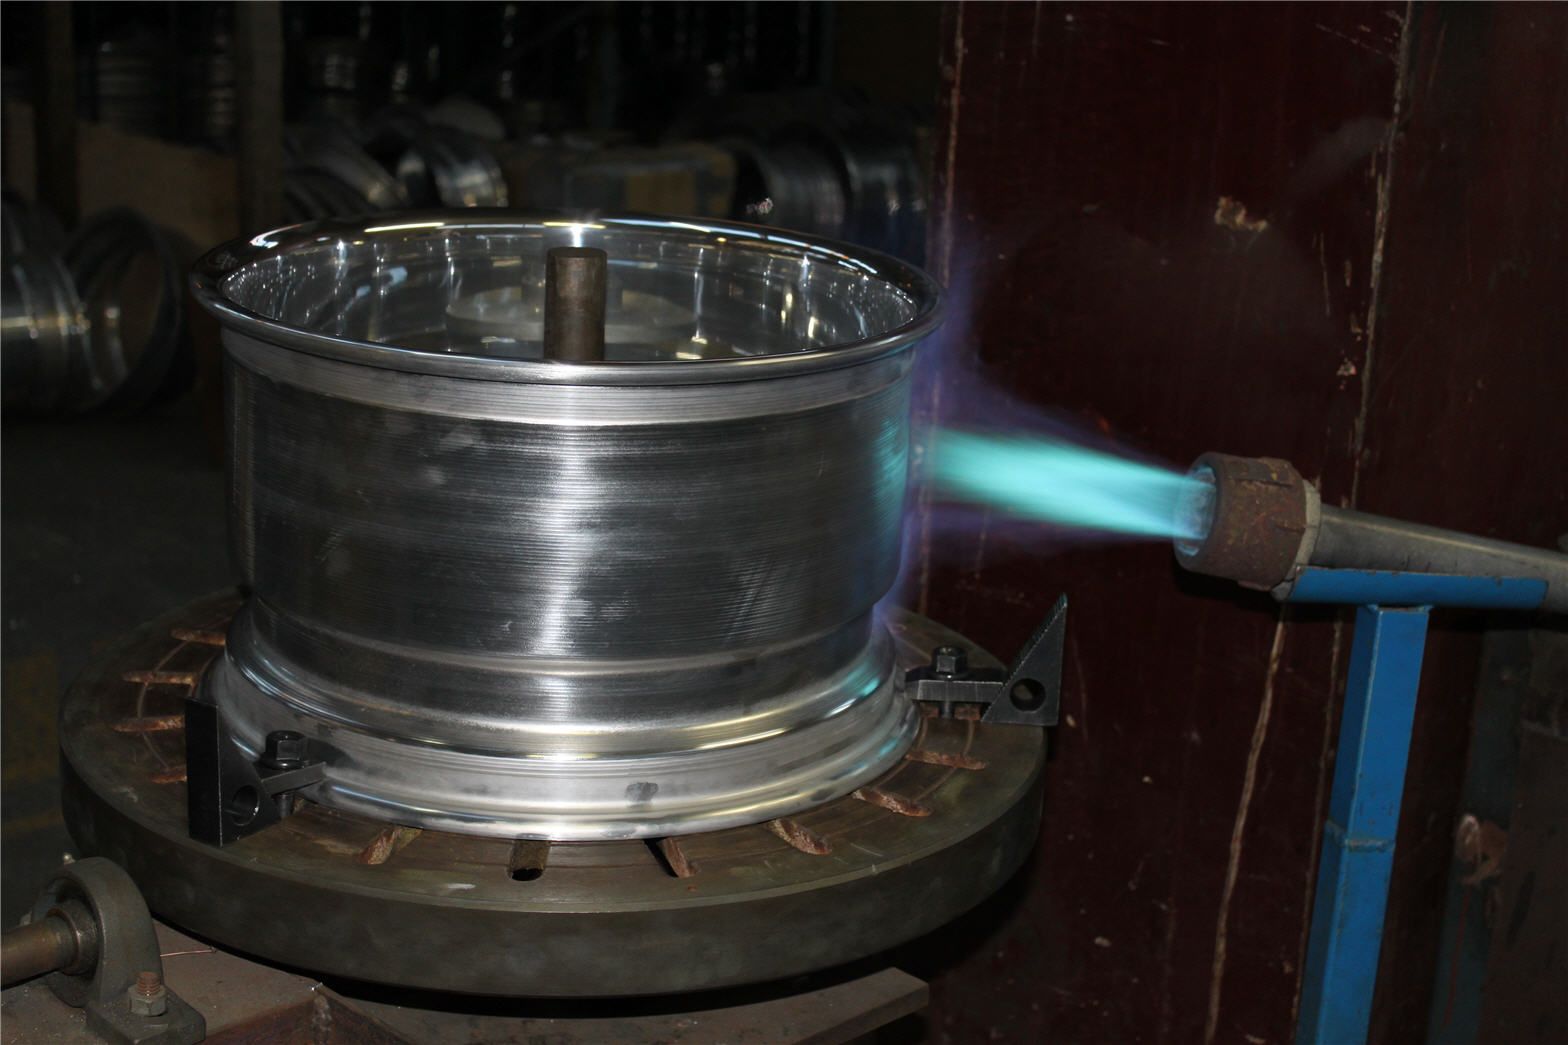
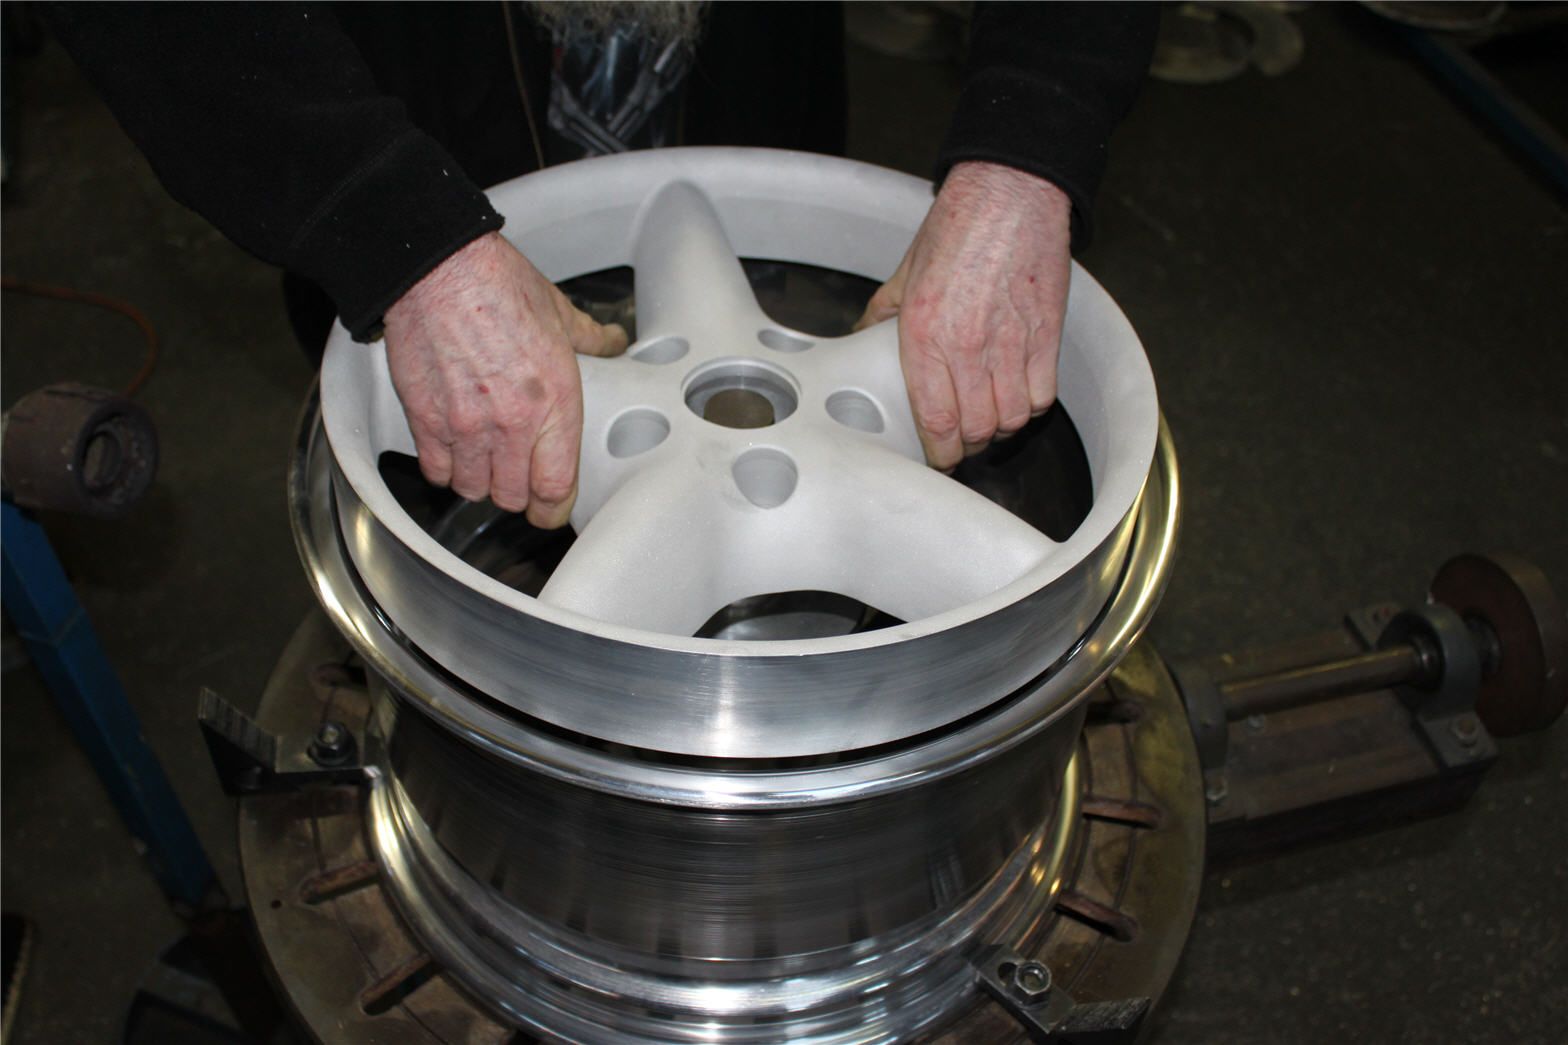
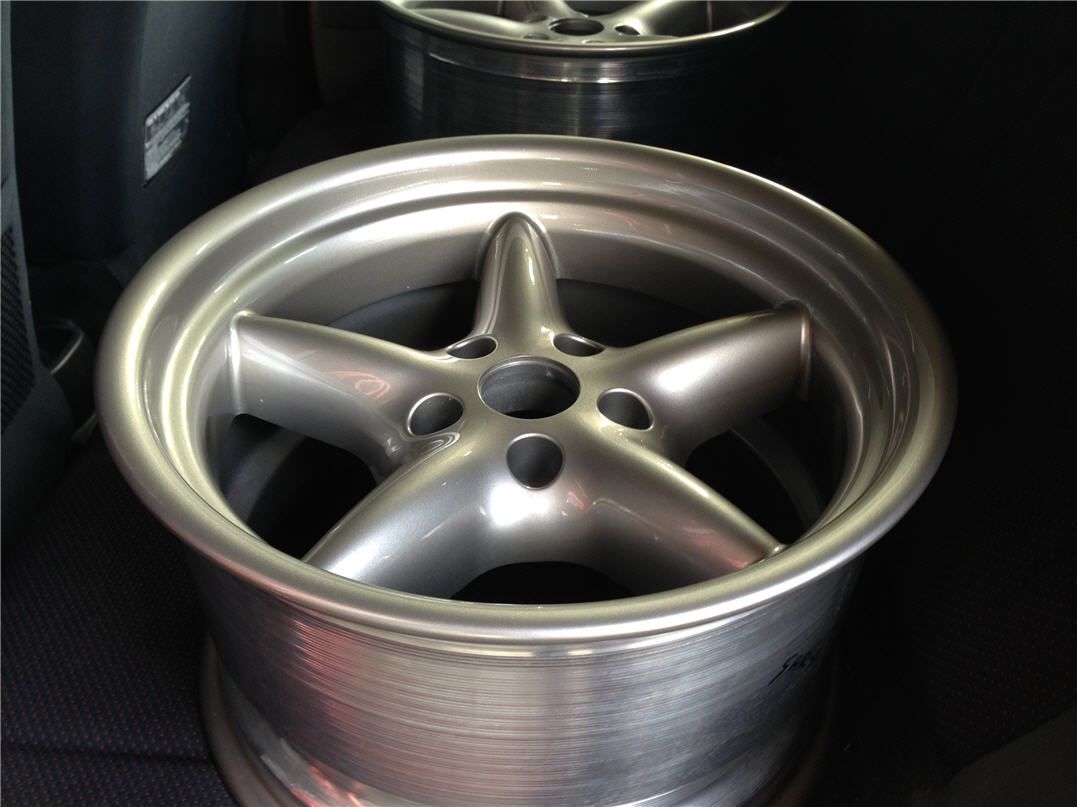
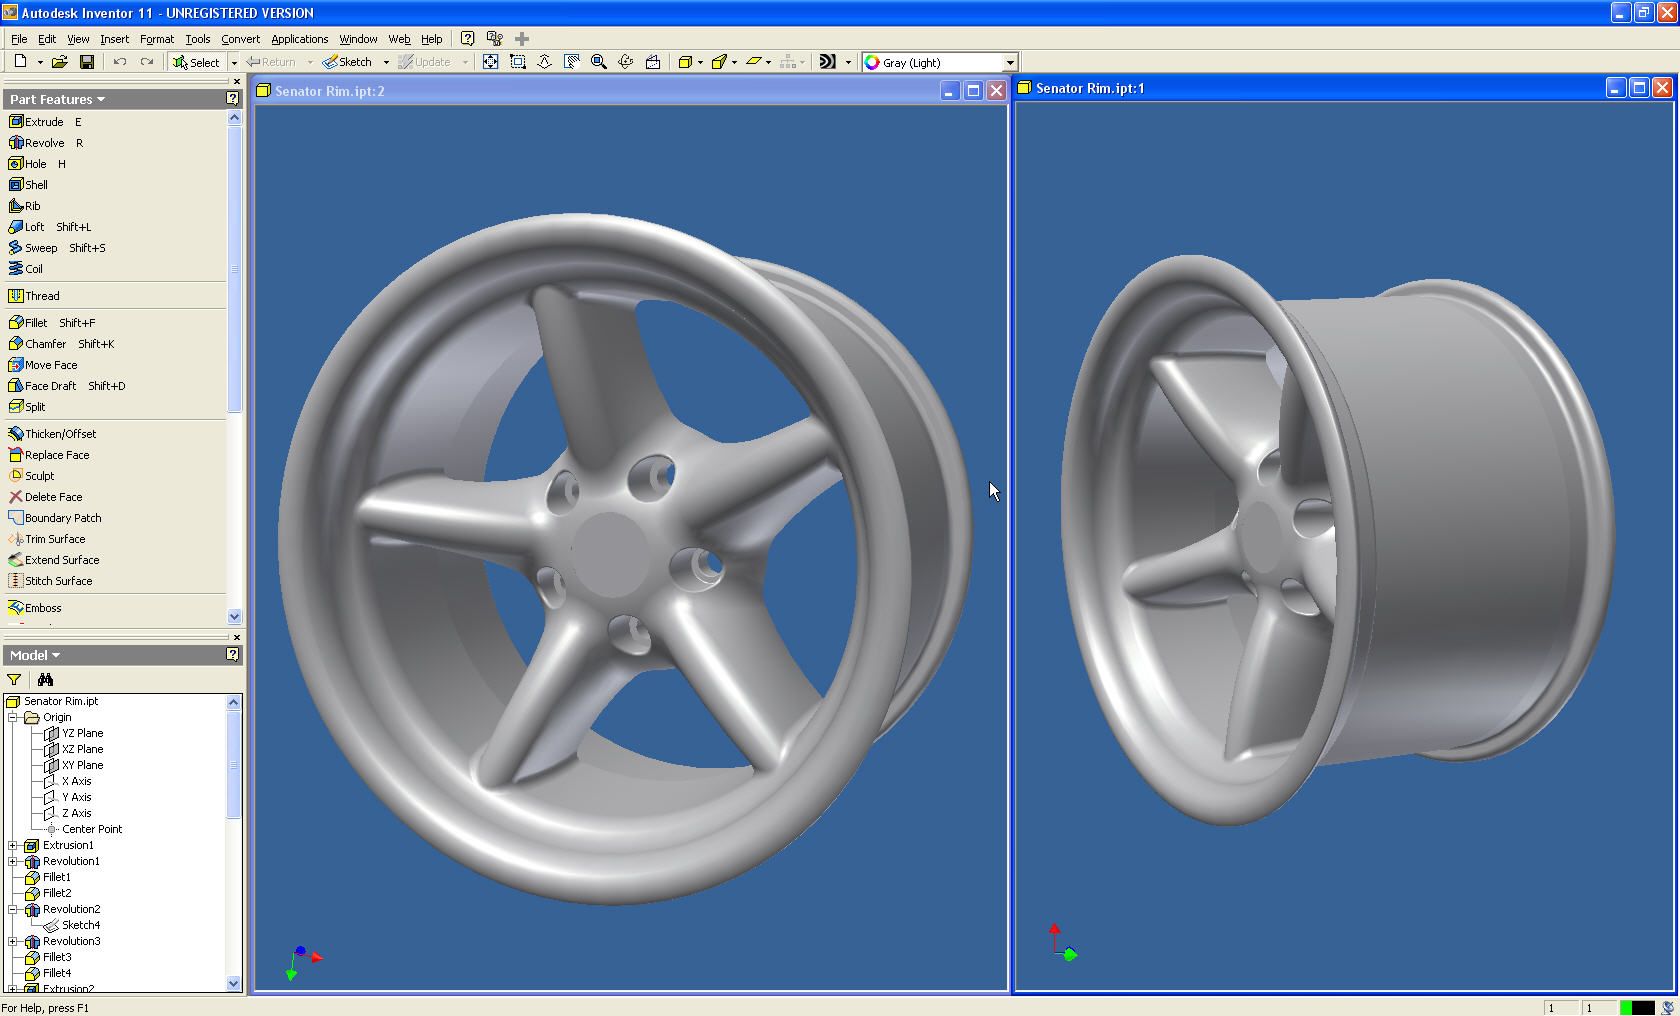
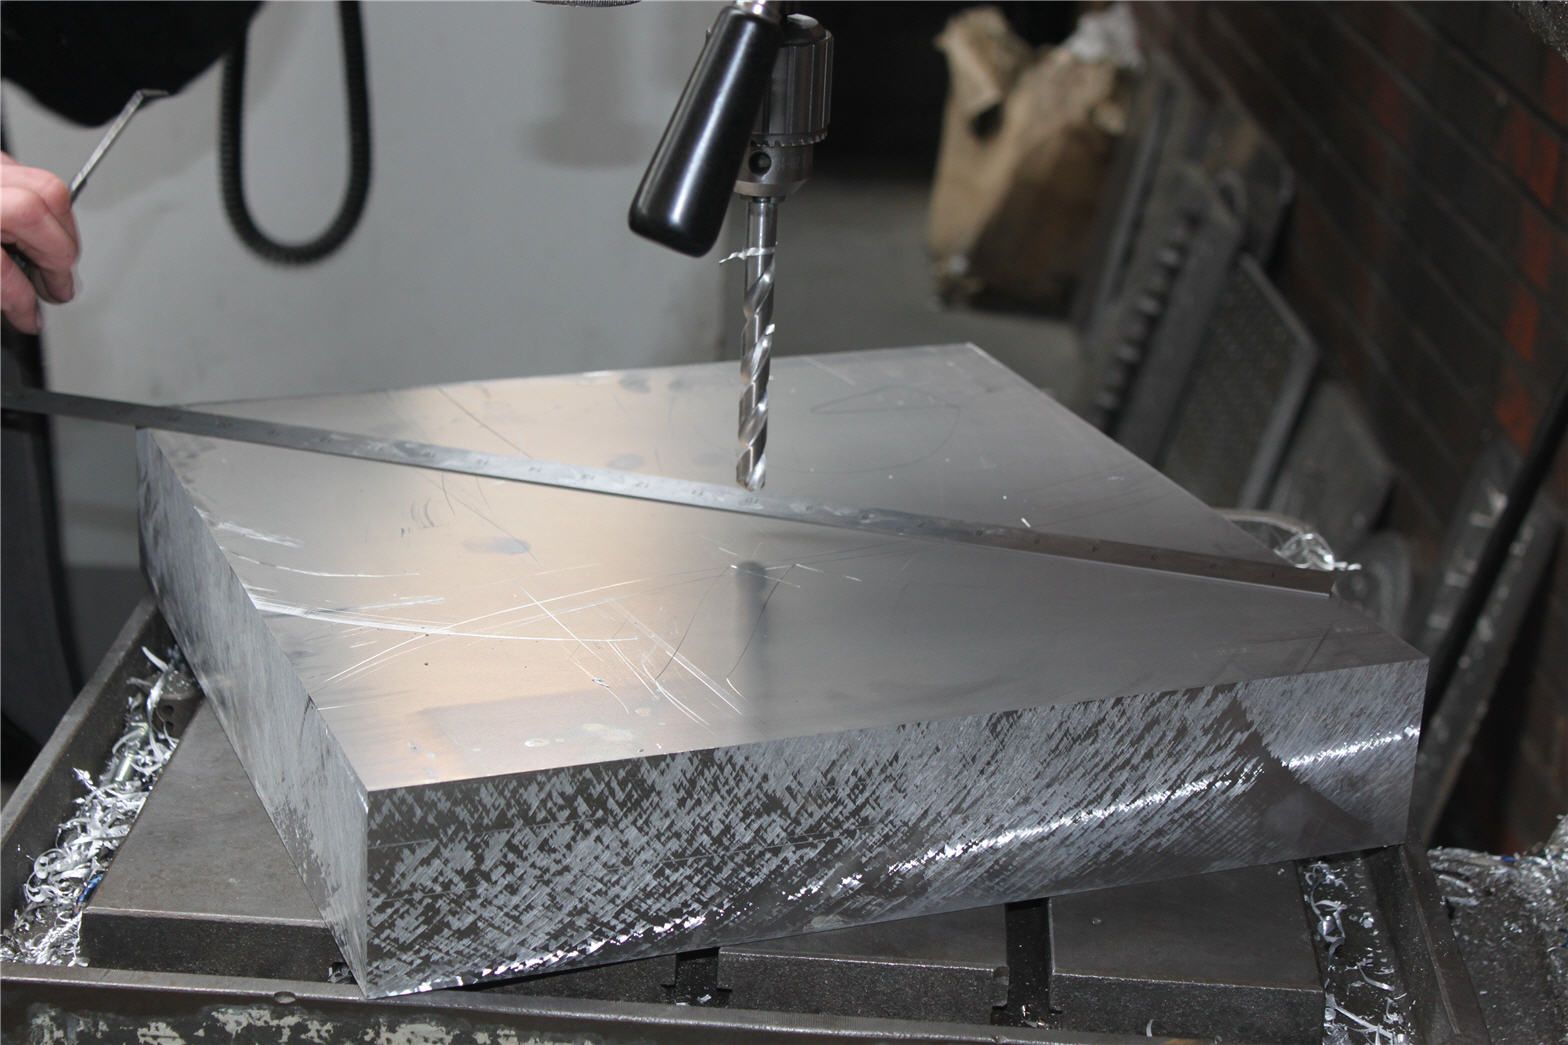
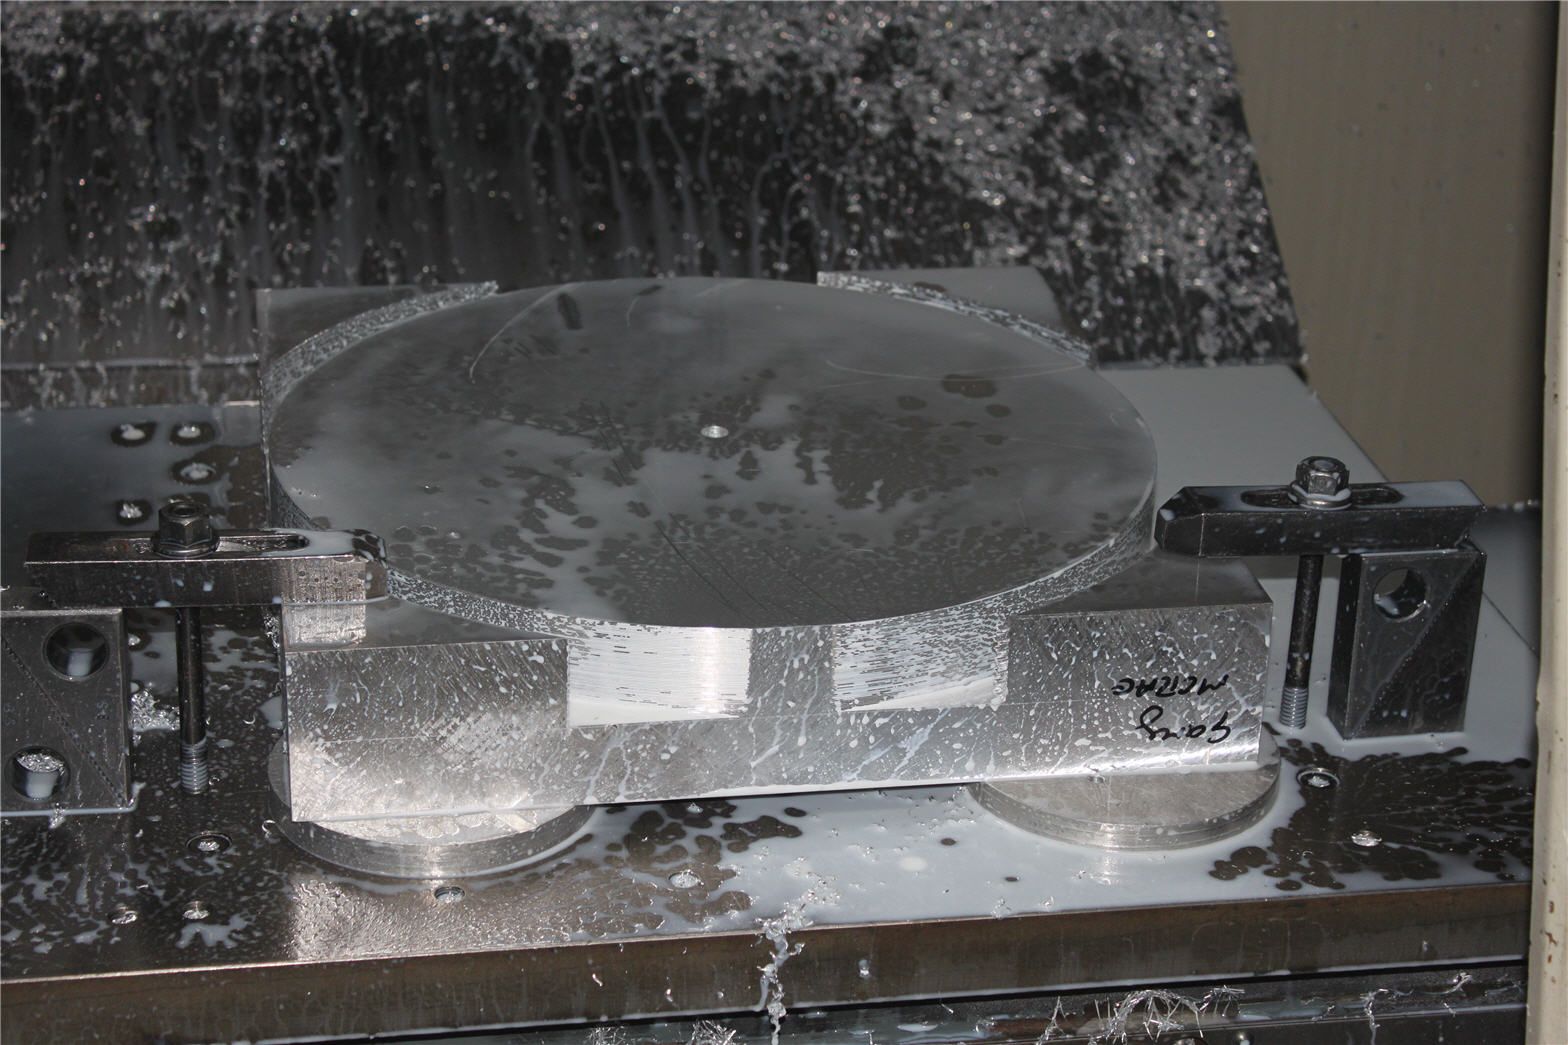
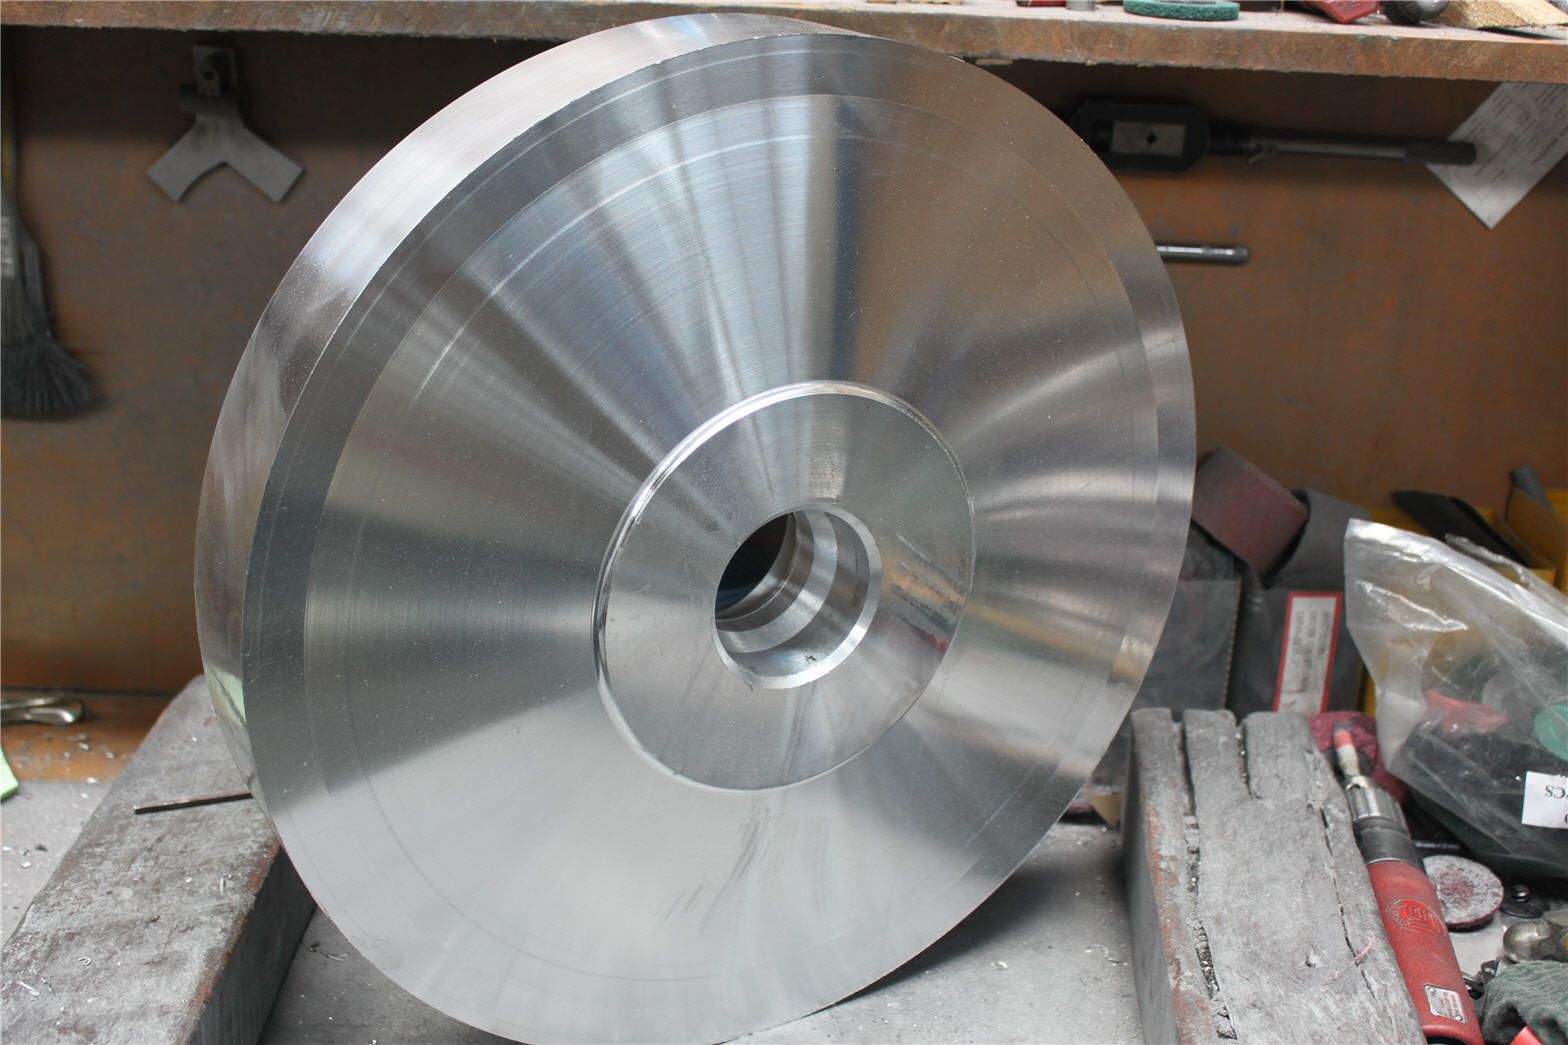
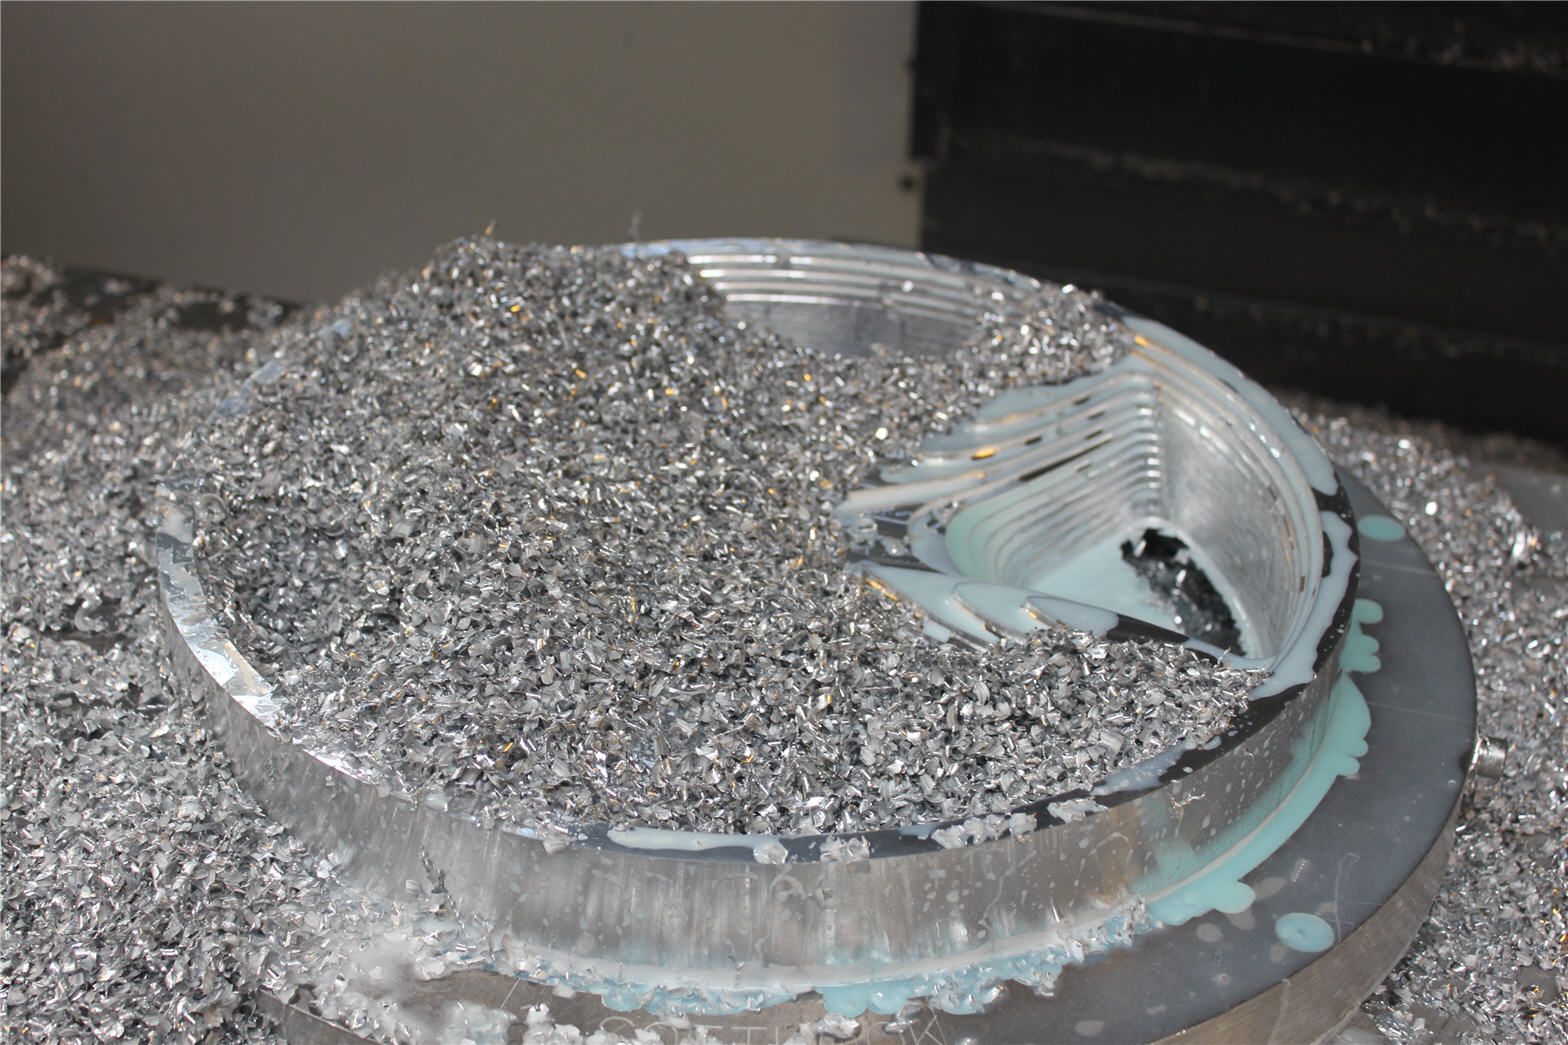
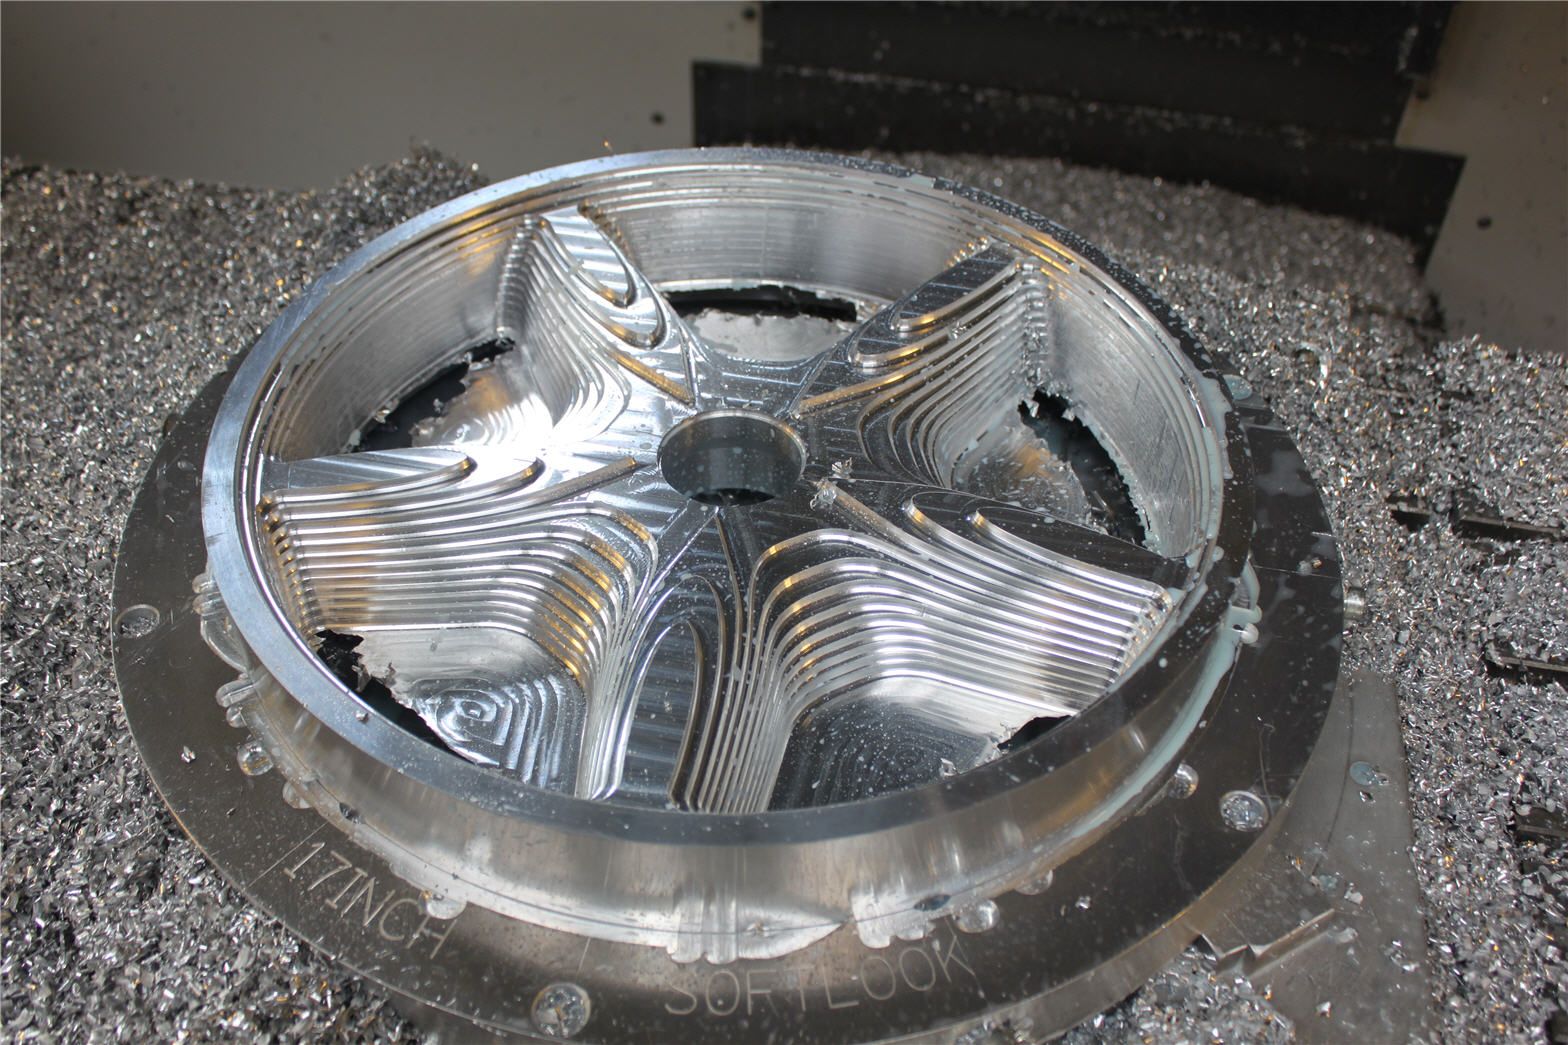
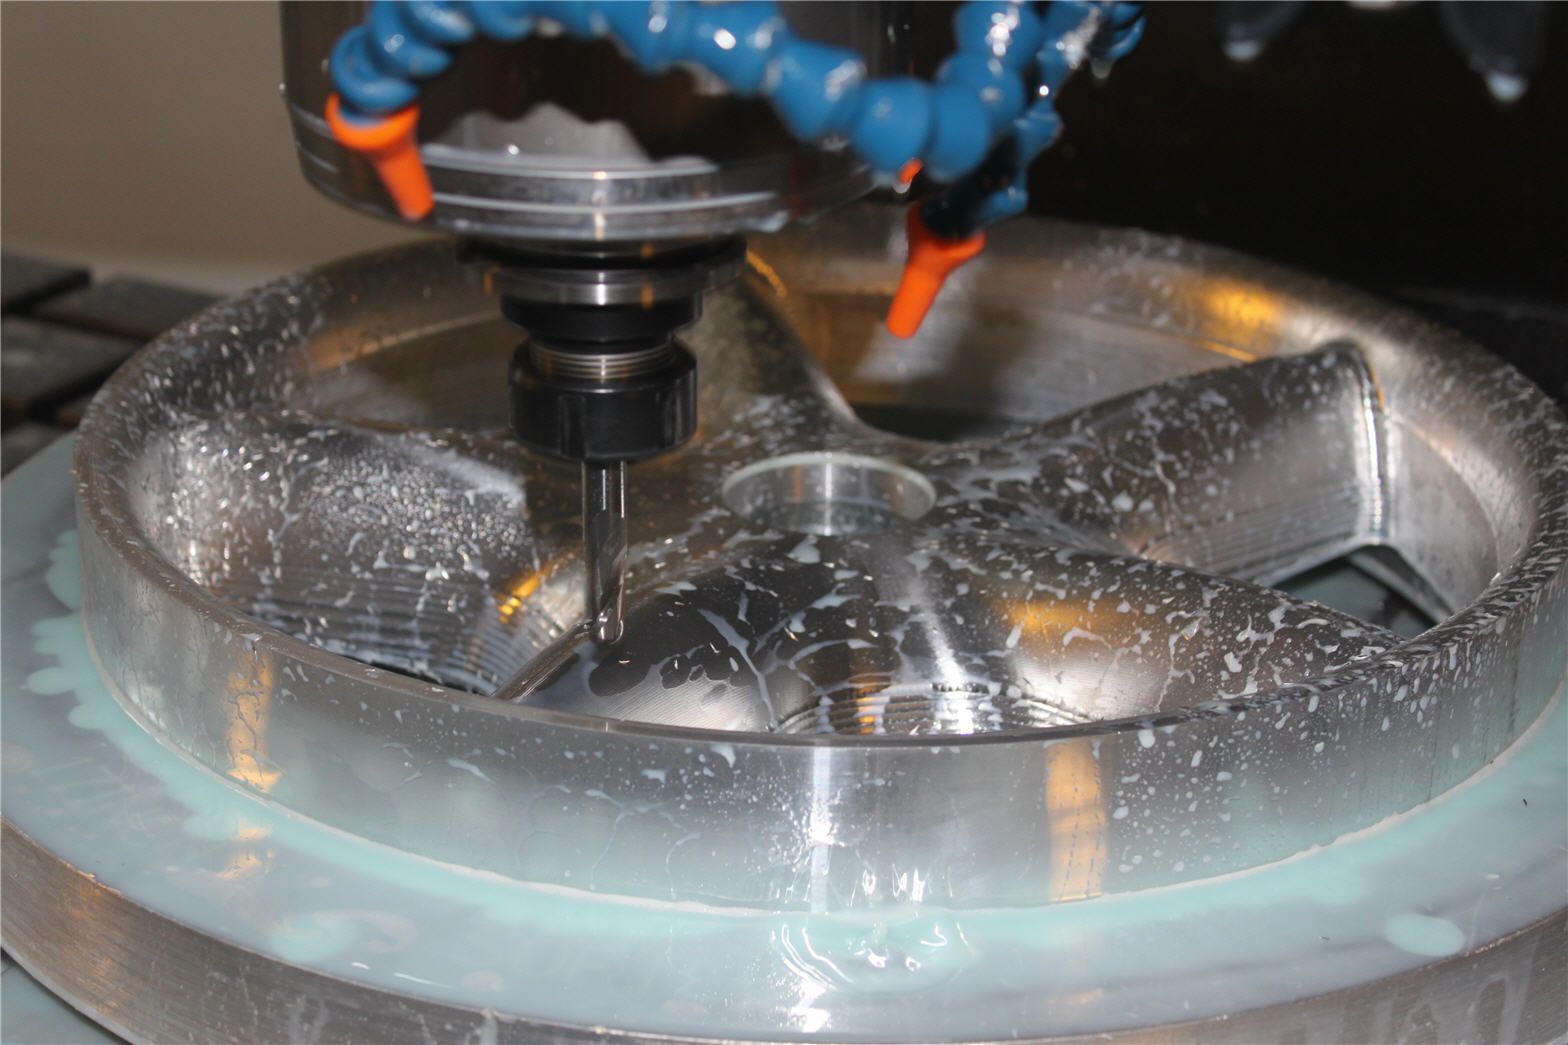
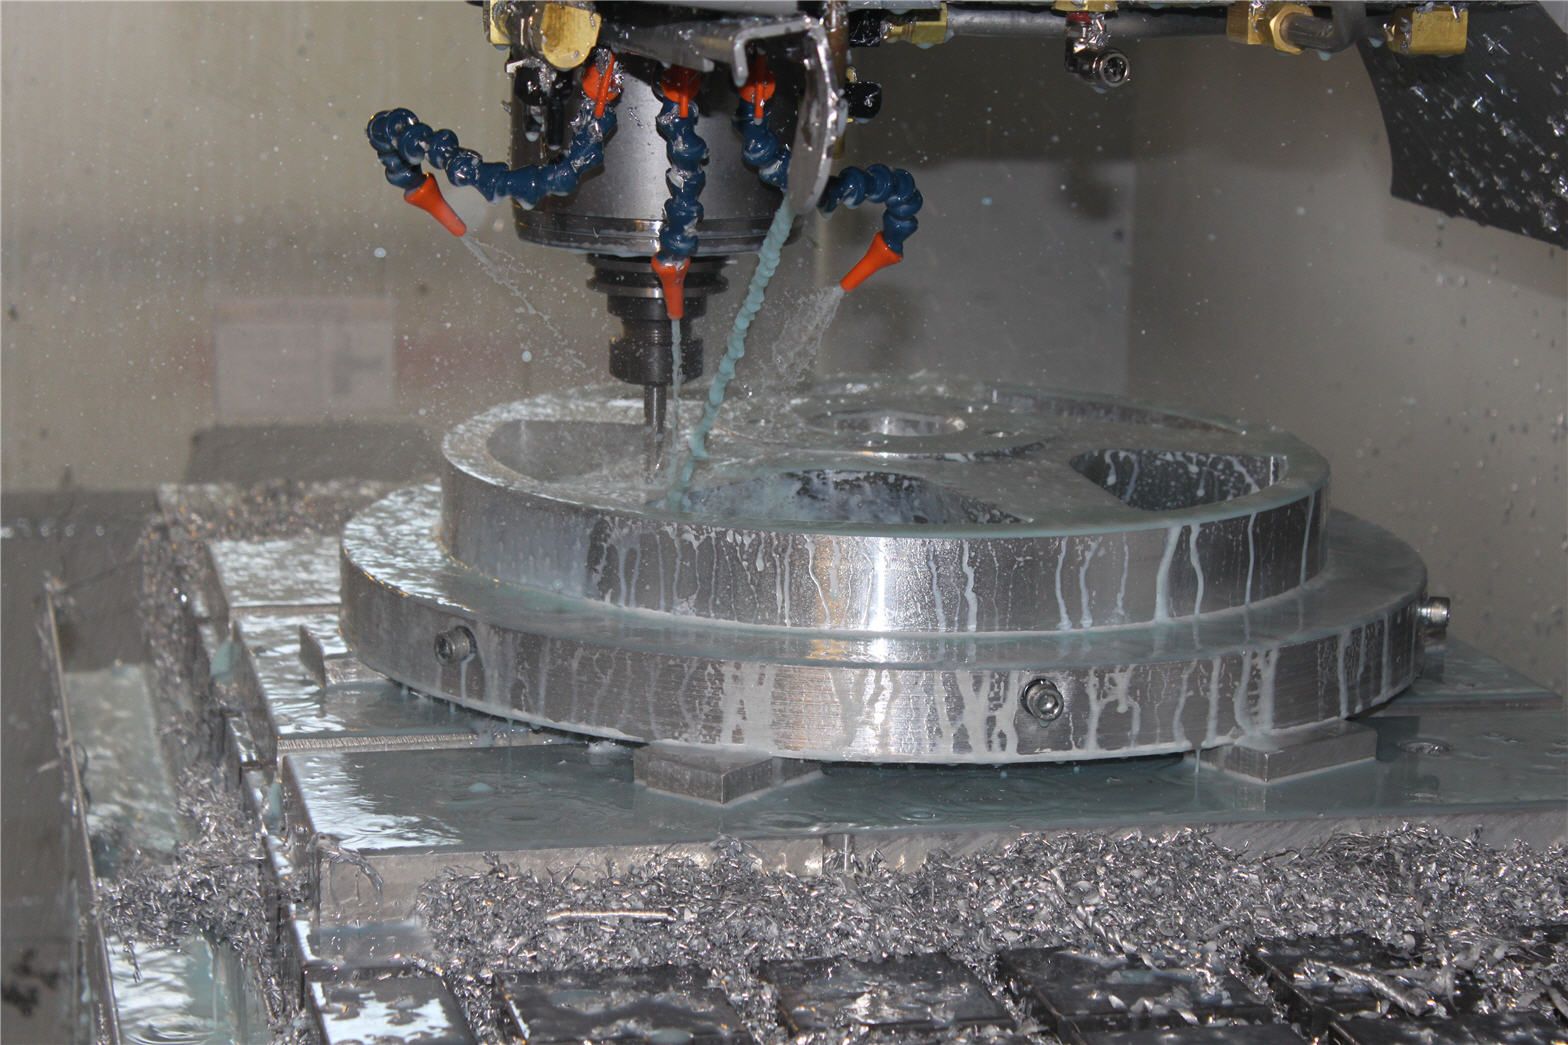
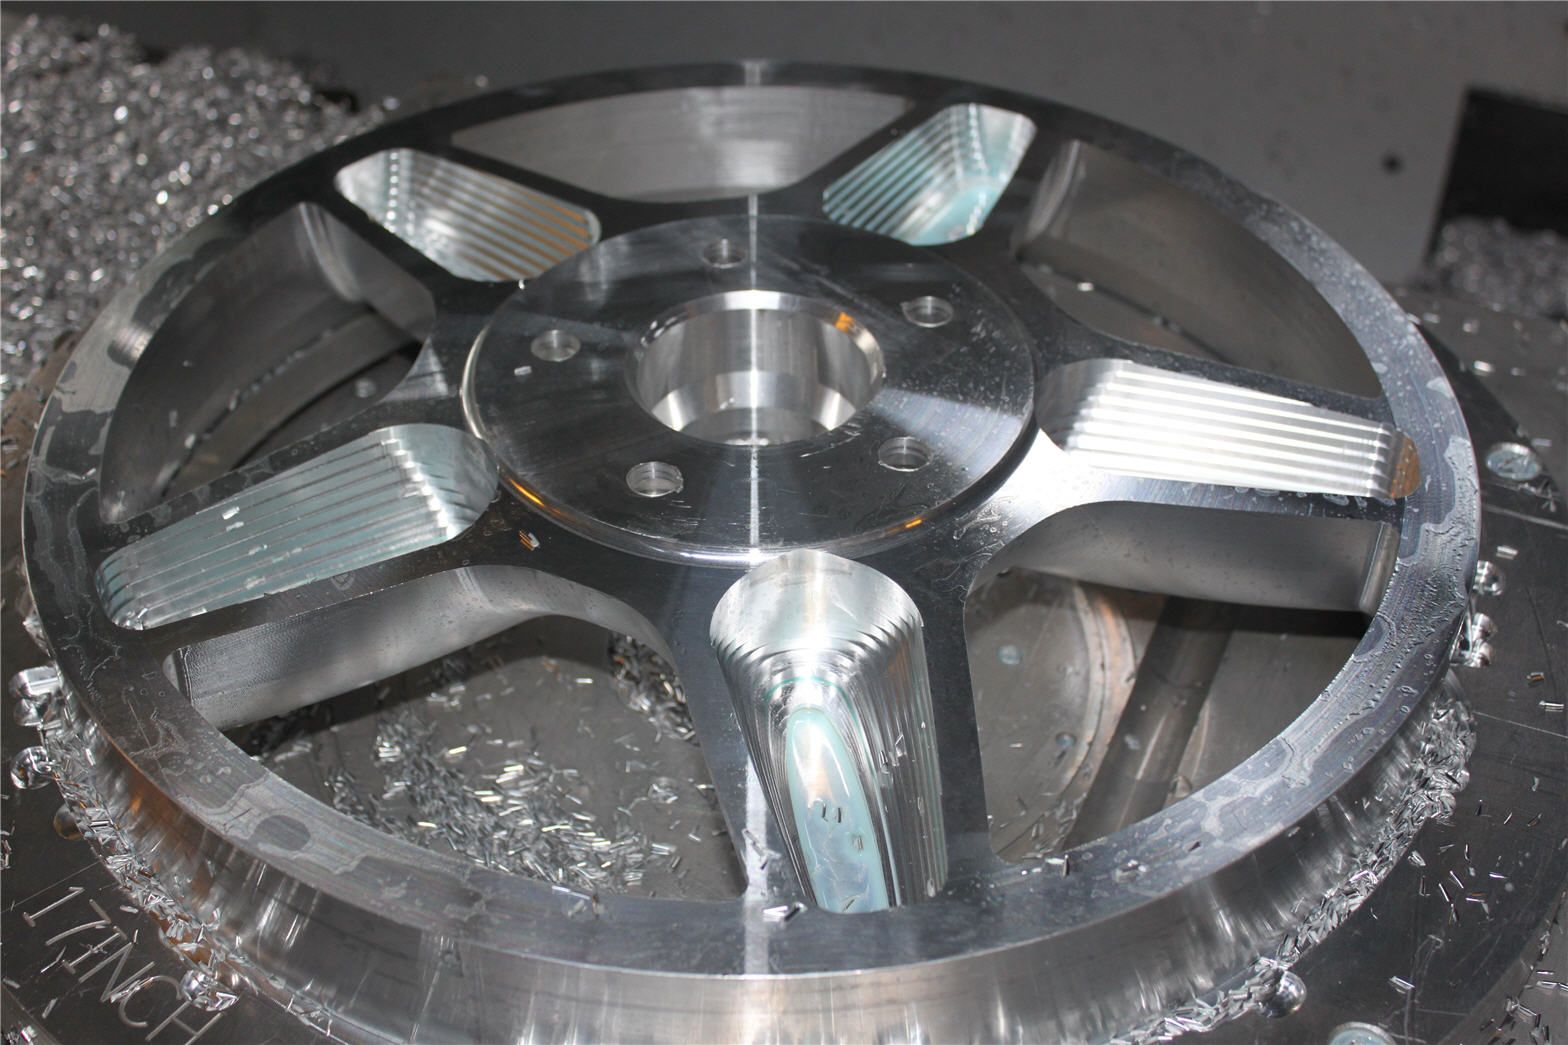
Well, to say I am pleased is an understatement, picked up the wheels today, just could not be happier, peaking in fact. This is them fitted, afterwards thought I would post a series of pics of the manufacturing process. No tyres yet, but they look like exactly as I imagined them what seems like months ago. You have to see them in real life to see the effect.
Quote from the misses “but from the side they look the same, its not until you notice how wide they are you realize what you have done” yep, got it in one!!
-
This reply was modified 7 years, 2 months ago by
 VRSenator065.
February 18, 2015 at 1:49 am #439
VRSenator065Participant- Adelaide SA
- VR Senator LSx454 1960 Kombi (project) 1921 Nash Hot Rod (future project)
View build HERE
Posts: 5 777
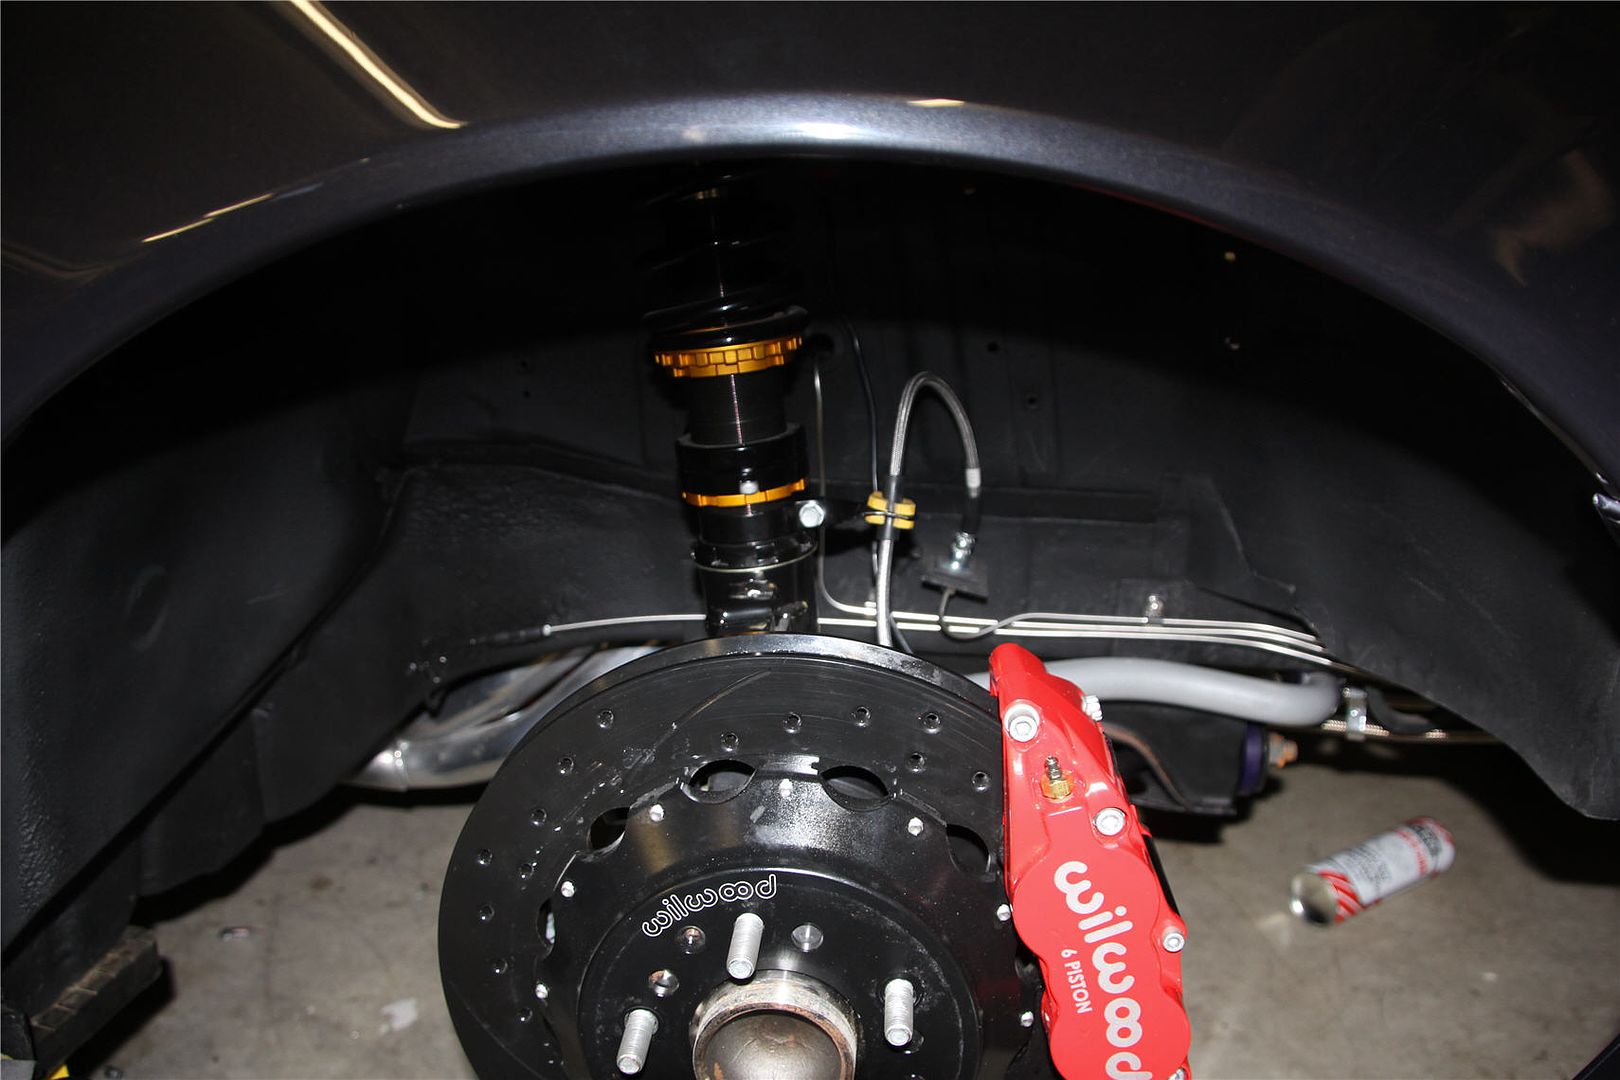
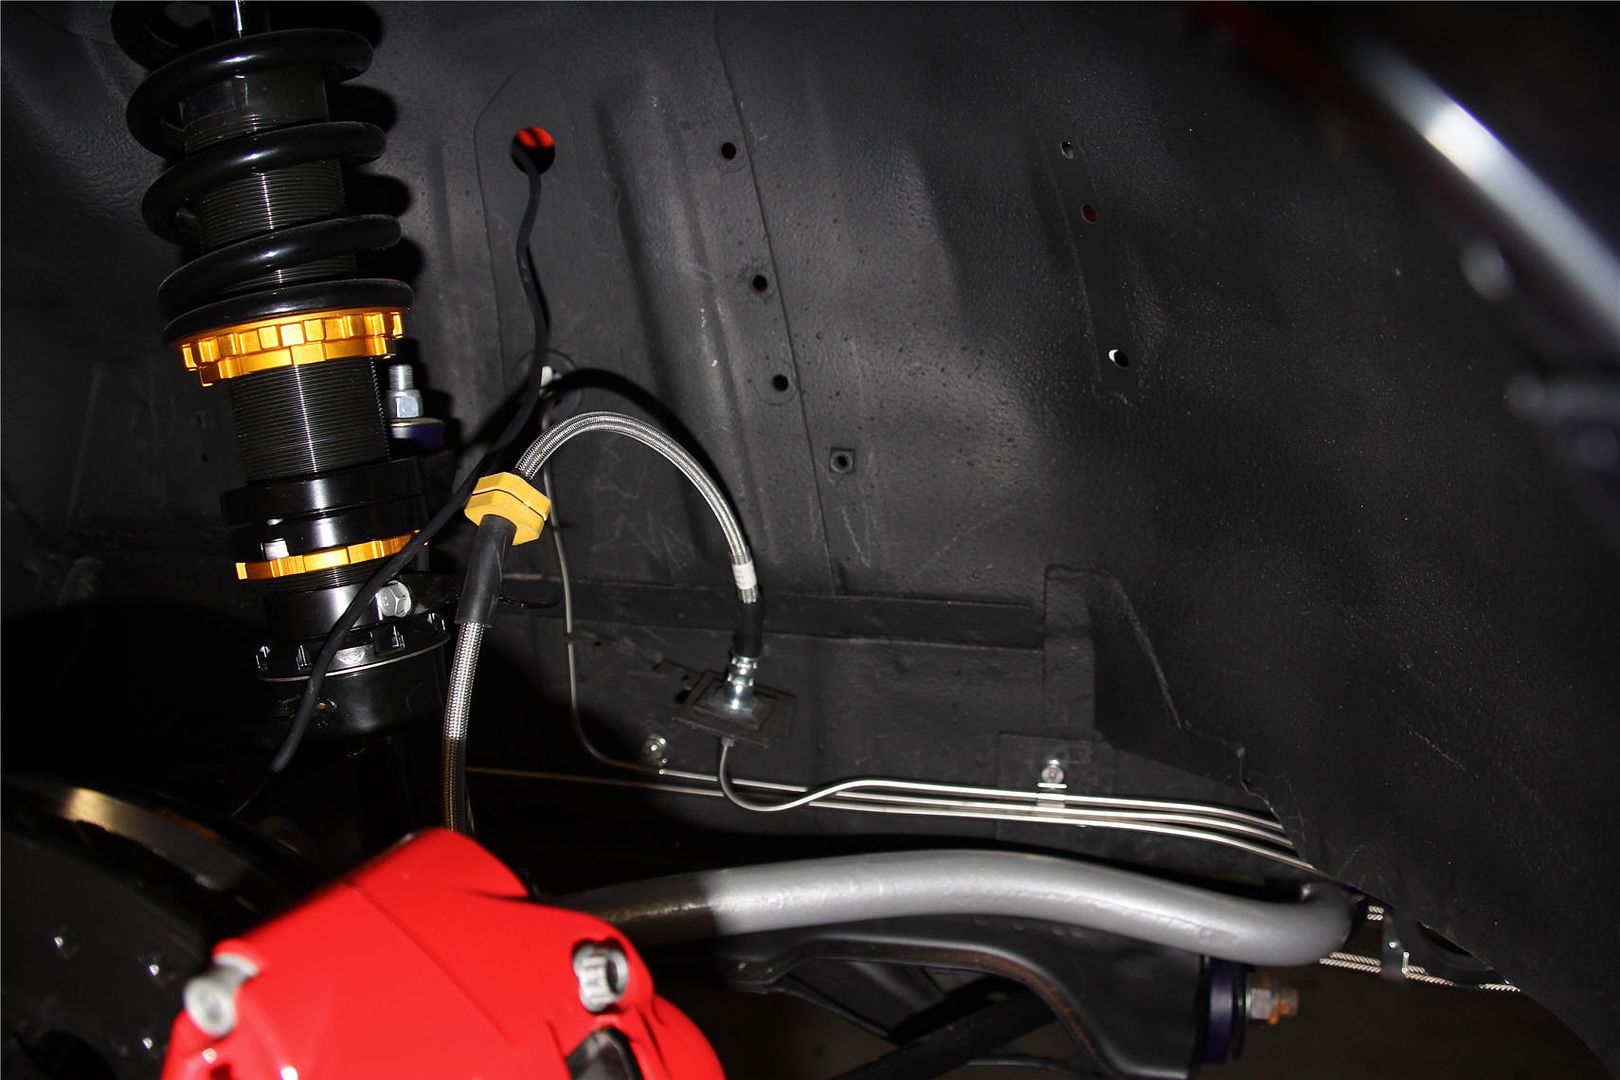
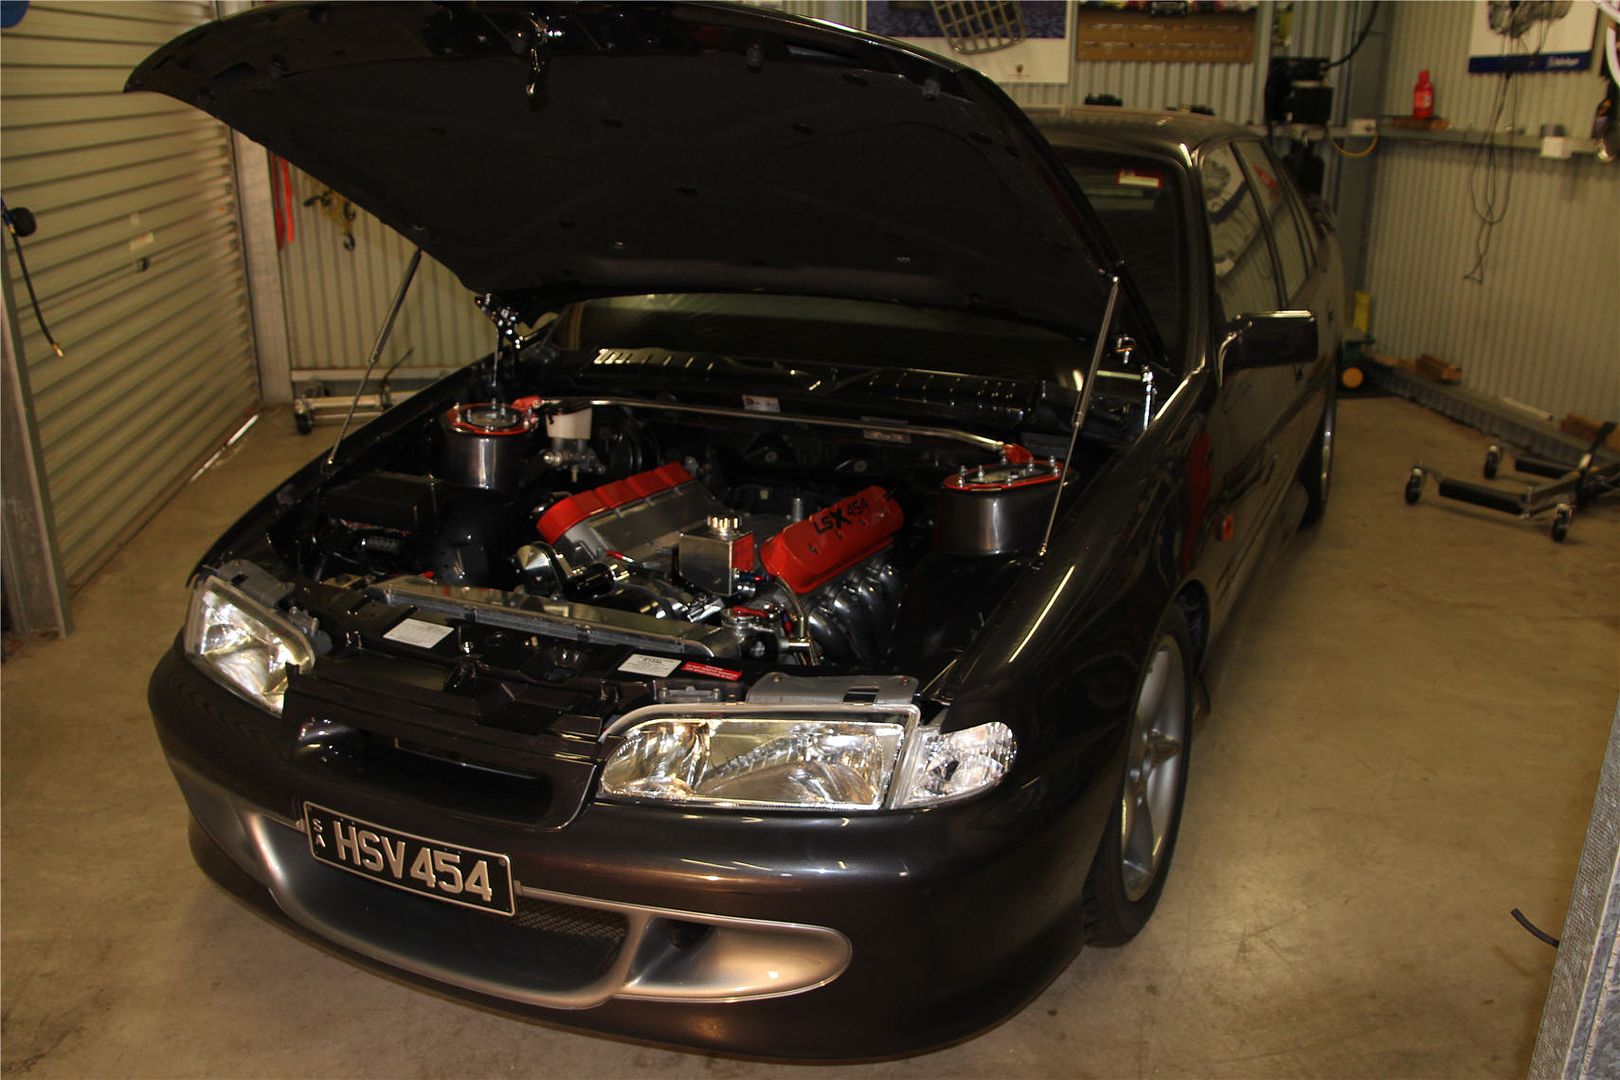
I know I post a lot but I got my stainless lines all sorted and fitted tonight and I am stoked at how they came up. The stainless hard lines I made up came up a treat. That’s pretty much the rear suspension completely finished, which is a milestone for me :) Just some shots, and then a couple of random ones of it up on the hoist for posterity.
-
This reply was modified 7 years, 2 months ago by
 VRSenator065.
February 18, 2015 at 1:48 am #438
VRSenator065Participant- Adelaide SA
- VR Senator LSx454 1960 Kombi (project) 1921 Nash Hot Rod (future project)
View build HERE
Posts: 5 777
I know I post a lot, but I sort of like to do it that day so its all fresh in my mind.
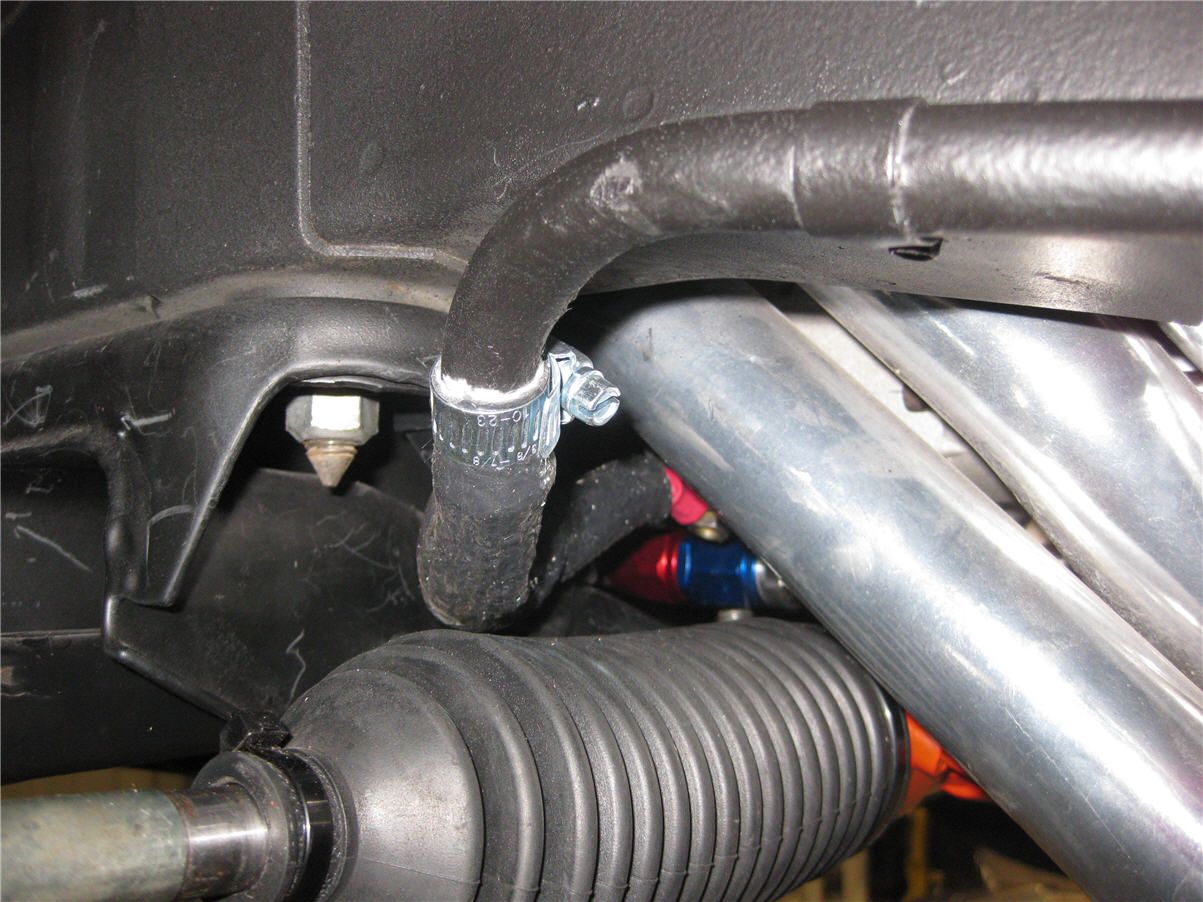
Got the power steering finally sorted, have to say I am really happy with how it turned out. I had a lot of issues with the side closest to the headers fouling, I went to UPI got an old hose, cut the hard line end off, and spent some time with some heat and carefully curved it. I then got TIG welded a 6AN fitting to the end when they did the oil adaptor. Turned out sweet as. The orange paint damage looks far worse on these photos than you can see in real life but I guess I will hand touch it up one day. Just have to get the hose from the tank to the pump, probably just stay with rubber, its tucked out of the way, no way AN fittings would fit in there.
Also got the oil adapter done and dusted. Actually funny how it works out, the angle I ended up with mistakenly courtesy of the welded actually makes it work really well. I used a full sump gasket and cut off the corner for the adaptor, I also used a smear of good gasket cement top and bottom, should be sweet. It took a lot of messing around but I am really pleased with how neat it looks. I also had a bit of trouble working out what the flow direction is out of the ports, its important to get it right through the remote filter the correct way, I ended up finding this diagram, so thought I might post it for anyone’s future reference too.
-
This reply was modified 9 years, 2 months ago by
 VRSenator065.
-
This reply was modified 7 years, 2 months ago by
 VRSenator065.
-
This reply was modified 7 years, 2 months ago by
 VRSenator065.
February 18, 2015 at 1:48 am #437
VRSenator065Participant- Adelaide SA
- VR Senator LSx454 1960 Kombi (project) 1921 Nash Hot Rod (future project)
View build HERE
Posts: 5 777
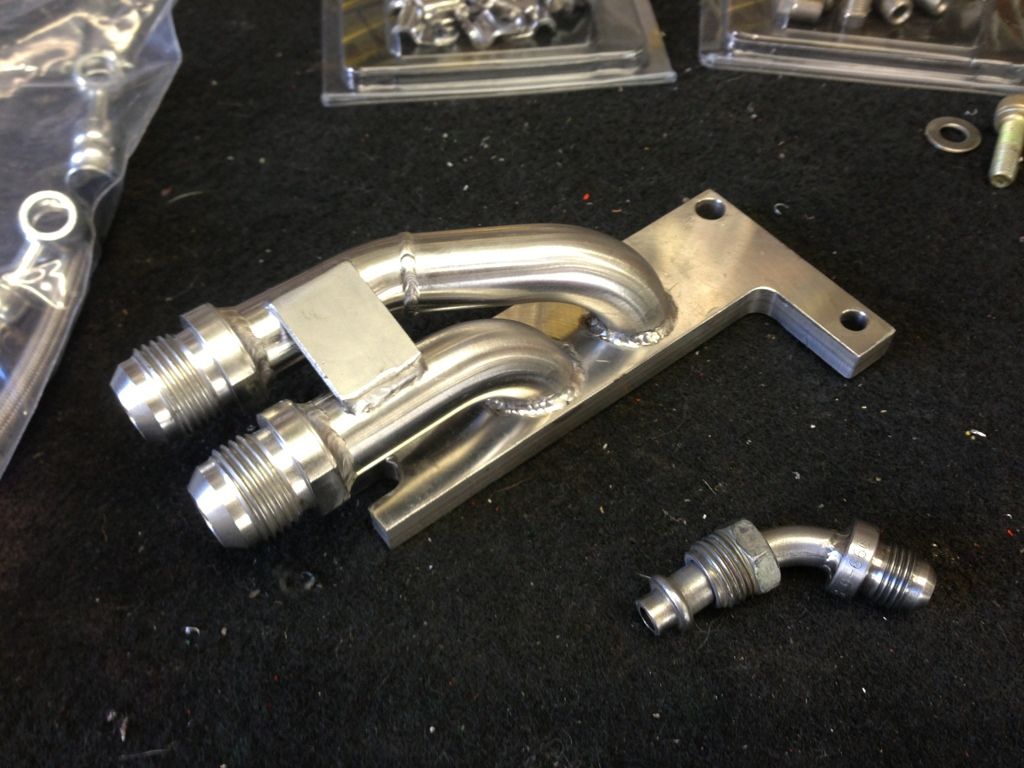
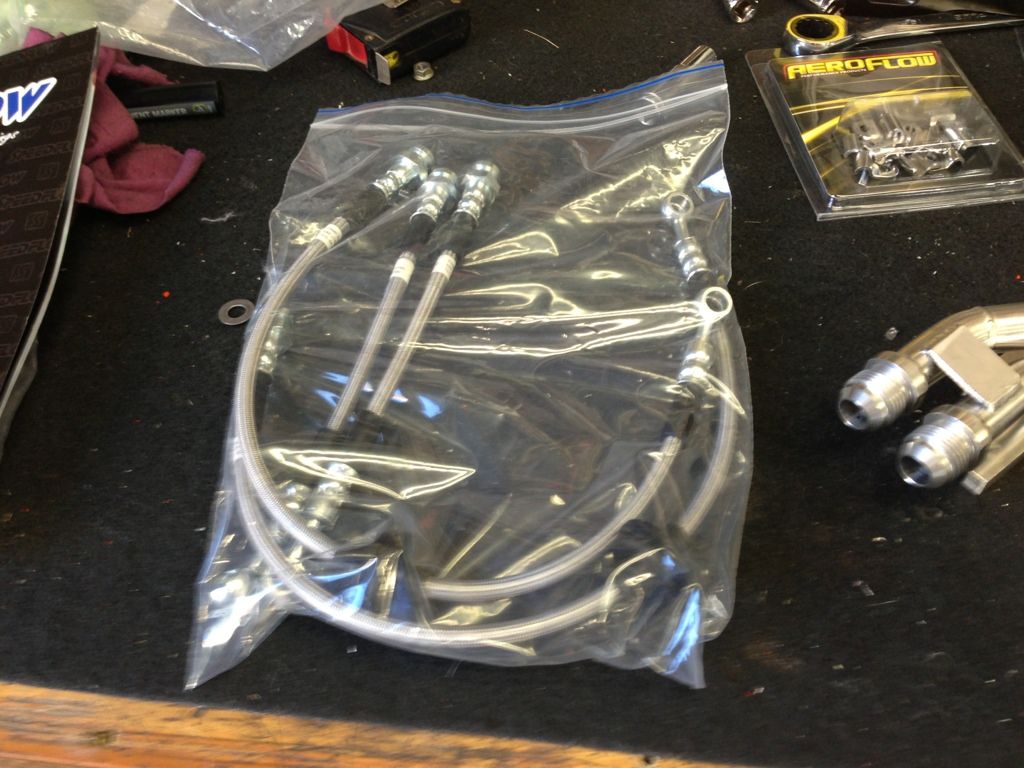
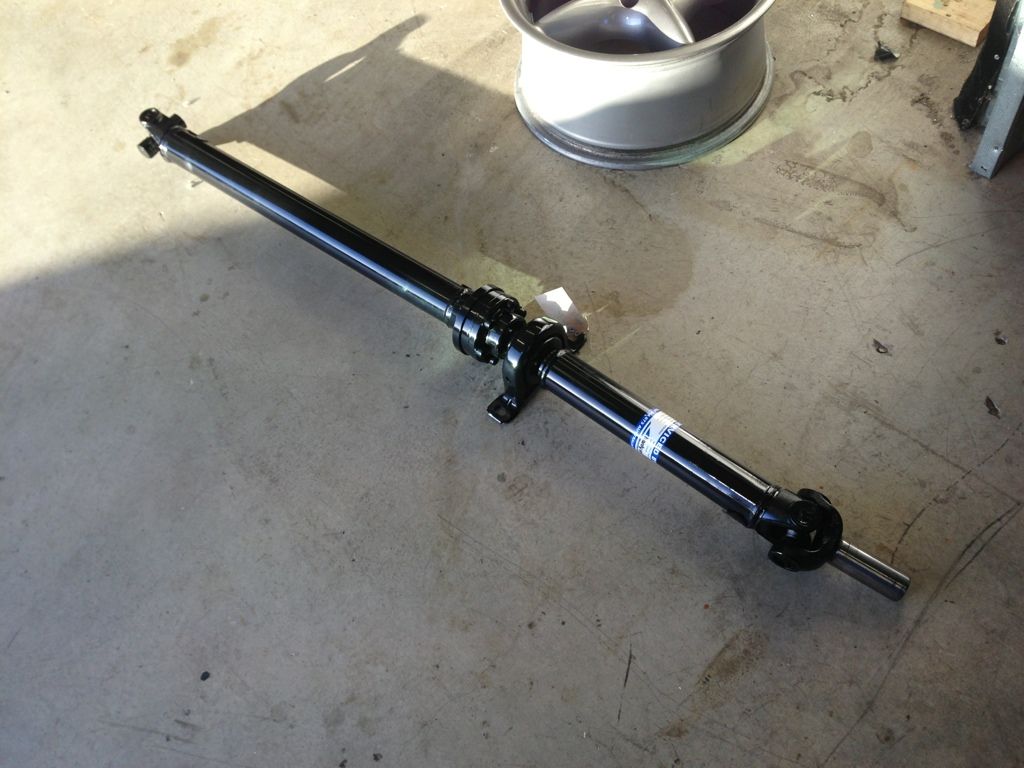
A few goodies sorted, hoping to get some good stuff knocked off on the week end

-
AuthorPosts

 [/url]
 [/url]
 [/url]
 [/url]
 [/URL
[/URL