Forum Replies Created
-
AuthorPosts
-
March 4, 2016 at 9:45 am #14789
Factory carrier and piping config, pump power supply removed.
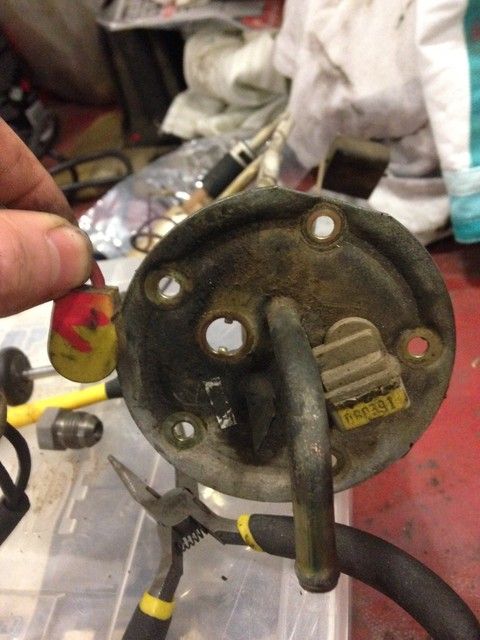
80L tank pump carrier assembly. Standard low pressure pre-pump.
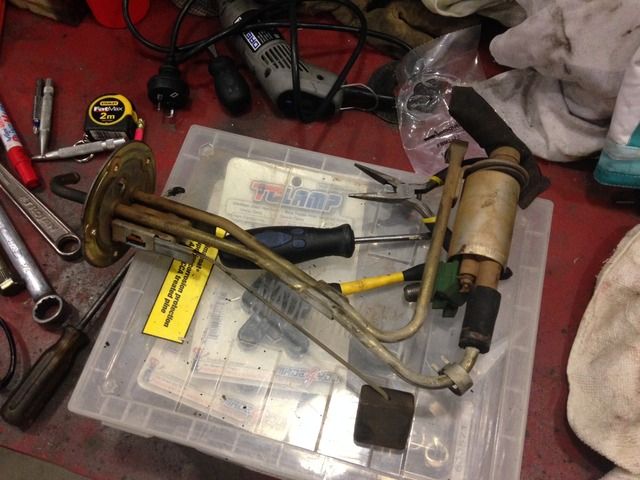
Whoops. This is also my first attempt at brazing and clearly I didn’t have the right filler material or prep for the main plate.
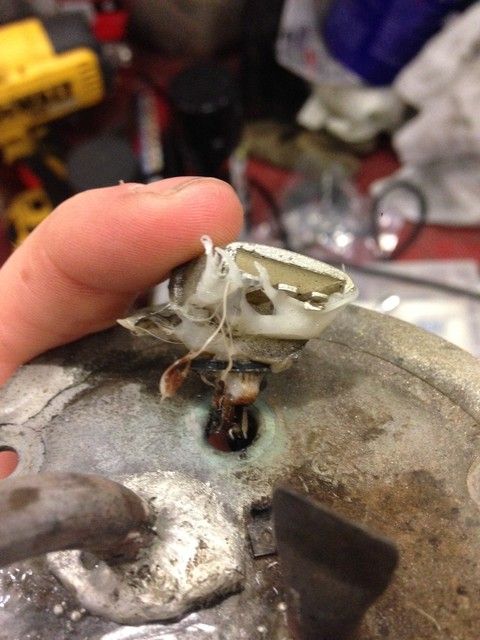
Ordered one of these in the hope to sort it out. Will run new 3/8″ (in lieu of 5/16″) outlet tub in the tank, then 200 series hose to the boot to supply the surge tank.
 March 4, 2016 at 9:04 am #14788
Bit of a failure last night. Started modifying the in-tank pump outlet by cutting the 90 deg bend off, brazing on a steel -6 male fitting and then bringing the bend closer to the tank and rotate 90deg clockwise.
Fitting on the bend, great success. Bend to pump carrier…. not so much. The silver solder didn’t want to adhere to the plate, eventually got it but then i had an air leak. Second attempt and I melted the level sensor connector. Sigh.
Does anybody know if the 65L pump assembly is different to the 80L carrier assembly?
Think I need a new one.Change of approach – More speedflow
 March 3, 2016 at 1:03 pm #14770
I kinda fell into it really. 10-odd years ago finding a decent Atlas Grey VN SS was $12-15k territory, and many had a lot of km’s and had been thrashed mercilessly. At the time I didn’t have the skill set (and mostly the money) to afford to fix major mechanical items. I still wanted one but couldn’t justify it, so picked up this with 160km on it for just under $9k. Still decent money for a first year uni student, but I got my paint colour and the engine I wanted.
Then I grew attached to it and here we are.
March 3, 2016 at 11:54 am #14767Probably was Gary – I just looked for the easiest solution to the problem: Raid the spare washer collection
 March 3, 2016 at 11:42 am #14766
The Electronic Bay.
$138 delivered from “Dirt Devil Ind.” Should have arrived today so I’ll let you know how I go.
March 2, 2016 at 2:43 pm #14754The outer mounting face of the outer bushes on my VQ did the same thing about 6 years ago.
Repaired them in the same manner as you have and inspected them a few weeks ago – all is well.
March 2, 2016 at 2:40 pm #14753Great choice of colour
 March 2, 2016 at 2:33 pm #14752
Bought a Pierburg 200LPH E85 low pressure in tank lift pump. Should be here by the weekend hopefully so I can really crack into the fuel system.
March 1, 2016 at 4:12 pm #14724Where in SE Melbourne are you?
Might be able to swing by on Saturday afternoon to grab them if you still have them on hand.
March 1, 2016 at 4:10 pm #14723K-frame and control arms completed.
Fuel pump out, need to braze on a new fitting and install a new lift pump.
February 26, 2016 at 11:17 am #14592Some progress is better than none.
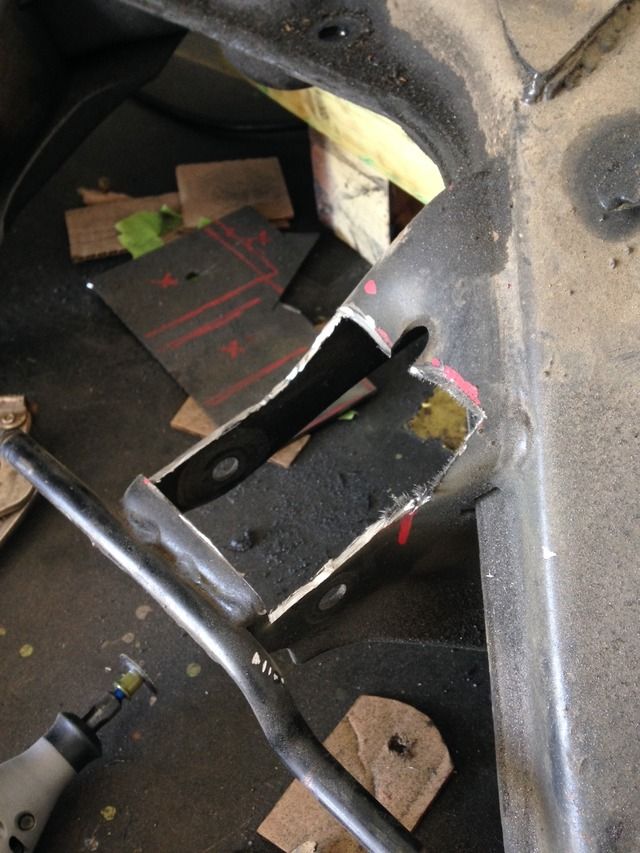
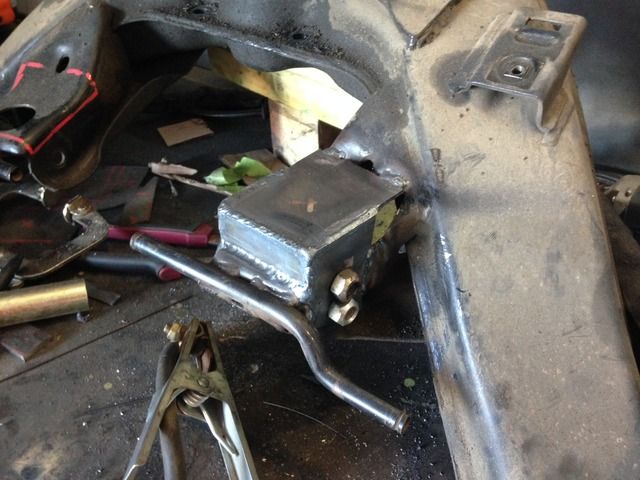
I really underestimated the time taken to get these mounting points right. You really wouldn’t think it would be that hard but it is very fiddly. I’m no fabricator/tradesman but I’m not a nuff either, so I’m surprised that it’s taken this long. But maybe an hour or two more and they’ll be done. Not pretty but done.
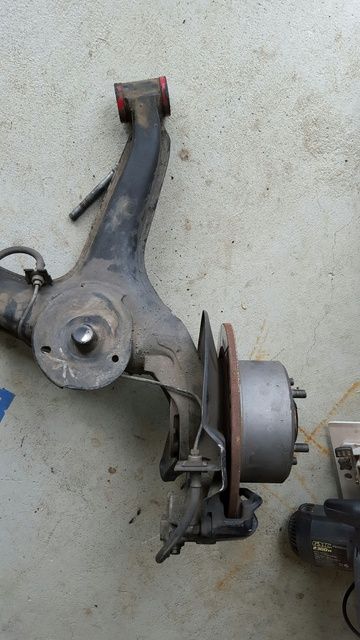
Also modified one of the control arms to give extra tyre clearance should I ever fit wider tyres. Not a lot of work but easier to do now that it’s out.
Summit order arrived also, haven’t checked to see if the Flowmasters will fit yet….

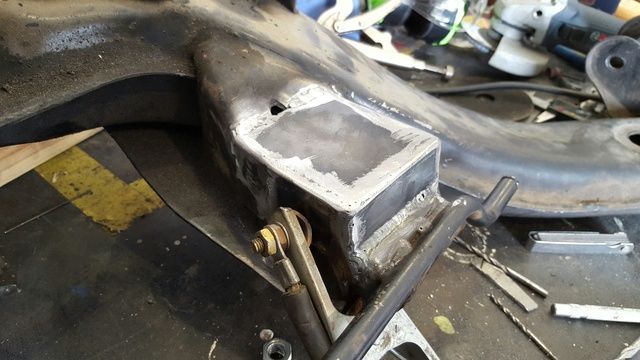
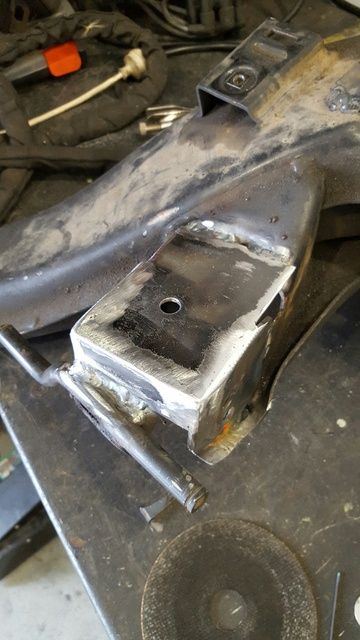
Modified.
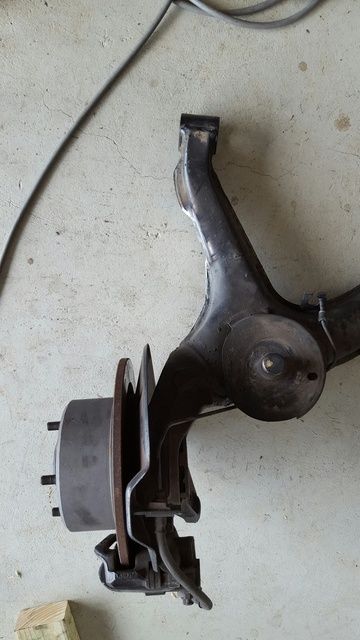
Unmodified.
 February 23, 2016 at 3:24 pm #14417
Superb!
February 18, 2016 at 3:16 pm #14256I have on hand both the speedflow adaptors and steel -6 weld ons so all OK there.
Two steps forward one step back, had a clearance issue with the camber bush clearance on full adjustment, will have to rework it a bit. Otherwise one side is basically done and I’ll start welding in the other side.
February 17, 2016 at 11:19 am #14199I keep getting distracted with the house and life in general.
Anyway I’ve bought an outright E-size Argon bottle (ouch) and some fittings and clips, 37* flare tool and 2 x Flowmaster mufflers from Summit (USD double-ouch).
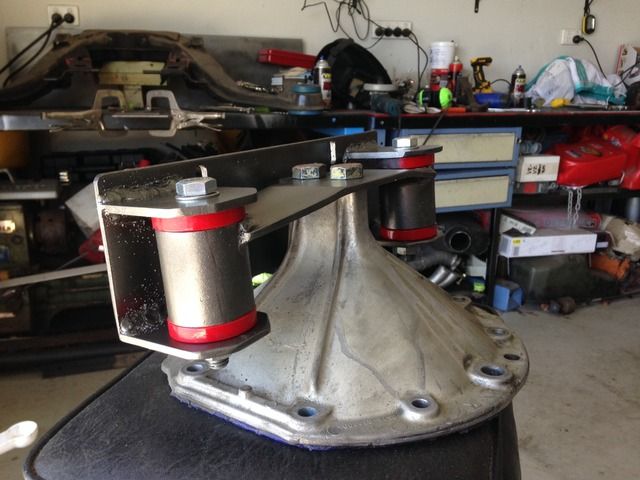
This is turning into the definition of Scope Creep…February 9, 2016 at 9:21 am #13926It’s pretty much a ghetto harrop cover for about $100 complete.
I have to modify the n-tank fuel pump carrier outlet to clear the diff mount, but that’s OK as I was going to braze on a dash 6 steel fitting anyway. Although I do have some speedflow 5/16″ to -6 adaptors on hand – anyone have some tips for these?
Might try and work on the k-frame a bit more tonight.
February 8, 2016 at 8:37 am #13903Finally did something.
Ignore the spatter. I was out of MIG gas and had to weld gasless. :(
Not finished that one. Also still need the trianguler pieces and to finish the welding (I had a really small amount of 1/8″ plate so I couldn’t cut complex shapes without wastage).
Also I’m basically out of gas for the TIG now too…..
January 28, 2016 at 10:08 am #13688OK So back in the country from my work trip.
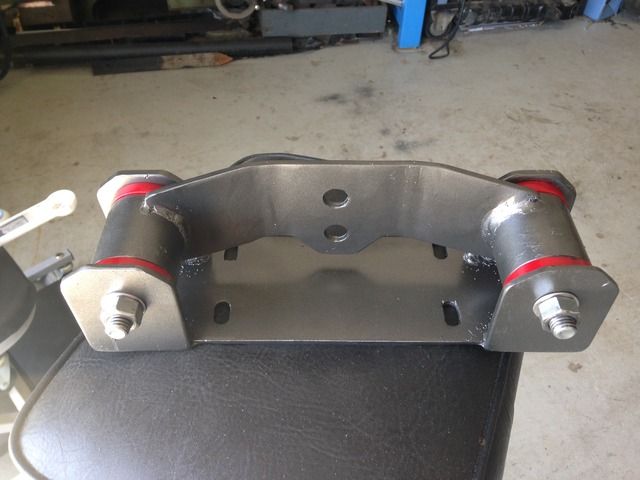
Whilst away I managed to source some steam pipe and 5mm plate so I can hopefully start my diff mount this weekend. I’ve also marked out my 1/8″ plate for the trailing arm mounts so (assuming I don’t run out of gas, which I think I will) I should have some progress to show for a change!
I was also thinking while away, I have a 4.11:1 live axle diff that has been sitting around for 2.5 years which I picked up for a ‘future project’ which I don’t think will eventuate. If it’s not a VL length Borgy (which it possibly could be) I was thinking of slotting the 4.11’s in place of the 3.89’s. If it’s a VL length I’ll leave it as is and sell it (with or without a spool) as I feel it’s a bit of a waste to pull apart. If it’s a VN width then out they come.
If I do go 4.11’s then my 3.89 spooled IRS diff will be for sale.
January 13, 2016 at 3:36 pm #13284Full set of bearings/seals/crush spacer/pinion nut rocked up yesterday. Ordered it Friday night and arrived Tuesday morning. Not bad.
The bushes for the diff mount also arrived yesterday. Ordered 21st Dec from Sydney. Not so great.
However I expect next to no progress on this until after Aus Day weekend, as I’ll be busy with work.
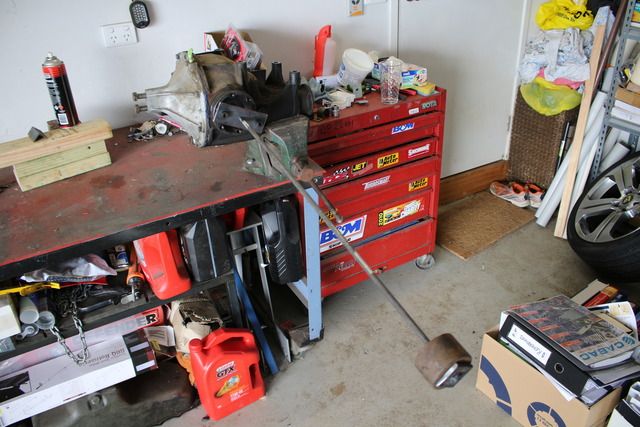
January 6, 2016 at 9:39 pm #13097Two steps forward one step back. Made a quick ghetto slide hammer tonight in about 30 mins, did the job well. Pulled out the stub axles expecting epic twist on the splines from 7-8 years of being spooled, however no real evidence of spline twist. It looks like they weren’t manufactured with a lot of precision but given the VQ in particular had early versions of the M78 IRS diff it’s not surprising. After having my brother-in-law try and convince me to buy new stub axles while its out, and finding the only aftermarket options were the gforce1320 $599 items, I will stick with what’s there.
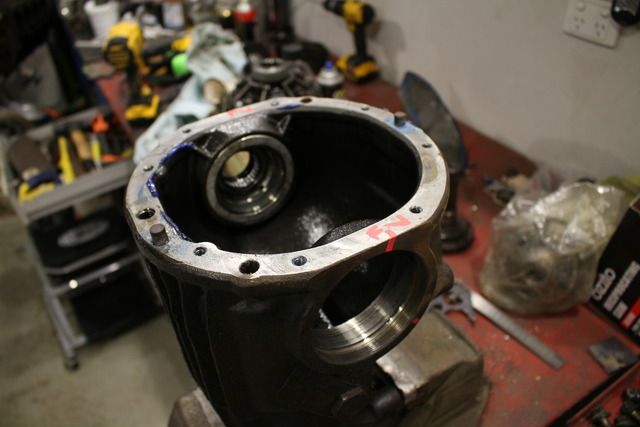
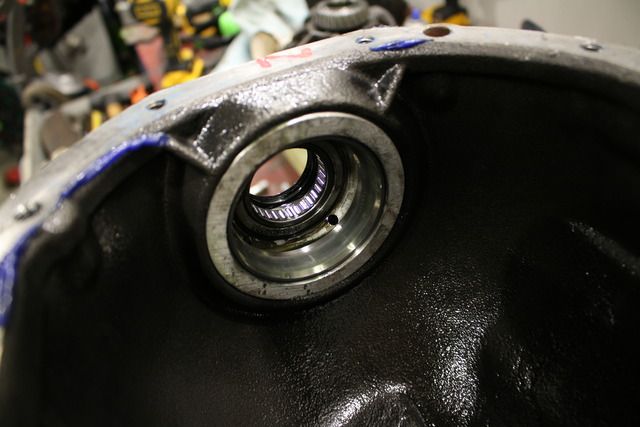
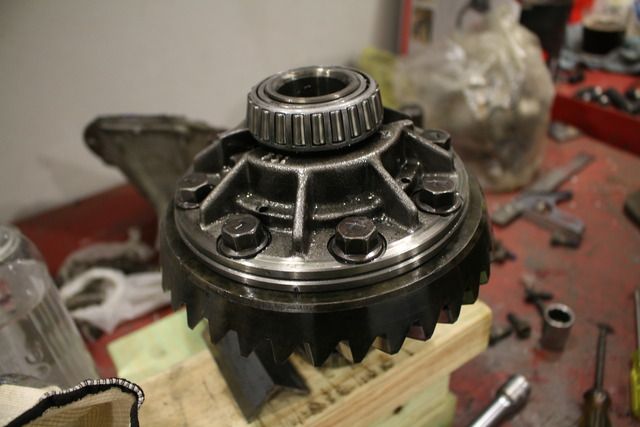
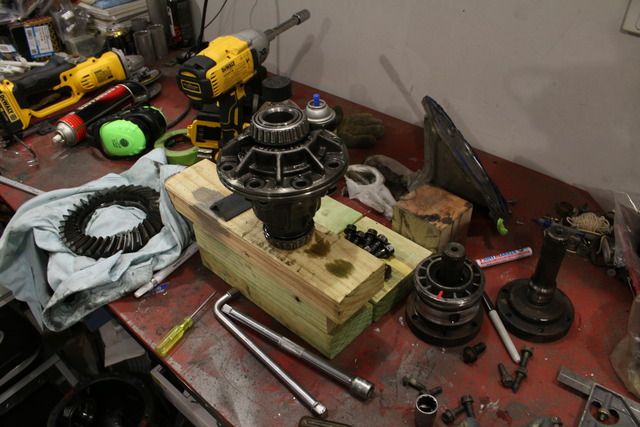
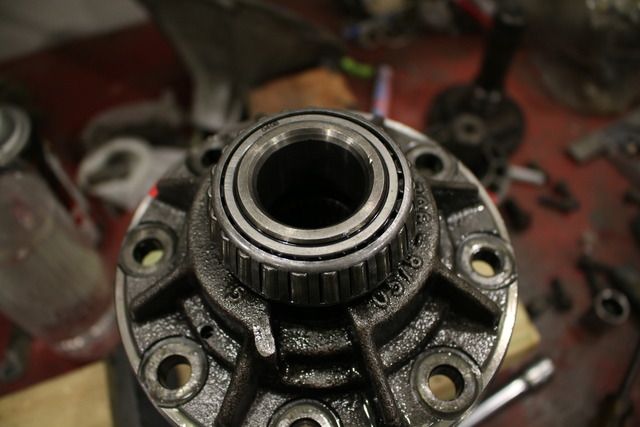
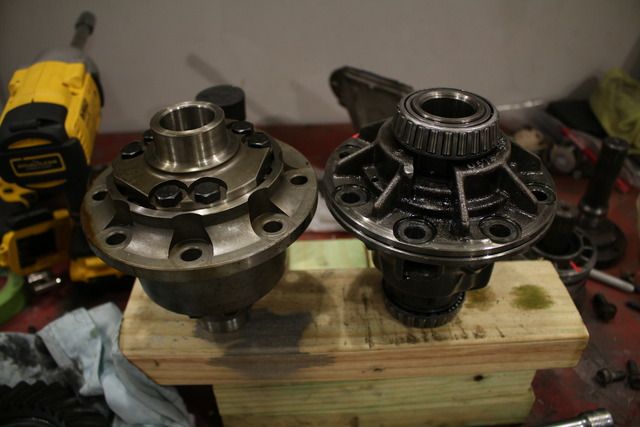
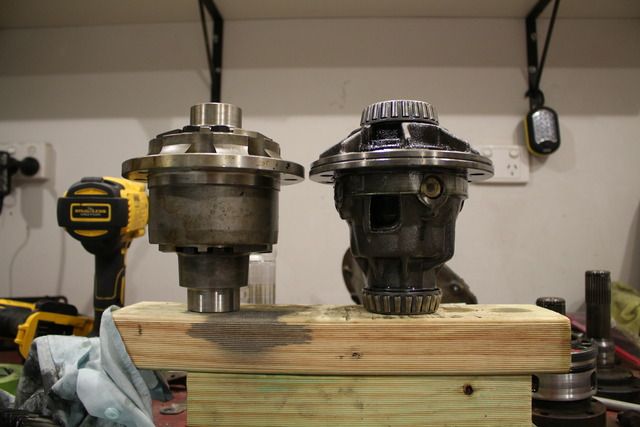
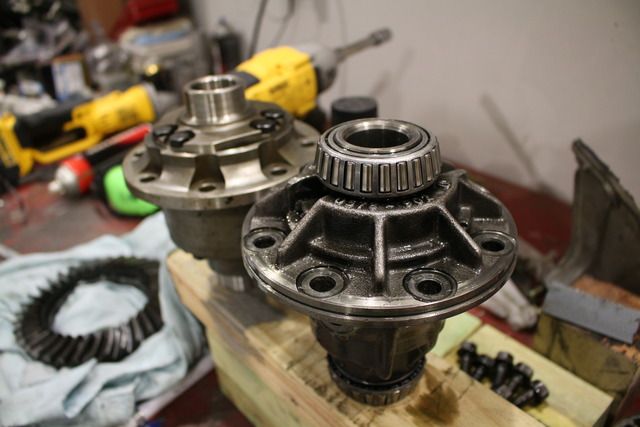
It appears, however, I’ve hit another snag. It’s been a long time since I’ve pulled a diff apart, and I didn’t take into account the mounting of the carrier bearings on to the carrier housing when I looked at the new centre. In any case, I need to source some new carrier bearings, which throws out current bearing pre-load positions as well as crown wheel and pinion meshing pattern. Looks like I’ll be doing a near full diff rebuild for the first time – eek. I’d rather build an engine as I know them better, but there’s only one way to learn.
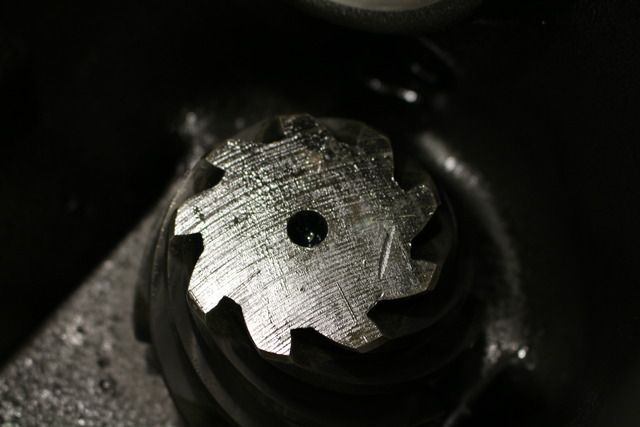
Looks also like the pinion gear may have been ground to get it to mesh properly in the housing, as I suspected. Anyone have any thoughts on this? I took the photo in the light that best picked up the surface finish, it’s not as harsh as it looks in the photo.
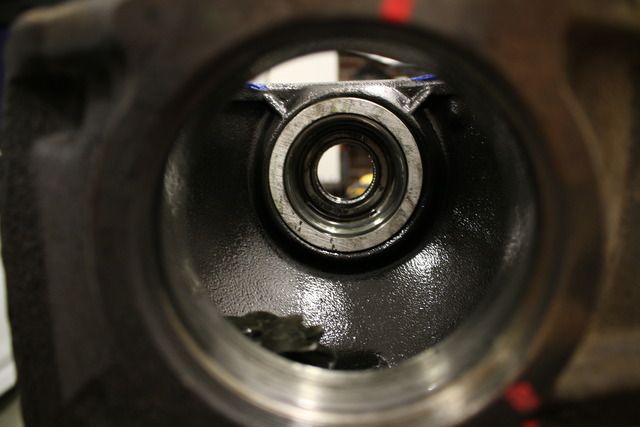
Pic overload while I wait for bearings. Bushes I ordered from the other side of town 2.5 weeks ago still haven’t arrived so I can’t start the diff mount. Typical Australian commerce. So it looks like the K-frame is the next on the list until I can get back into the diff.
 January 5, 2016 at 4:17 pm #13040
I just didn’t think of it as I used to have the old man’s one but gave it back to him when I shifted.
It was all good as I’d run out of bourbon anyway

-
AuthorPosts

