Forum Replies Created
-
AuthorPosts
-
June 15, 2016 at 9:32 pm #17801

NickVRParticipant- Adelaide
- VR V8 Exec, VR SS, VF Redline Reserve
View build HERE
Posts: 264
Thats an impressive bit of gear, get it flock lined like original would look very oem
I do plan to give it a go. I think a mate of mine might have some left over from his dash. I’ll have to borrow some off him to do it.
June 13, 2016 at 11:43 am #17763
NickVRParticipant- Adelaide
- VR V8 Exec, VR SS, VF Redline Reserve
View build HERE
Posts: 264
That looks so good. Awesome effort to get it to work as well. Thanks for getting it done.
June 10, 2016 at 10:55 pm #17732
NickVRParticipant- Adelaide
- VR V8 Exec, VR SS, VF Redline Reserve
View build HERE
Posts: 264
G’day Renno. Good to see this is still around. Shame your not sticking with the 5L. Keen to seem some progress.
June 7, 2016 at 8:57 pm #17650
NickVRParticipant- Adelaide
- VR V8 Exec, VR SS, VF Redline Reserve
View build HERE
Posts: 264
Those pods on the top of the console look nice. Are they off the shelf of did you make them?
Made them up out of 2″ exhaust pipe and then had them chromed.
Good thinking, looks great.
June 6, 2016 at 8:28 pm #17617
NickVRParticipant- Adelaide
- VR V8 Exec, VR SS, VF Redline Reserve
View build HERE
Posts: 264
There is just some really cool stuff around these days I reckon. I love the fact you can configure them to show whatever you want. Btw, made some great progress with your gauge plate this week end, just printing out the (hopefully) finished version. If all goes to plan I have actually been able to do it so the gauges sit exactly inside the top and bottom edges of the cover plate so it functions perfectly. Took a bit of doing, so fingers crossed

Thanks Gary. Look forward to seeing what you have come up with.
June 5, 2016 at 8:46 pm #17572
NickVRParticipant- Adelaide
- VR V8 Exec, VR SS, VF Redline Reserve
View build HERE
Posts: 264
All good, don’t mind at all. I was actually on the look out for a digital colour screen that could show what any gauge could. But anything like that is expensive, compared to running analogue gauges.
Did find this though which would look good where my gauges would otherwise go.
http://www.ebay.com.au/itm/380315272748?_trksid=p2055119.m1438.l2649&ssPageName=STRK%3AMEBIDX%3AIT
Not sure how accurate these would be but the look cool.
June 5, 2016 at 3:08 pm #17550
NickVRParticipant- Adelaide
- VR V8 Exec, VR SS, VF Redline Reserve
View build HERE
Posts: 264
Awesome looking VK mate.
June 5, 2016 at 10:13 am #17536
NickVRParticipant- Adelaide
- VR V8 Exec, VR SS, VF Redline Reserve
View build HERE
Posts: 264
My pleasure mate, as is often the case there’s more to it than I first thought, but all part of the fun. If you get a chance post up a link to that spray on suede kinda stuff will ya?
I have done it once before but the results were average. Need something to spread it nice and evenly. I did it on a dashboard and spreading it but hand caused it to clump up in areas. If you use a sieve I think that would get a better result.
Here are some links to people that have done it.
http://forums.mightycarmods.com/showthread.php?26396-DIY-Dashboard-Flocking
June 4, 2016 at 3:05 pm #17528
NickVRParticipant- Adelaide
- VR V8 Exec, VR SS, VF Redline Reserve
View build HERE
Posts: 264
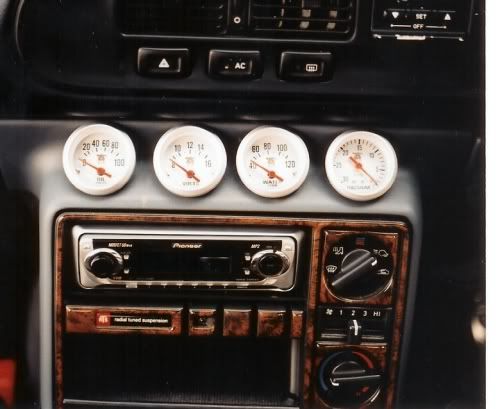
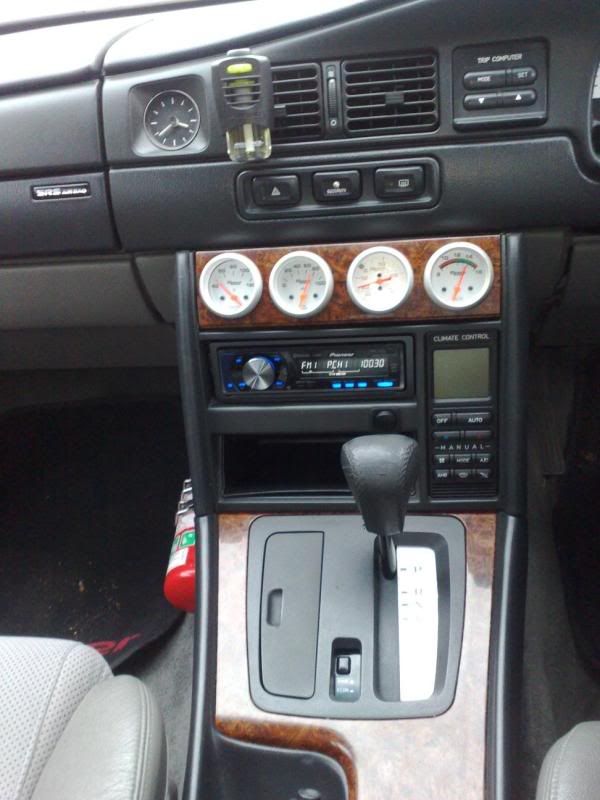
Hey Nick, yeah pic 7 & 8 going down are a bit like what I was trying to do. Mainly for me (as I have the Exec console), pic 7 is close as I wanted to have the gauges single pod like projecting out & angled up to the driver. Hoping it would look almost like a factory thing if it was neat enough. So for pic 7 I would actually have them more centred a little smige lower & projecting. With pic 8 I had the brown section made if a black fibreglass, but would then require the bottom half of a stato console to match up with it to look right. So wasn’t really what I wanted to do. The brown section is a flip down door compartment isn’t it ? Instead of hiding the gauges behind the door I was looking to have them always seen & not use the area behind for anything other than gauge location. Cheers Deek
Yeah brown section is the flip down lid. But they have drilled holes in it to house the gauges, something I don’t want to do. I like having things hidden/factory looking so most people wouldn’t notice the mod unless they know the cars.
They look a lot neater hidden if your planning to do them under that wood grain door. If you can angle them also it makes a difference. Esp if they are short sweep. Out of interest what gauges and how many. 3 under the radio looks the neatest IMO
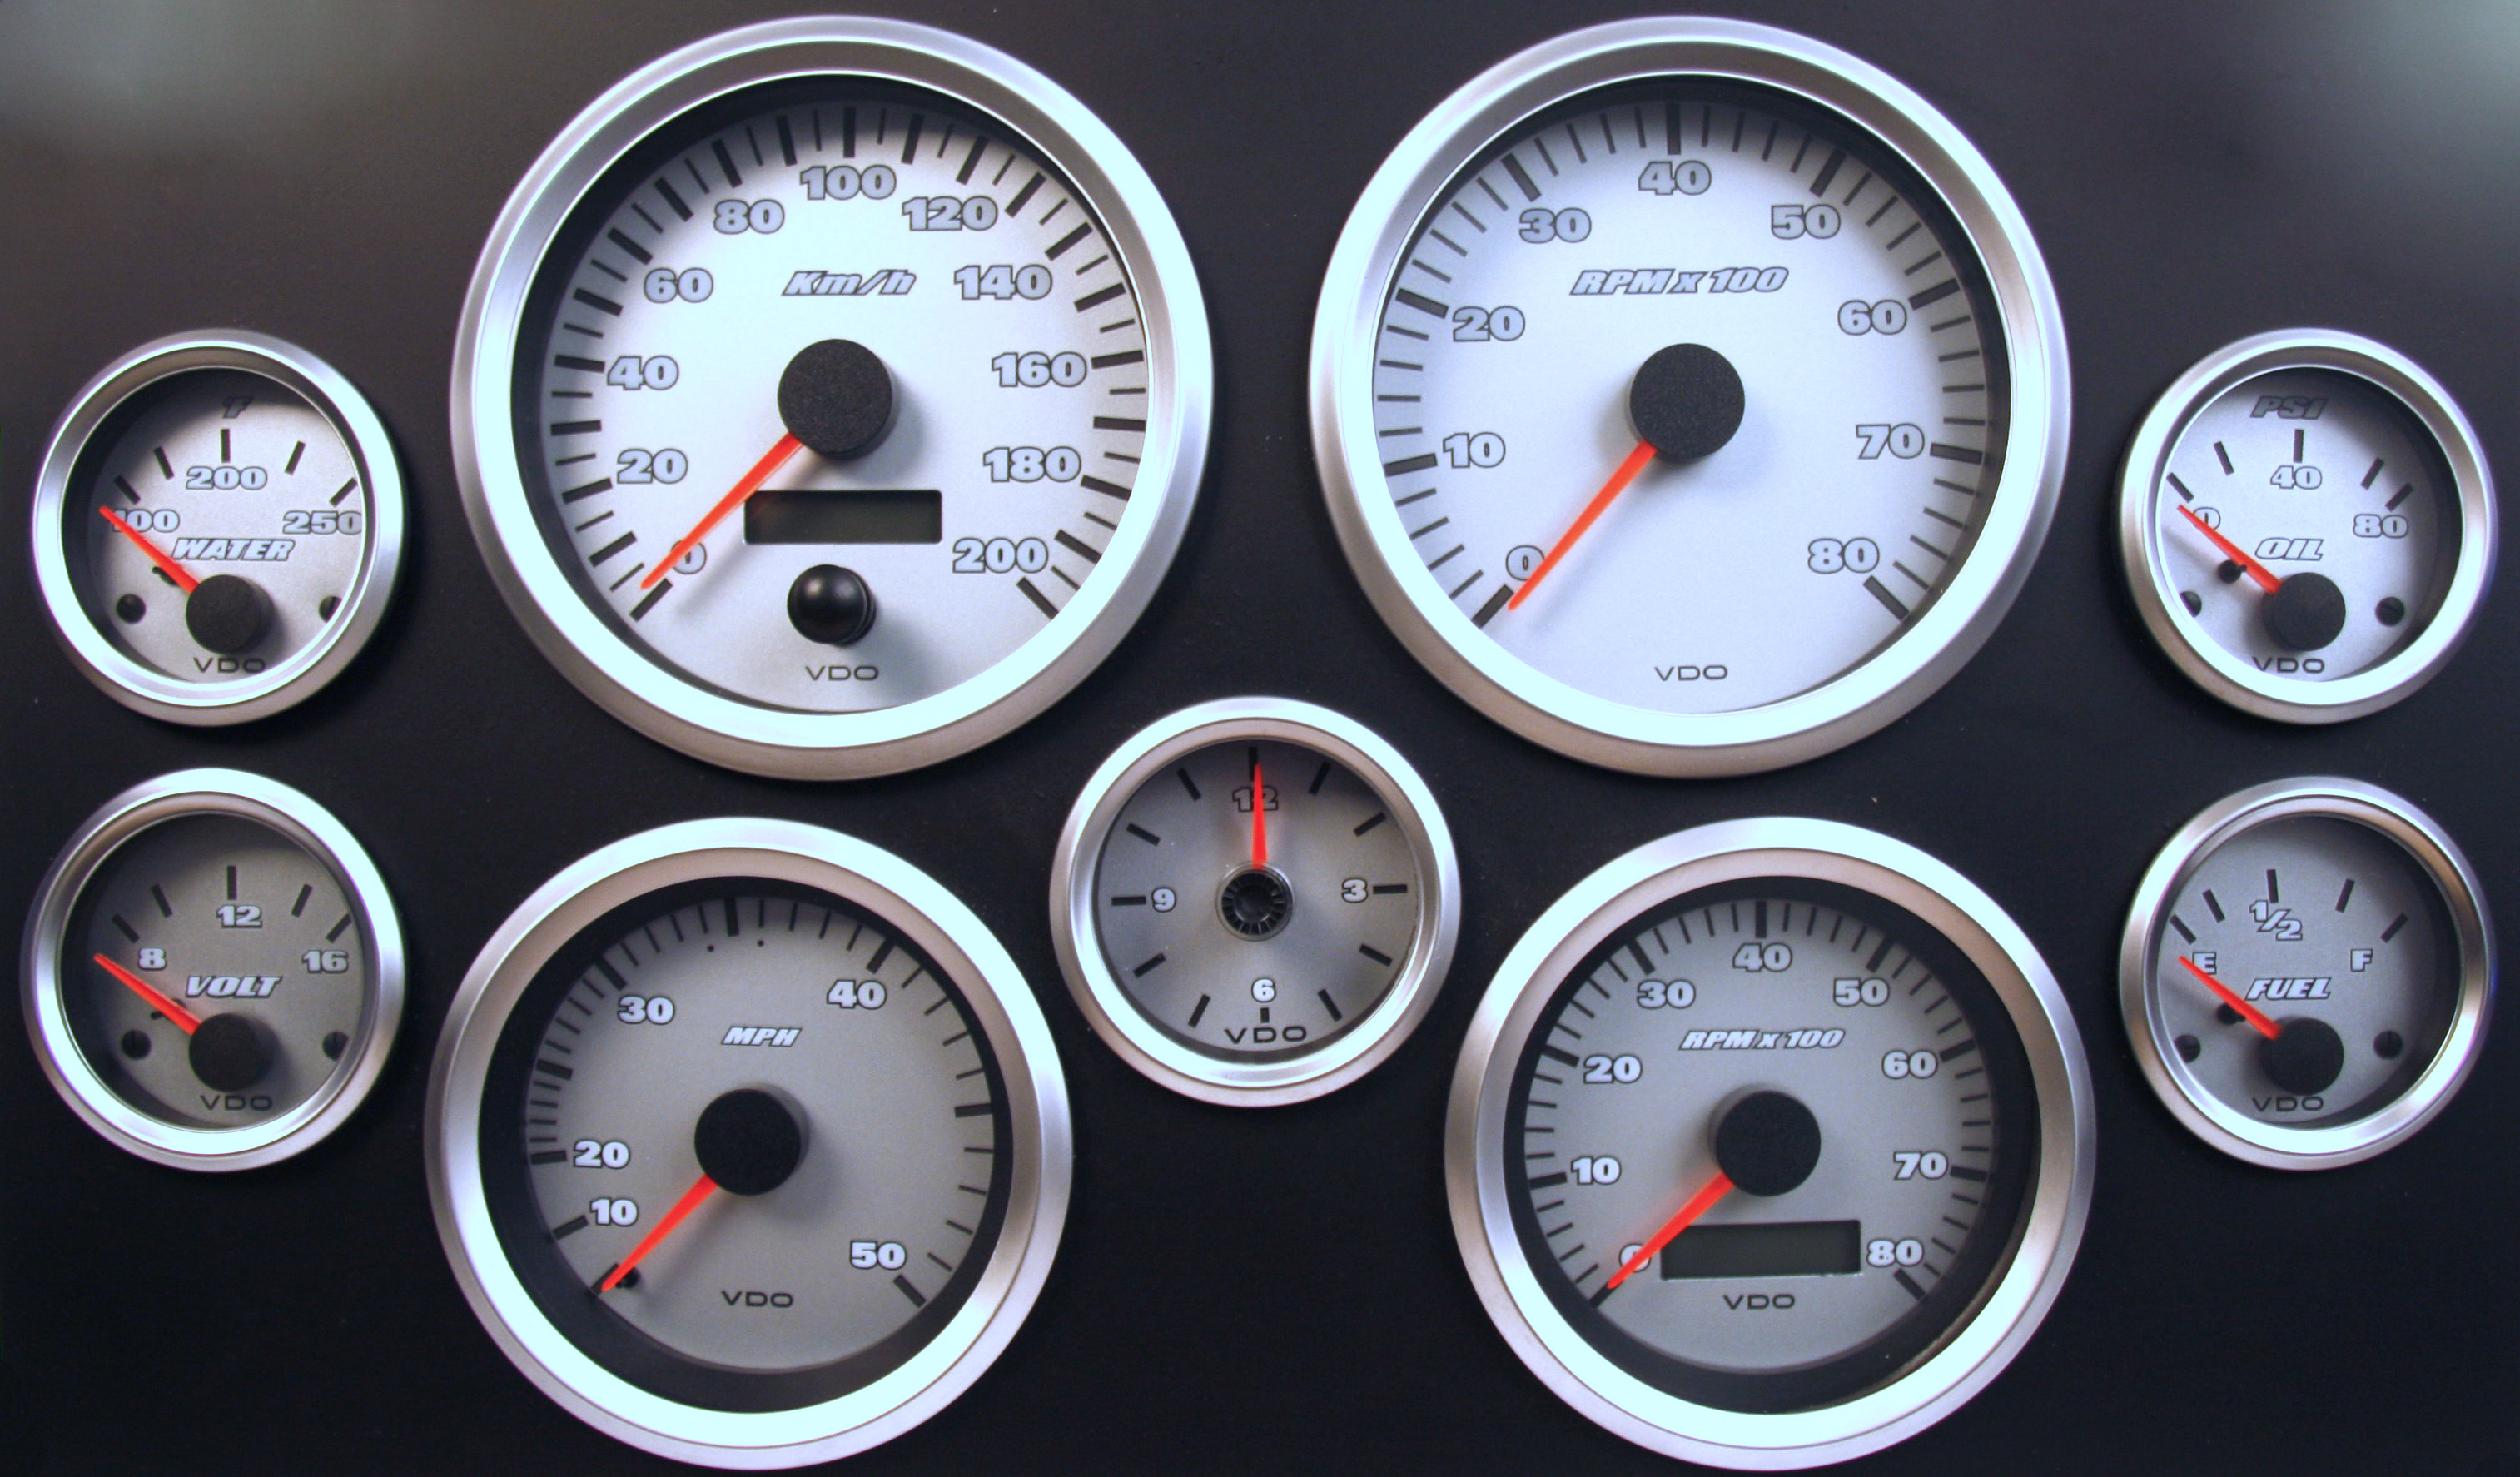
I like the three under the radio too but seeing can be a problem because to take your eyes off the road. Ideally in the dash like pic ten but I like factory/hidden look. There will be three gauges and they are the VDO Titanium series (Pic Below). Volts (may change to oil pressure later), Oil Temp for trans atm (might put a switch in to change between trans and engine) and Coolant Temp.

I like them under the radio look wise too, but the only thing I have found with mine is even with them angled they are not easy to read at a glance if your concentrating on driving. That’s why I did the one for the trip computer spot for oil pressure so its a much easier spot to keep an eye on at a glance, would also be a good spot for boost or maybe even lamda. Having a good mess around right now actually on the CAD trying to see if I can get them for Nick sitting so the bezel sits inside the recess in the lid, so he has that clean look in the stato dash.
One of the reasons why I didn’t like them there. Most people use that trip computer spot for boost or Air/Feul ratio that I have seen. I hope it can be done because I know it will look great. Thanks for helping out with this once again Gary.
June 3, 2016 at 8:53 pm #17512
NickVRParticipant- Adelaide
- VR V8 Exec, VR SS, VF Redline Reserve
View build HERE
Posts: 264
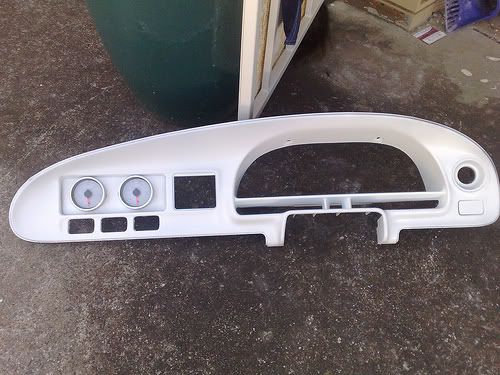
Here are a few ideas of what people have done.


Nothing I have found like I want to do.
-
This reply was modified 8 years, 7 months ago by
 NickVR.
June 2, 2016 at 7:05 pm #17472
NickVRParticipant- Adelaide
- VR V8 Exec, VR SS, VF Redline Reserve
View build HERE
Posts: 264 June 2, 2016 at 6:56 pm #17470
NickVRParticipant- Adelaide
- VR V8 Exec, VR SS, VF Redline Reserve
View build HERE
Posts: 264
Such a nice looking car. Congrats on the trophies.
June 1, 2016 at 7:24 pm #17443
NickVRParticipant- Adelaide
- VR V8 Exec, VR SS, VF Redline Reserve
View build HERE
Posts: 264
That paint looks awesome. Great colour too.
June 1, 2016 at 7:14 pm #17438
NickVRParticipant- Adelaide
- VR V8 Exec, VR SS, VF Redline Reserve
View build HERE
Posts: 264
Great to finally meet you tonight Gary. Found the photo of what needs to be cut out to fit this surround. The grey surround had to be cut but if you buy it from a wreck make sure to take that grey part as they are cut from factory. I will take a photo of the spare grey piece I have in the shed. But these can fit easily with some modification.
CLICK THE PICS TO ENLARGE.
May 31, 2016 at 10:06 pm #17407
NickVRParticipant- Adelaide
- VR V8 Exec, VR SS, VF Redline Reserve
View build HERE
Posts: 264
Yeah I can only imagine the work involved to get this to the current stage. Even small changes would require a bit of effort. I’ll bring down my gauges, surround and switches I want to use too. Not sure how many switches I want to put in place though. Maybe 2 or 3 small ones in that spot, that’s why I thought leaving them out until I decide. I am in no rush to get this sorted as it will take some time to get it installed and wired up. I appreciate your help with this, definitely easier printing it than having to bend and fold it up.
May 30, 2016 at 9:26 pm #17368
NickVRParticipant- Adelaide
- VR V8 Exec, VR SS, VF Redline Reserve
View build HERE
Posts: 264
Looks awesome. That panel will need to be set back a bit further so the lid can close. I can drop the gauge/s off if you want or measure up. What ever is easier for you.
Also will need access to the screws at the top left and right of the pocket too. Unless the panel can be removed.
May 30, 2016 at 7:07 pm #17359
NickVRParticipant- Adelaide
- VR V8 Exec, VR SS, VF Redline Reserve
View build HERE
Posts: 264
Would love to be a guinea pig. I had thought of 3D printing but wasn’t sure on the limitations. This is a spare one I bought ages ago, I want to fit a single din stereo with a double din front and delete the bottom pocket. Not in a rush to do that yet though.
Similar to this
The gauges only just fit. Need to cut the pocket a bit to get them to fit though. They come with a threaded collar but to fit these in that spot they will have to be a tight fit into the holder. Needs to be a press fit and recessed enough for the door to shut to get the result I am after. Plus to the right of the volt gauge I plan on putting a switch or two for fans of other stuff. Can always cut the holes later.
May 30, 2016 at 6:53 pm #17356
NickVRParticipant- Adelaide
- VR V8 Exec, VR SS, VF Redline Reserve
View build HERE
Posts: 264
Yeah sold it to a friend of mine and recently got it back, hoping to have the car done before summer, and should definitely be a bit of a handful. Can’t wait to drive it
Your secret is safe with me……
 May 29, 2016 at 5:46 pm #17327
NickVRParticipant- Adelaide
- VR V8 Exec, VR SS, VF Redline Reserve
View build HERE
Posts: 264


I got bored today and started making a gauge holder. Need to cut the pocket out to get the gauges recessed in a bit so I can close the lid. Just made a cardboard template for now, not sure what material to use to make it yet.
May 28, 2016 at 8:13 pm #17314
NickVRParticipant- Adelaide
- VR V8 Exec, VR SS, VF Redline Reserve
View build HERE
Posts: 264
NickVR – My opinion only, but there’s next to no point getting a 2300rpm stall. That is only a few hundred RPM higher than stock. A properly built higher RPM stall is fine for the street. Even a stock 5L will benefit greatly from a 3000-3500rpm stall. Get a lock up item and have the best of both worlds. My 4k convertor flashes to 4200rpm on full load, but with lock-up its perfectly streetable. A 4spd with overdrive and lockup T/C is gives the opportunity to run short gears and a decent stall while maintaining freeway driveability. I know I go on about it a lot but 4.11s and 4ooorpm convertor on a T700 spins at under 2500rpm on the freeway. Food for thought.
Just going on what a friend of mine is suggesting. He knows his stuff so I trust his judgement, but I will still get the recommendation from the trans place too. They do this everyday and I a sure they have had nearly every combo possible to build. I don’t want anything too wild, just a cruiser that is enjoyable to drive.
4L80e is a great box from what I have seen/read, basically 400 with o/drive. Its the same old story though, its finding someone in Aus that actually knows how to build one, and they are physically very big and heavy. I agree with Nick though, for his application, a nicely built 4l60/65 would be perfect for him. No modifications at all, plenty strong enough, overdrive, whats not to like in a cruiser.
Strong enough to not break again but nothing overboard. I don’t mind the modification side of it because the stronger the better. But this is no torque monster like your 454, so building it to that standard would be money wasted.
If it was huge HP then no question. Mine is only a stocky with a bit of work nothing special. I’ll talk to the trans shop soonish and see how we go. I will let you know the direction I end up taking though. Watch this space……… and this one too.
pretty much what I was looking for mine, I only originally wanted a 2500rpm stall, ended up going a 3000 rpm 10 inch lock up stall As for the trans cooler I’ve gone for the biggest one b&m make (made by LONG- which from what I found is part of Dana) Long is used from factory on some VS Towpacks (which was what was on my VS to start with) mounted pretty much in the centre of the radiator
Was the stall choice recommended by the place that built it or something you decided on? I don’t want to choose something that will make the thing a pig to drive but just liven it up and work well with the 3:73 gears.
this is what is done to mine, thought it cost me $2500 turns out it was $3500 without stall
This means my budgeting was about right. But we will see how it all goes I guess. Did you use speedflow fittings from your trans to the cooler or standard hard lines and push on hose. Not sure what way I will go but speedflow would be a neater fit I think.
-
AuthorPosts


