Forum Replies Created
-
AuthorPosts
-
October 24, 2016 at 6:54 pm #20310

Bdj_007Participant- 2002 Holden Vx Commodore 1986 Holden Vl Berlina
View build HERE
Posts: 206October 24, 2016 at 6:53 pm #20309
Bdj_007Participant- 2002 Holden Vx Commodore 1986 Holden Vl Berlina
View build HERE
Posts: 206Alot of progress has happened over the weekend by my good friends Matt and Scott.
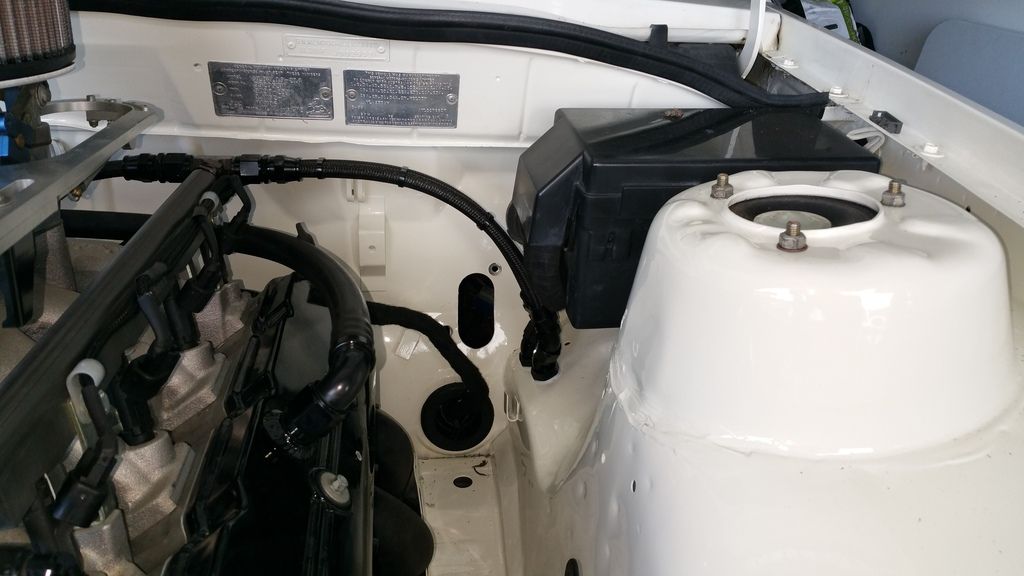
Scott put the engine loom in and ran the headlight loom on the inside of the guard.
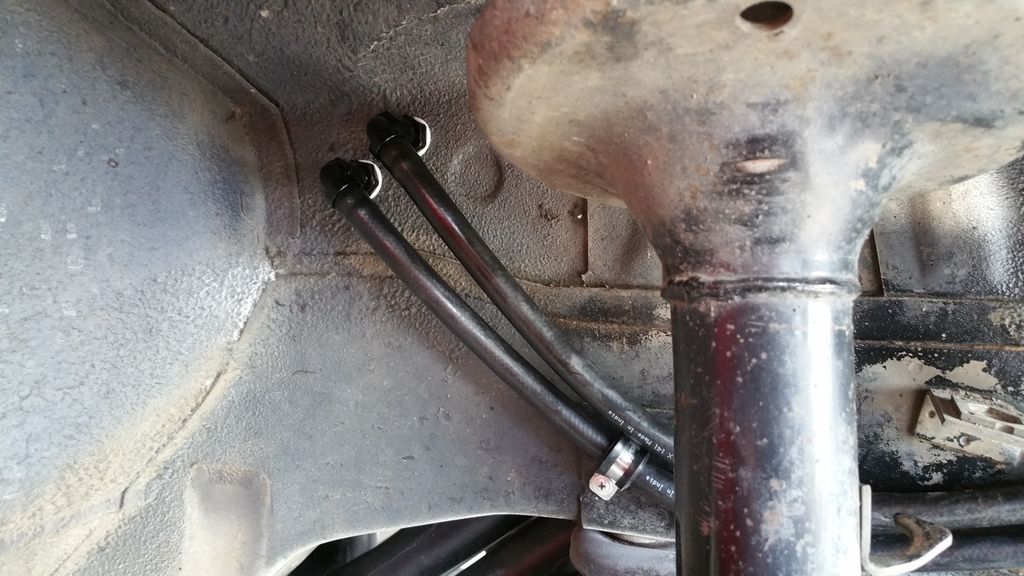
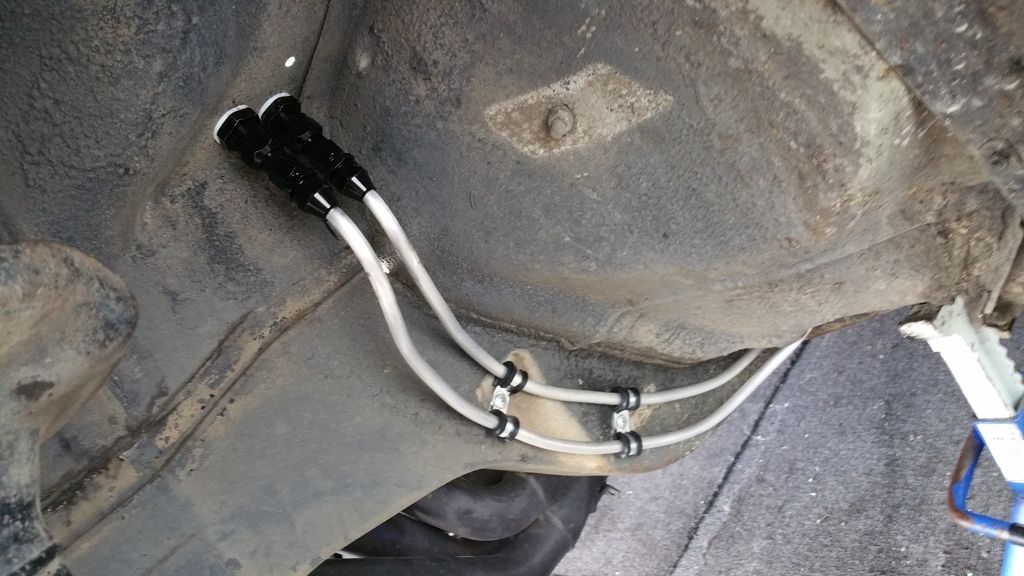
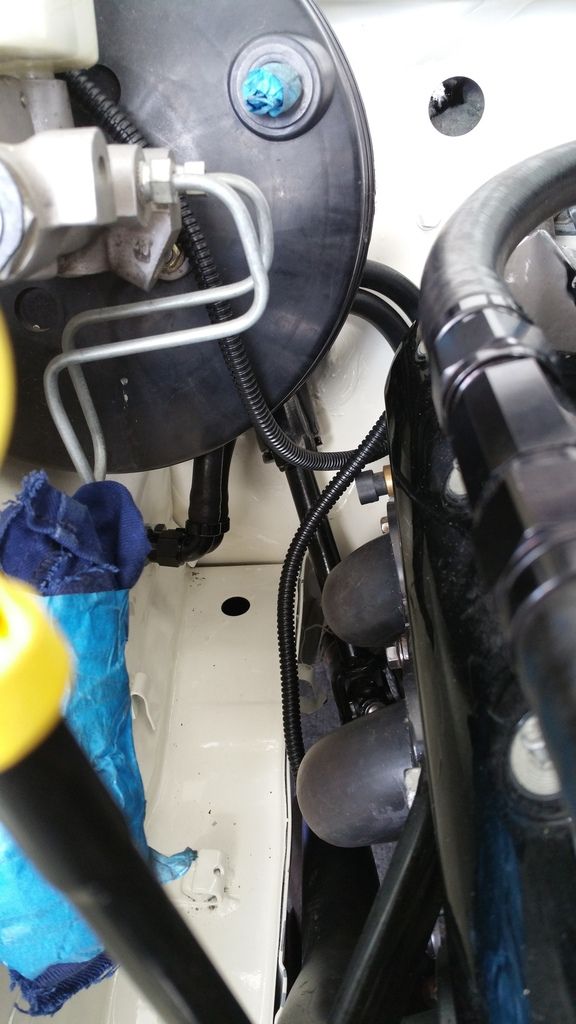
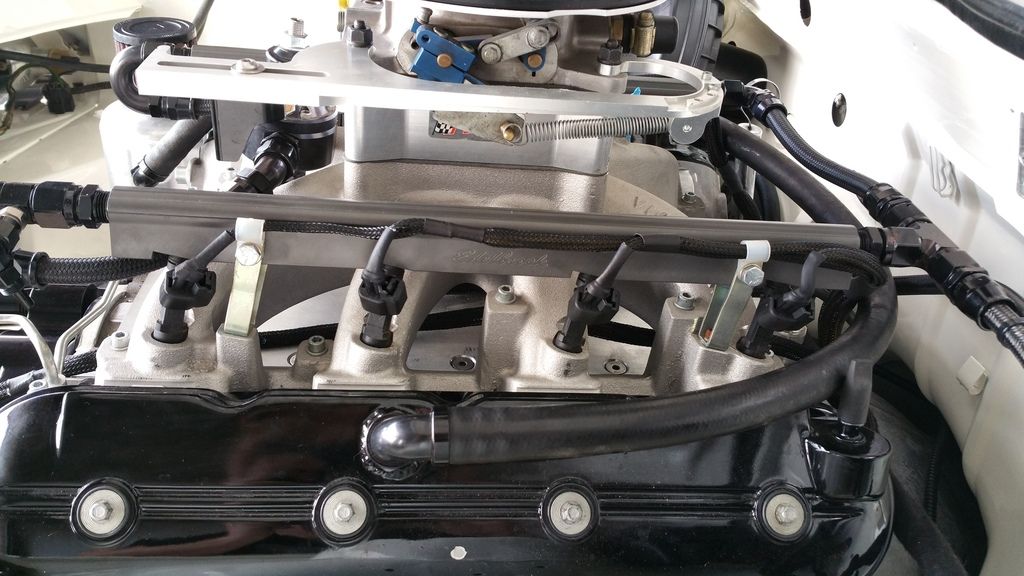
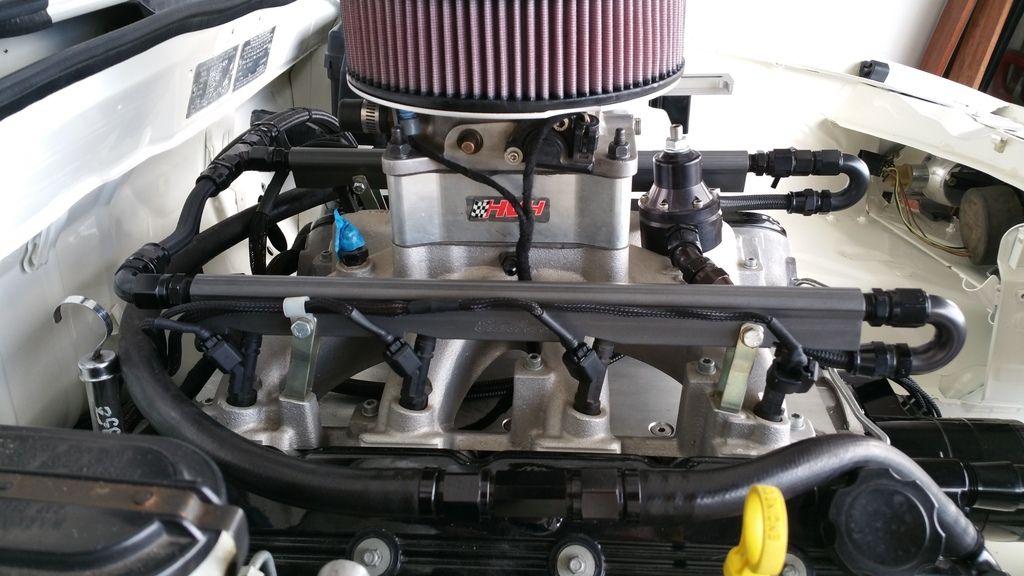
Matt put in the fuel lines. braid from motor to bulk head, then hardline to the backdoors.
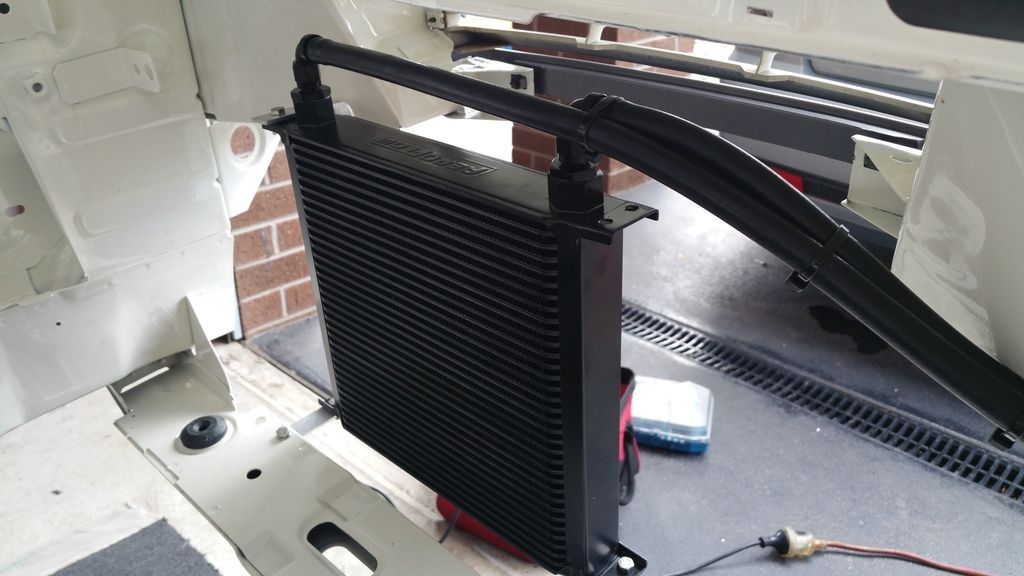
He also put in the and mounted the transmission cooler and lines. Also put a heat sleeve over the shifter cable.
October 10, 2016 at 7:58 pm #20092
Bdj_007Participant- 2002 Holden Vx Commodore 1986 Holden Vl Berlina
View build HERE
Posts: 206awesome car mate. enjoy.
Cheers man. Its nearly there!
hey mate nice build, going good by the looks of things keep at it. where is amped auto electrical and do you have a number for them doing there same ls into a vk but kinda stuck with the loom thanks zack
He is in Carrum Downs, Victoria.
I can pm you his number if interested?
October 6, 2016 at 5:50 pm #20044
Bdj_007Participant- 2002 Holden Vx Commodore 1986 Holden Vl Berlina
View build HERE
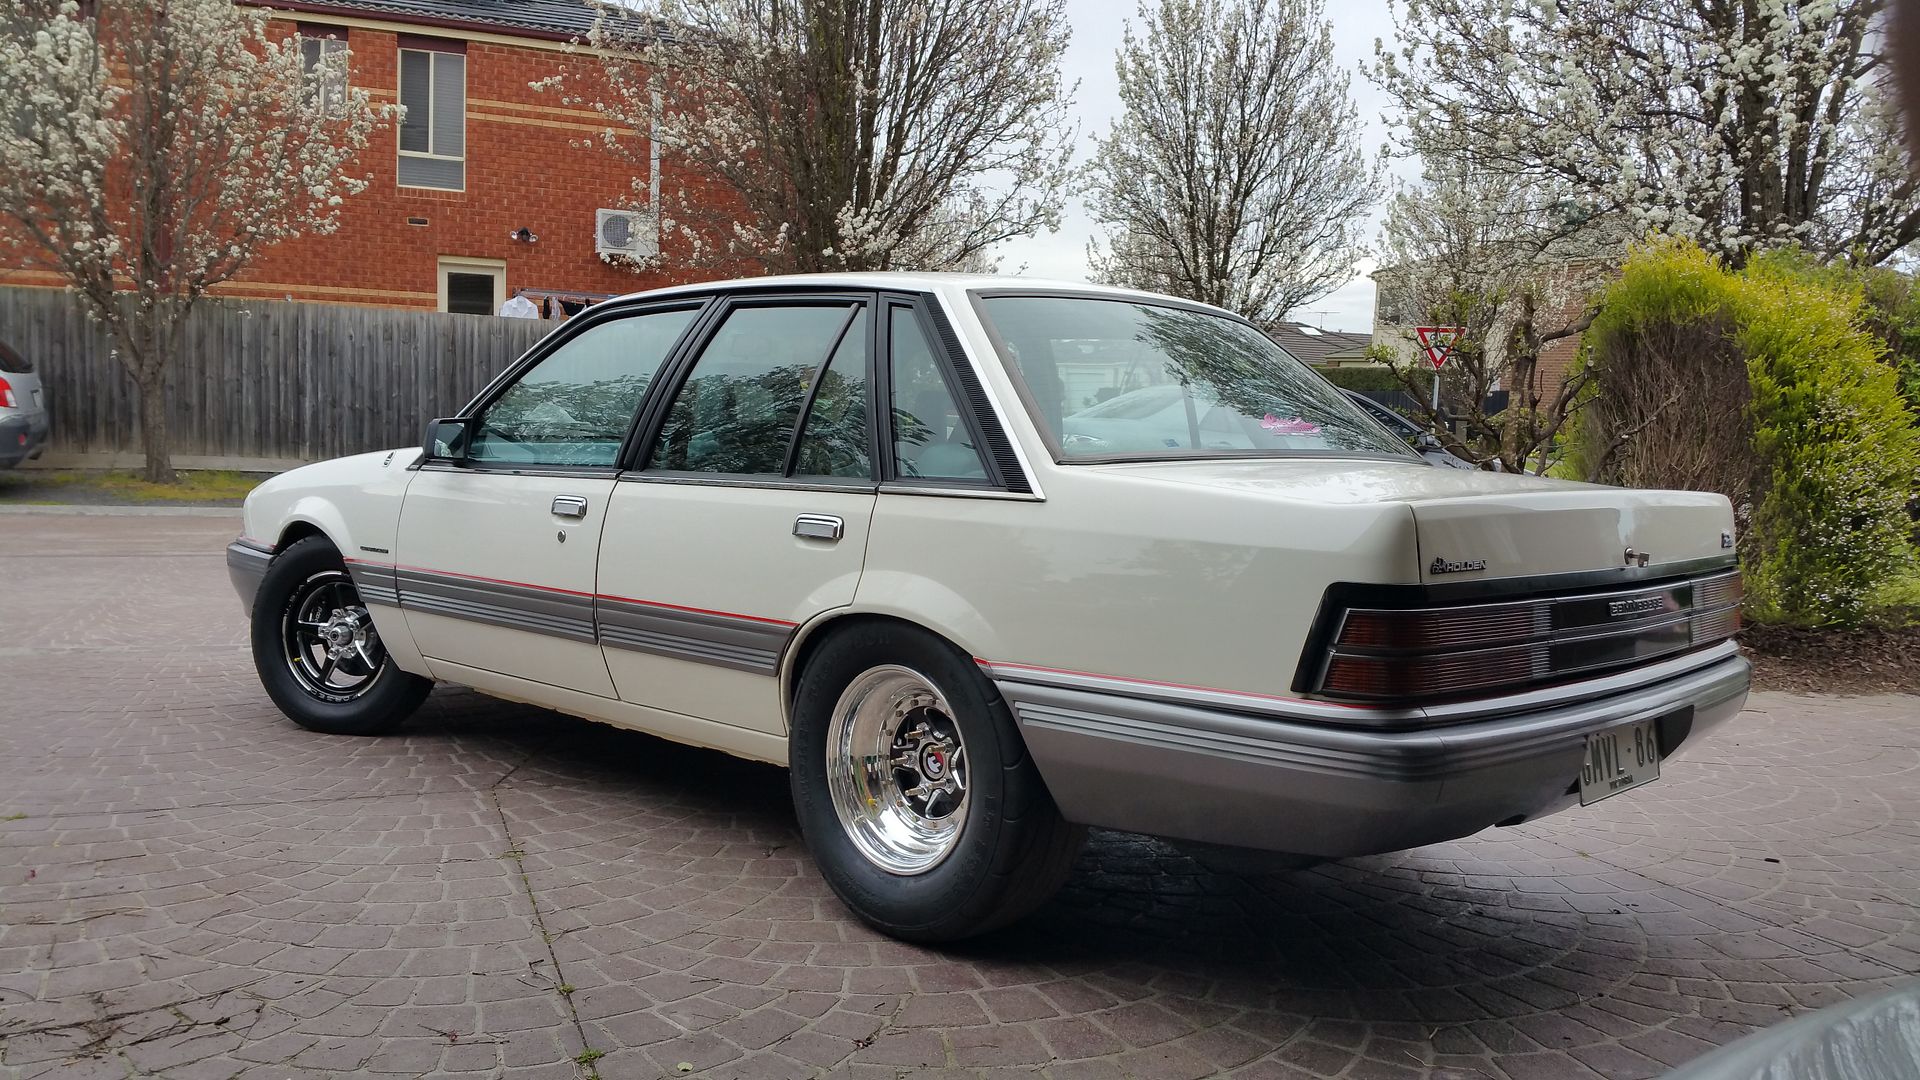
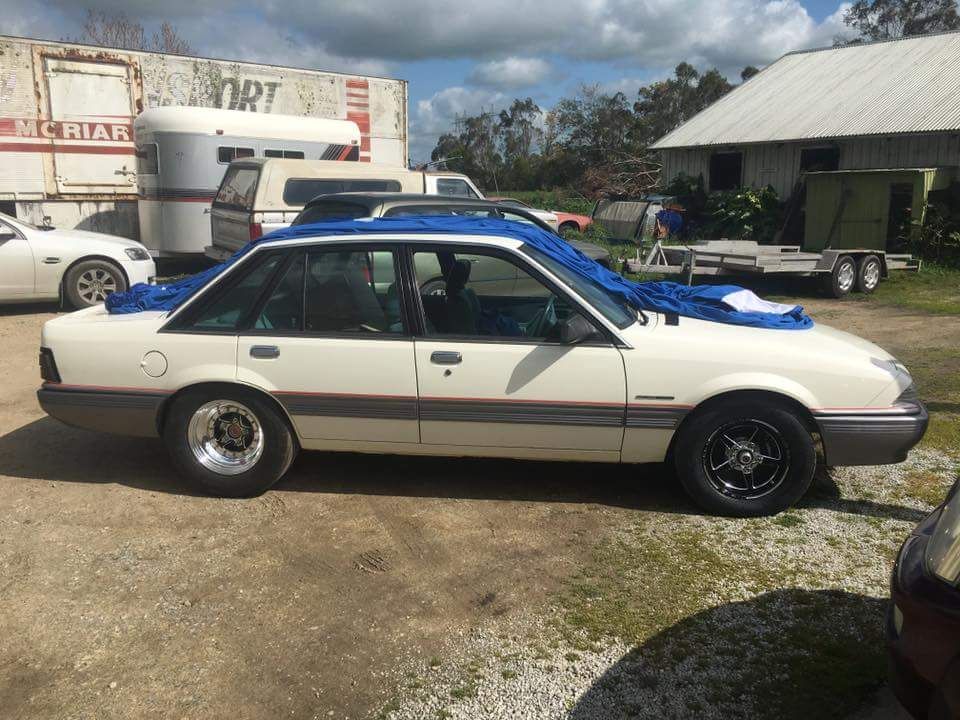
Posts: 206nice work with the Berlina mate.. how hard was it to setup the diff for the dish wheels.
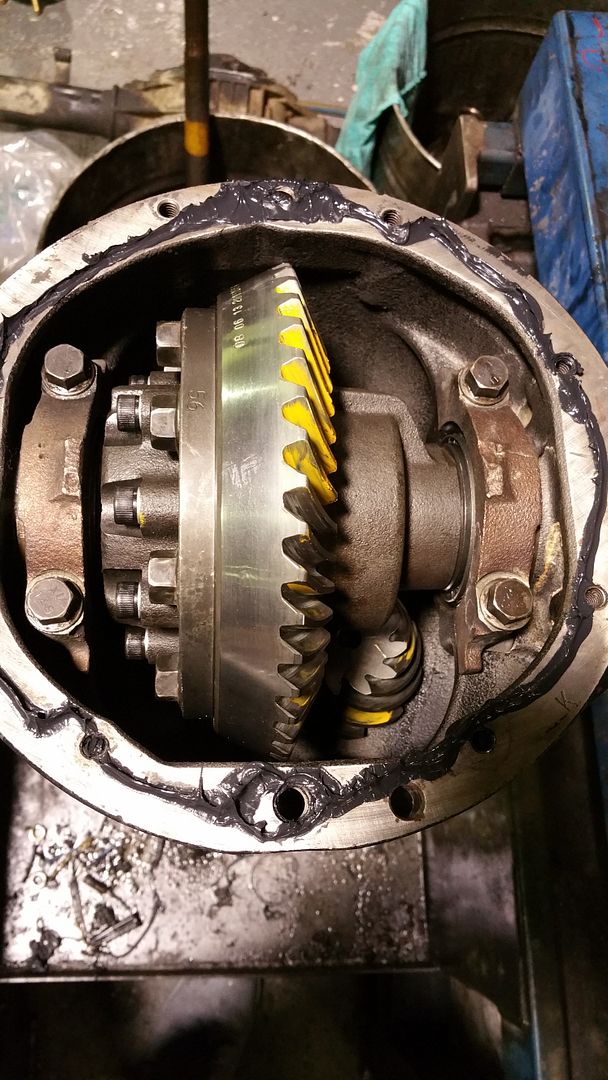
We built the diff around the wheels.
Killer build mate looks mint on those rims!!!
Thank you
 October 2, 2016 at 11:51 am #19959
Bdj_007Participant- 2002 Holden Vx Commodore 1986 Holden Vl Berlina
View build HERE
Posts: 206Seriously man, in those pics it looks like a die cast car.
Freaking killer!
Absloute credit to you.
Are you loving the new tune?
October 2, 2016 at 11:50 am #19958
Bdj_007Participant- 2002 Holden Vx Commodore 1986 Holden Vl Berlina
View build HERE
Posts: 206^Agreed. Mick at Tuners Edge is your man.
Good to see some progress happening!
When will we see some Alumastars about?
 September 26, 2016 at 6:25 pm #19905
Bdj_007Participant- 2002 Holden Vx Commodore 1986 Holden Vl Berlina
View build HERE
Posts: 206
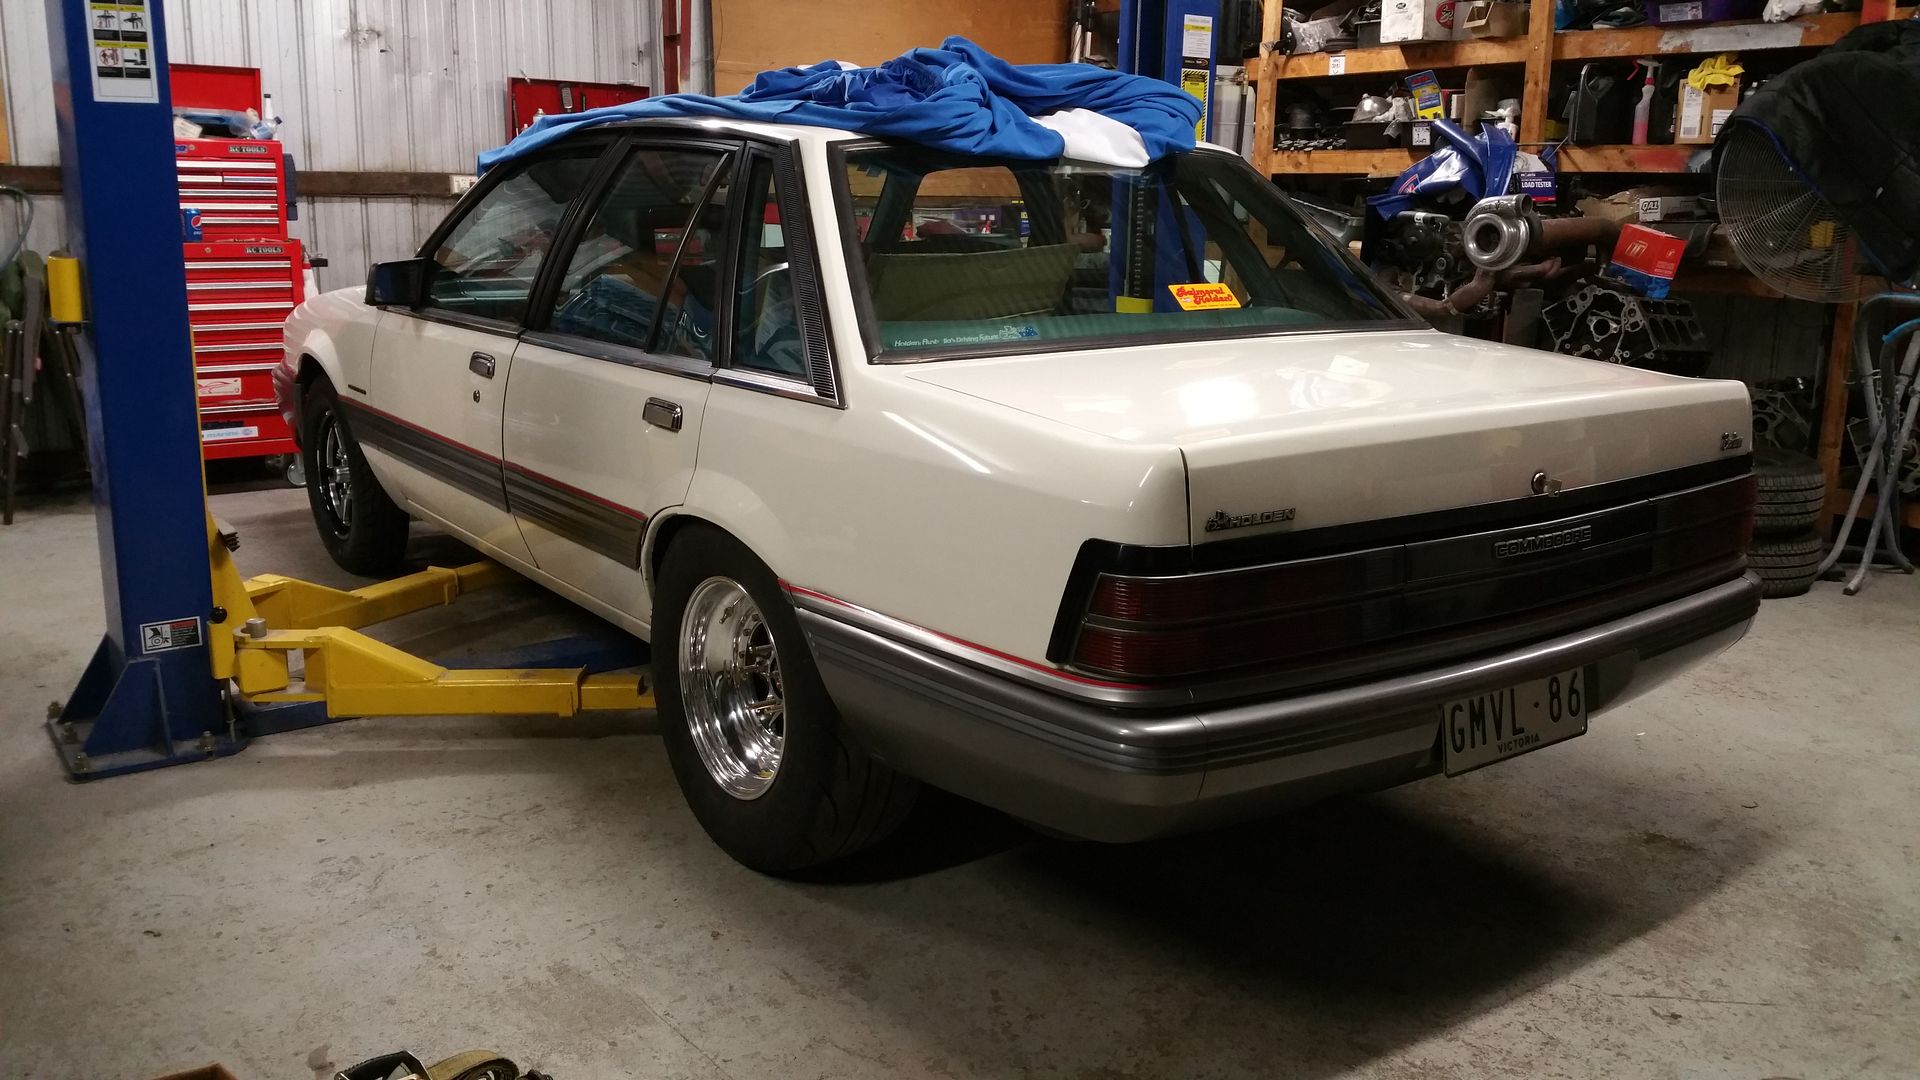
Looking spot on bloke. Just shift the number plate 30inch to the right and it will be hektic

Haha i’m on the wrong side of Melbourne for that nonsense!
Came up killer man. I’m hanging for a steer!
Love it, bet your getting excited

Like you wouldn’t believe man. Hanging is an understatement!
September 25, 2016 at 10:01 am #19887
Bdj_007Participant- 2002 Holden Vx Commodore 1986 Holden Vl Berlina
View build HERE
Posts: 206September 25, 2016 at 9:59 am #19886
Bdj_007Participant- 2002 Holden Vx Commodore 1986 Holden Vl Berlina
View build HERE
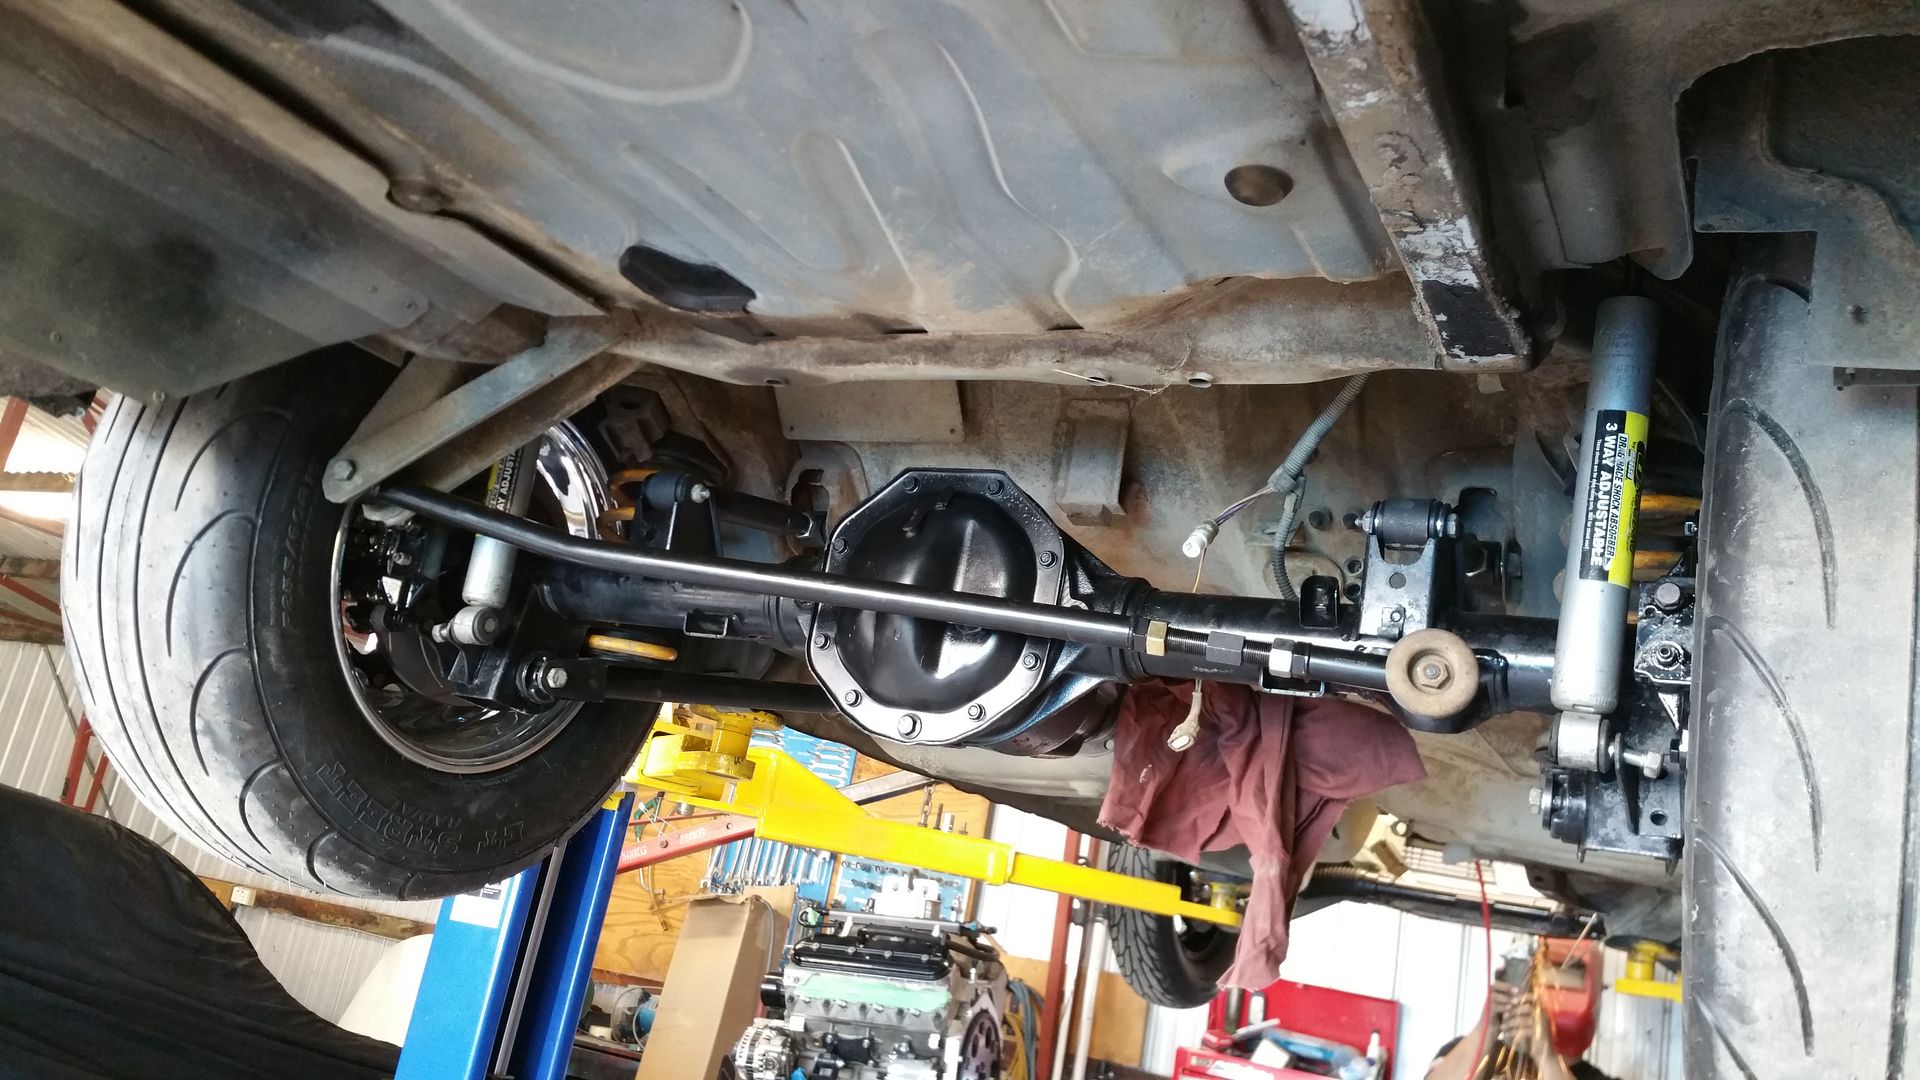
Posts: 206What’s the go with rear shockers??? Common for them to line up like that with mini-tubs but that still standard yeah? Move the lower shock bracket or better just add another bracket next to factory one. It is looking sweet!!!!
we just moved it 10mm on the diff. its all sweet now.
September 11, 2016 at 9:37 pm #19602
Bdj_007Participant- 2002 Holden Vx Commodore 1986 Holden Vl Berlina
View build HERE
Posts: 206pm
They are pacies man

They have been tinkered with.
Came out of a red vk ‘fstgmh’
September 11, 2016 at 9:02 pm #19599
Bdj_007Participant- 2002 Holden Vx Commodore 1986 Holden Vl Berlina
View build HERE
Posts: 206Wickid. Good to know. I’ve got boxed arms which have been shaved. But always liked the look of these, plus the option to adjust it.
Ahh wicked. Should still work a treat man.
September 11, 2016 at 8:05 pm #19595
Bdj_007Participant- 2002 Holden Vx Commodore 1986 Holden Vl Berlina
View build HERE
Posts: 206You’ll fret a little less about denting the extractors after watching this…
 <iframe src=”https://www.youtube.com/embed/azPKIjxmmdU?feature=oembed” frameborder=”0″ allowfullscreen=””></iframe>
Haha my mate Cam showed me that. Couldn’t believe after what they did to those pipes it was only like 1hp difference
So you actually gain clearance? From the ground?
Same as standard. They really help when trying to fit a big tyre.
With standard control arms i wouldnt have had a hope getting those 255’s under.
September 11, 2016 at 4:44 pm #19590
Bdj_007Participant- 2002 Holden Vx Commodore 1986 Holden Vl Berlina
View build HERE
Posts: 206Nice. Do they sit lower then standard
Nah. Because of where the spring hanger is located, the springs need to be 2.5inch lower. So expect to get out the grinder haha.
They are great, because the give you full adjustment on where you want the diff to sit and helps with the pinion angle.
Adjustable pan hard rod does wonders as well.
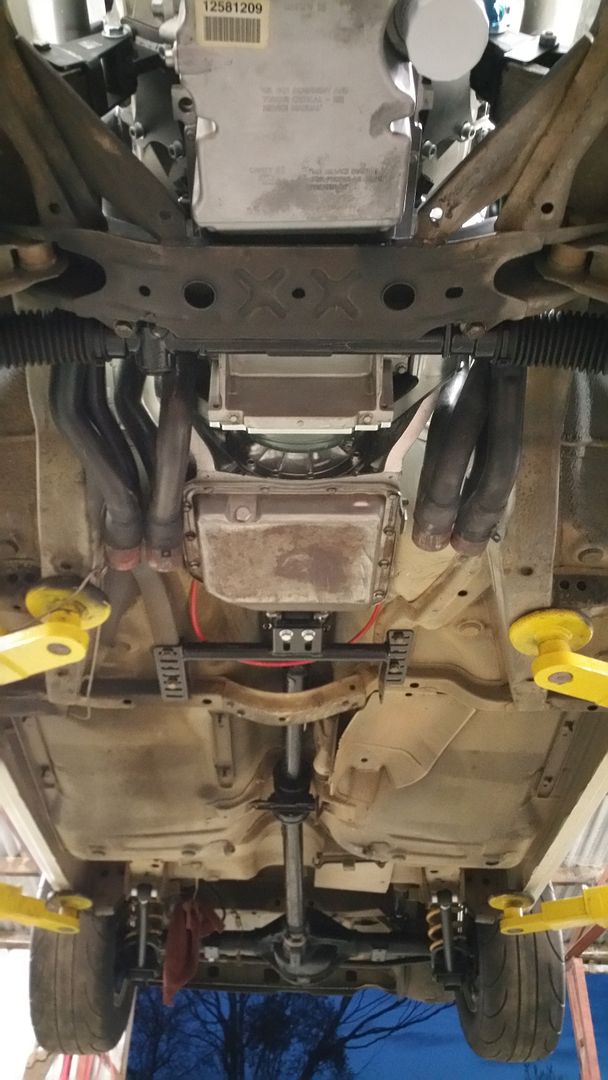
Looks great. Exhaust clearance around the steering knuckle is tight no matter what. Looks like you got it nicely sorted though. What headers are they?
Pacemaker tri-y’s i believe
September 11, 2016 at 4:11 pm #19584
Bdj_007Participant- 2002 Holden Vx Commodore 1986 Holden Vl Berlina
View build HERE
Posts: 206Looking smick. What lower trailing arms you use
Pro 9 Adjustable
http://www.pro9.com.au/?PCID=23503&PSO=259&PSID=Pro9-Com6000A&PSV=Primary&CDO=
September 11, 2016 at 3:05 pm #19581
Bdj_007Participant- 2002 Holden Vx Commodore 1986 Holden Vl Berlina
View build HERE
Posts: 206September 11, 2016 at 3:01 pm #19580
Bdj_007Participant- 2002 Holden Vx Commodore 1986 Holden Vl Berlina
View build HERE
Posts: 206September 11, 2016 at 2:59 pm #19579
Bdj_007Participant- 2002 Holden Vx Commodore 1986 Holden Vl Berlina
View build HERE
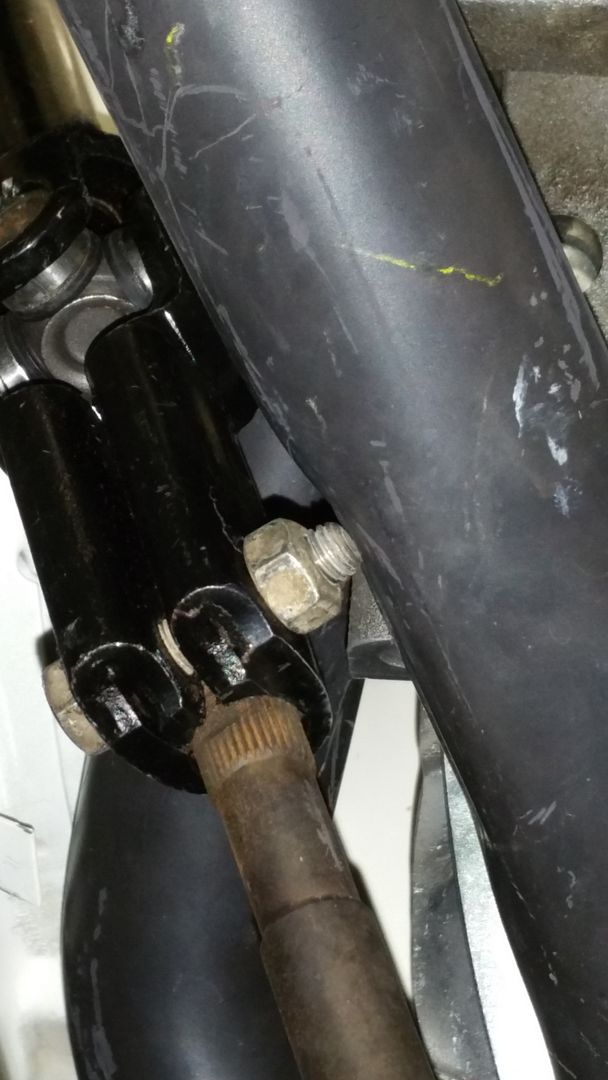
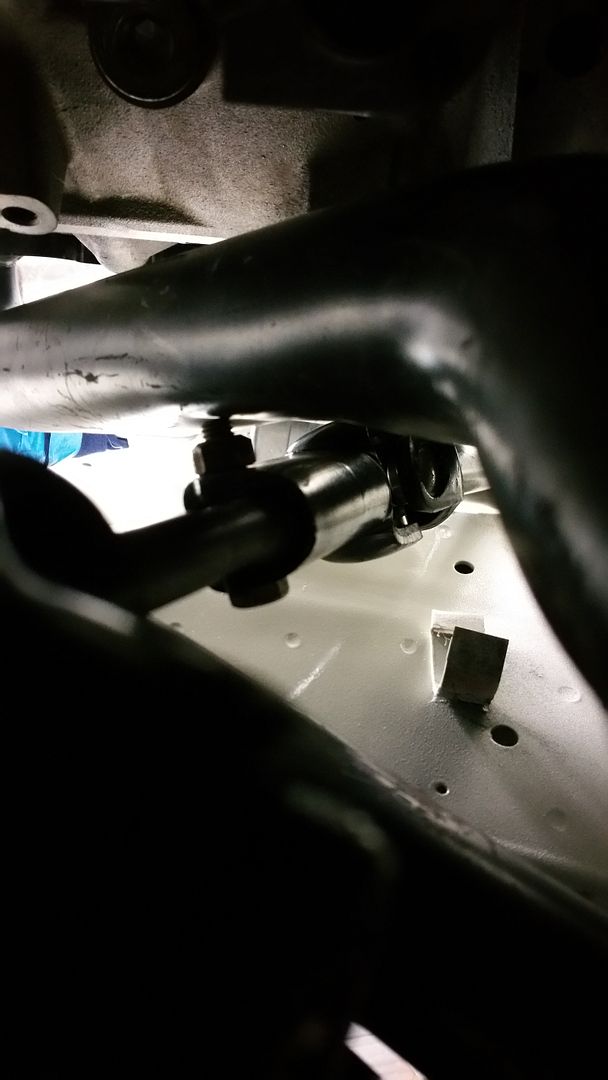
Posts: 206Ran into our first problem. Supposedly happens to all early girls with this conversion. The nut and shaft hit on the header.
It was fixed up pulling the motor up on the tuff mounts. shaving the bolt to the nut and hitting the header in to make it fit my millimeters.
apparently its just what you have to
September 11, 2016 at 2:54 pm #19578
Bdj_007Participant- 2002 Holden Vx Commodore 1986 Holden Vl Berlina
View build HERE
Posts: 206Wilwoods are on. I’m upset i had to run an 8mm spacer to move the caliper in more.

Same problem I had mate. I’m hoping to get away with grinding a bit off the caliper though. I think my v-series are 2.25″ bs. Otherwise I have a 8mm spacers laying around also. Maybe 4mm somewhere. Also so you should run longer studs. That looks like Andra would not approve.
It wouldn’t have worked doing it that way on this. The caliper needs to be central with the rotor. if i did what you suggested it be more in favour of the outside pistons if you get what i mean.
Supposedly all these willwood kits are like that. They are just 1 universal fit. and you have to mod it to suit.
The threads are about 3mm from the end of the nut. Definitely better than factory
Nice mate. So wheels fit good. You going to move shocker mount on diff or in tub? Remember tech soon as you move mount it can’t be engineered. So do it stealthy what headers they?
Moved it on the diff man. pulled it over around 10mm and scraped some of the factory stoneguard & sealer off the inner of the tub and it fits like a charm
I believe they are pacemaker tri-y’s
Nice work. This has came a long way the last few days getting all the big bits. Ha ha.

Getting there man haha, hoping to start it up Grand final weekend.
September 4, 2016 at 9:59 am #19428
Bdj_007Participant- 2002 Holden Vx Commodore 1986 Holden Vl Berlina
View build HERE
Posts: 206September 4, 2016 at 9:57 am #19427
Bdj_007Participant- 2002 Holden Vx Commodore 1986 Holden Vl Berlina
View build HERE
Posts: 206 -
AuthorPosts

