Home›Forums›Members’ Builds and Rides›VN – VP – VR – VS›VS Clubsport #1241
This topic contains 12 replies, has 7 voices, and was last updated by ![]() Judge1 Frazer 7 years, 8 months ago.
Judge1 Frazer 7 years, 8 months ago.
-
AuthorPosts
-
September 4, 2015 at 1:12 am #8960
Hey guys
As per Gary’s request here is my clubby i got a month or 2 ago now, still working on it but ill share my journey so far.
Having sold my SS I lasted a week before the itch for a v8 was too much so i organised to see this clubby in Pakenham (4.5 drive each way) so off i went with a ute and trailer, checked it over, chucked in on the trailer and bought it home. First off was the road worthy which was a pain more than anything, had to raise it all around, swap the front windows (tint is 16%), smaller rims, bonnet gauges, handbrake light wasnt working, rear subrame was missing bolts and the rest were finger tight (very lucky), diff mount broken, seatbelt. So overall i got through it pretty easy it was just a pain more than anything. Once i had all that done it was time to focus on the little things that bothered me, such as the leather gear knob that had been chewed by a dog!!!!!!!!! so thats been replaced, speedo box to fix the speedo for the 4.11’s, I have organised a bonnet and handles to be painted that i picked up last week however they are not the correct shade… (don’t ask) so thats getting re-done, car has just been at the mechanics for a week getting the diff done as i managed to snap a axle and have some of it broken inside the diff requiring it to be dissembled to get it out which was fun, but thats all fixed now, its leaking at the rocker covers but thats being done shortly, i have bought cruise control for it and will be getting that stuff fitted soon aswell as a door actuator as thats currently driving me crazy. I also managed to track down a set of tri spokes and got them polished for $200 and they are micky mouse now.
So all in all, its been a hectic time since getting this car just dealing with all the little things of a 20 year old car, but i love it, its great to drive, it sounds better than old LS, doesnt go aswell obviously but thats fine the 4.11s still keep it snappy, i have a few more things that i want to chip away at but ill get there. Here are some details on the car
model: 96 vs Clubsport
Engine: Stock 304
Odo: 176k’s
gearbox: T5
Diff: IRS 4.11’s
Exhuast: Pacemaker extractors, 3″ exhaust
Brakes: Vt brake upgrade on front, slotted and drilled
Suspension: lowered all round on ultras
Interior: Standard Clubsport
Wheels: Polished 17″ Tri spokes
Waiting for a nice day now so i can get it out for some good pics-
This topic was modified 9 years, 3 months ago by
 SSN8TD.
Attachments:
You must be logged in to view attached files.September 4, 2015 at 9:55 am #8969
VRSenator065Participant- Adelaide SA
- VR Senator LSx454 1960 Kombi (project) 1921 Nash Hot Rod (future project)
View build HERE
Posts: 5 777
Just beautiful mate, love it. Soooo much better on the tri’s too. Keep the updates flowing. Love seeing these cars being given the love attention and being brought back from the brink…
September 8, 2015 at 9:27 pm #9049Looks nice and simple on the tri’s. Love the vs clubsports, is that a factory sunroof?
September 9, 2015 at 8:19 pm #9063
VRSenator065Participant- Adelaide SA
- VR Senator LSx454 1960 Kombi (project) 1921 Nash Hot Rod (future project)
View build HERE
Posts: 5 777
I agree, i do think these early HSV’s look best on the original wheels, just a pity they didn’t come in a wider version..
September 10, 2015 at 9:13 pm #9099
SSEN8R VS #1081Participant- Brisbane, North Side
- \'97 VS II HSV Senator 185i
View build HERE
Posts: 227
what gearknob did you get? mine looks like below… we do have someone on hear who said he was going to make some up… one day… http://www.commodoresplus.com.au/forums/topic/hsv-manual-gearknob-vn-vs-era/
My build thread - http://www.commodoresplus.com.au/forums/topic/vs-ii-senator-185i-1081/
My track day thread - http://www.commodoresplus.com.au/forums/topic/lakeside-track-sprint-day-second-go/
My VS brake upgrade thread - http://www.commodoresplus.com.au/forums/topic/vs-brake-upgrades/September 10, 2015 at 9:18 pm #9100
VRSenator065Participant- Adelaide SA
- VR Senator LSx454 1960 Kombi (project) 1921 Nash Hot Rod (future project)
View build HERE
Posts: 5 777
that somone elisted the help of somone you all know to CAD model up a die to imprint the logo. So stay tuned….
October 25, 2015 at 9:04 pm #10606I’m just using a normal one at the moment, I would like to get a HSV one done when people start making them.
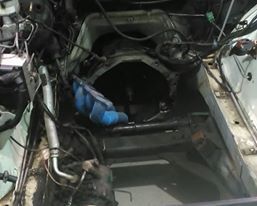
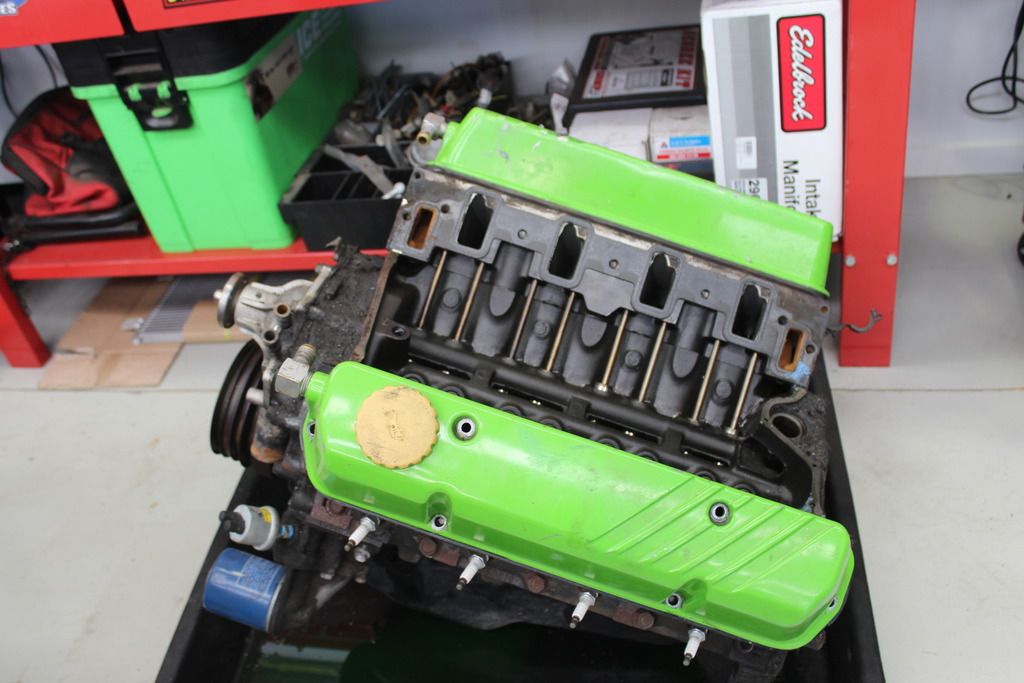
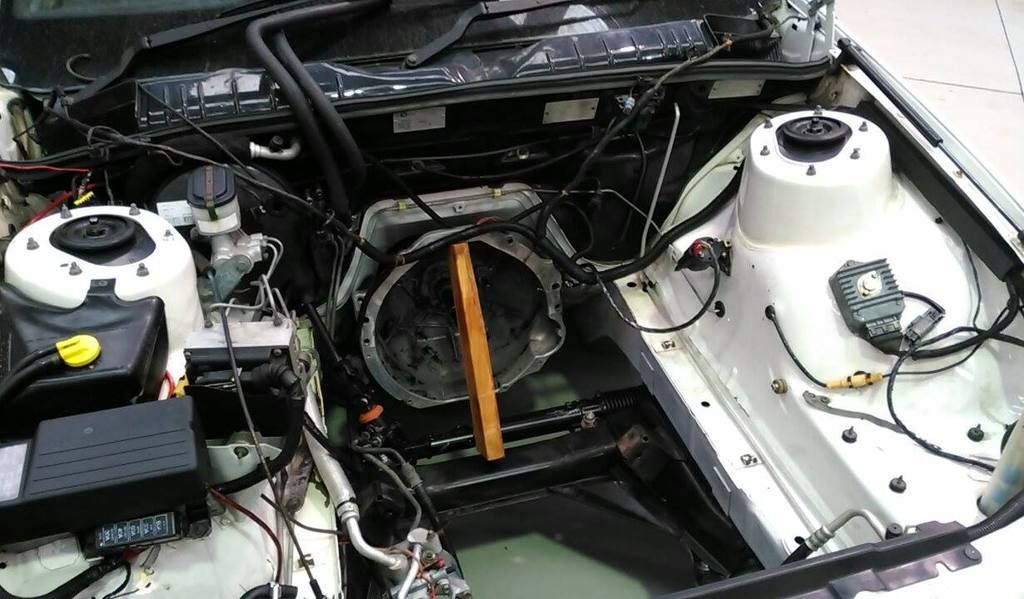
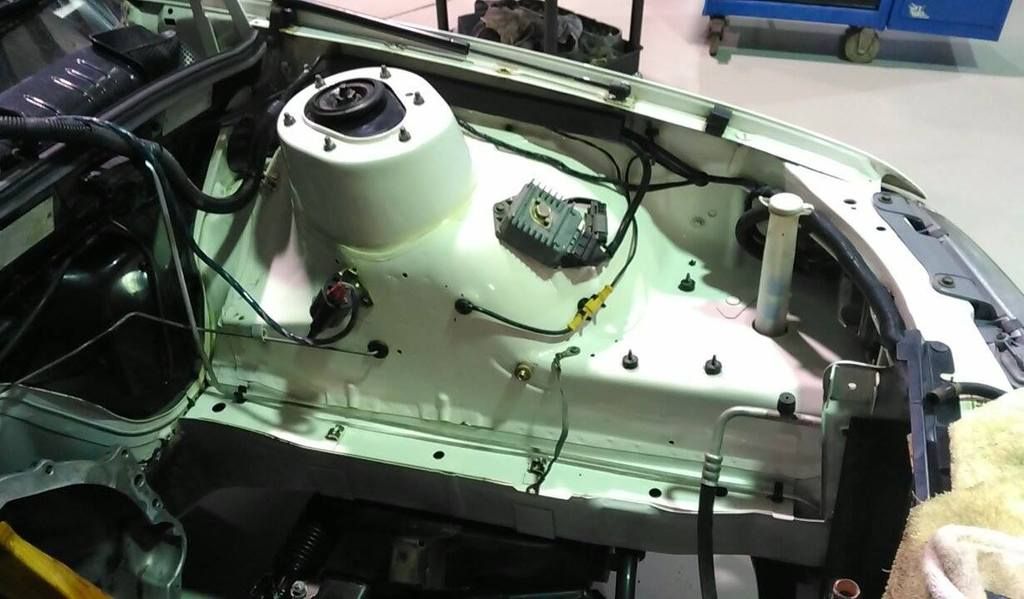
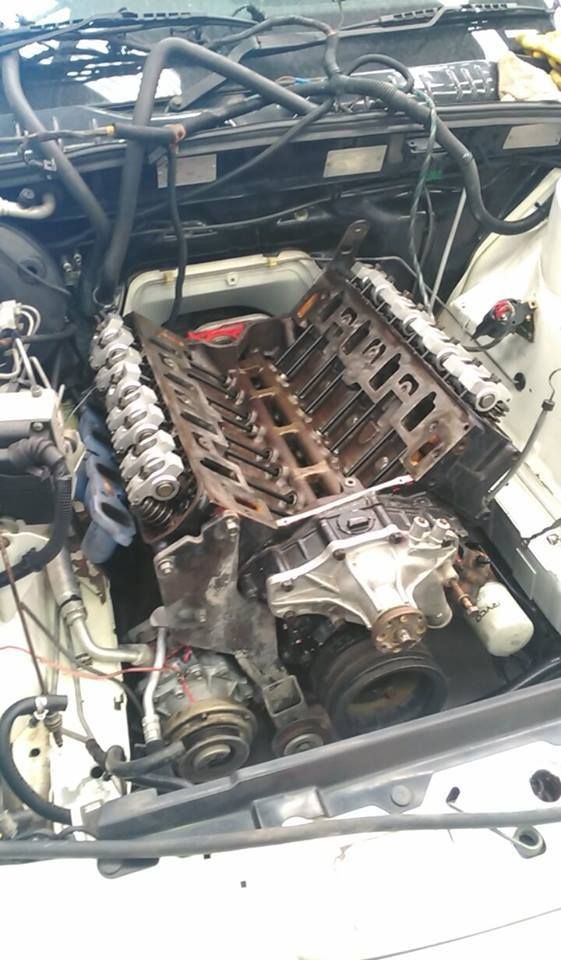
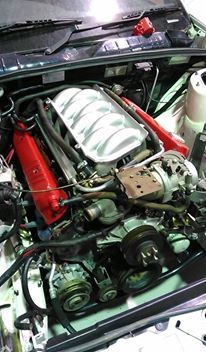
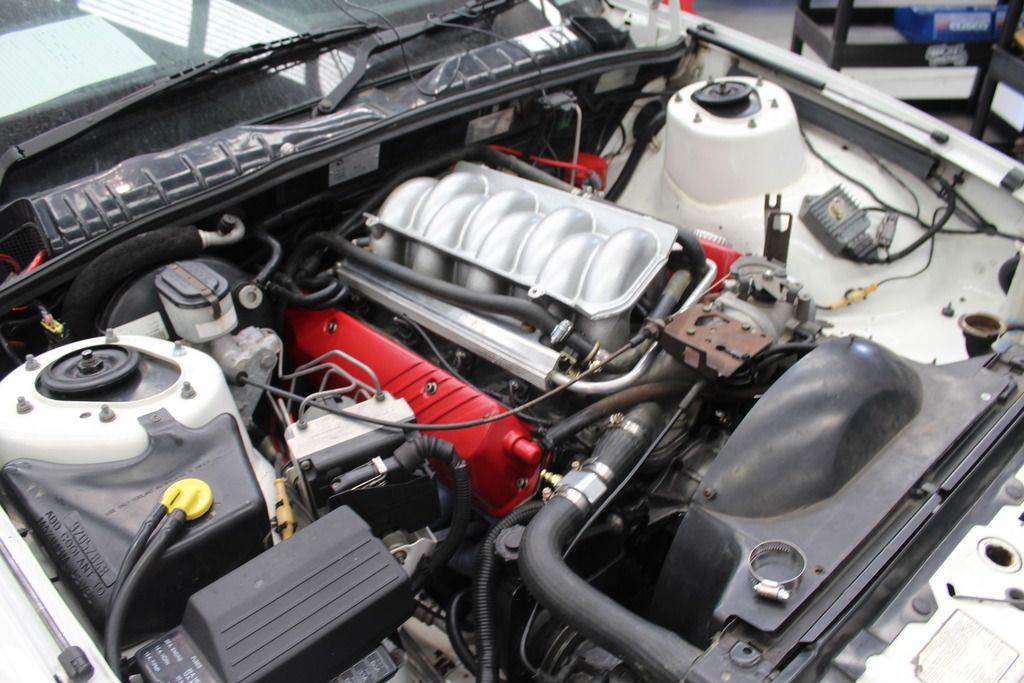
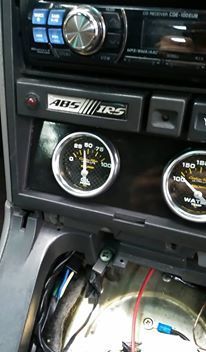
So a fair bit has happened with the car since i put this thread up. It is now sporting a new engine. A freshly built 304, hydraulic crane cam, YT rockers, high energy sump, ported heads. Old car it came out of it ran 320hp on carby so it will be interesting to see how it goes in mine. It is in the car 98% done just have to address a leaking waterpump and finish the gauges then its off for a tune. Plus its had a new thrust bearing in the box as it was noisy, i snapped an axle in the diff a while back so the diff had to get opened up to get it out, so its safe to say we know the car inside out now. You can see the old engine with the green rockers, 20 years of gunky oil goodness, yummo. While the engine was out it was all pressure washed, degreased and polished, so its like a new bay now, once i have it back and running i will start to relocate and hide some stuff. Replaced stuff like vacuum hoses, clutch cable, plugs, etc. The highlight was finding the coil was using speaker wiring! So we are now running an MSD Coil + leads.
October 25, 2015 at 9:19 pm #10610Is it possible to make these hard to get parts in a 3D printer then hard varnish or copy via CNC program? Try not to laugh too loudly, a complete computer retard asking the question here.
October 26, 2015 at 10:42 am #10627
VRSenator065Participant- Adelaide SA
- VR Senator LSx454 1960 Kombi (project) 1921 Nash Hot Rod (future project)
View build HERE
Posts: 5 777
Is it possible to make these hard to get parts in a 3D printer then hard varnish or copy via CNC program? Try not to laugh too loudly, a complete computer retard asking the question here.
Yep but just depends on the part and end use. First of all you need the 3D CAD model done. I have done a few for various people and always happy to help out. Then you take that 3D model data and put it into a 3D printer or if the part has to be metal you take the 3D data and use a CNC milling machine to make it.
I did Jakes custom wheel centers for example, with those he was able to use the 3D printed part (its ABS plastic ) and paint it up and they look schmick. But if its something like a leather die, where it needs to take a lot of pressure, or be heated up, then the plastic is no good, so you need to get it machined up out of say aluminium or steel.
-
This reply was modified 9 years, 2 months ago by
 VRSenator065.
April 6, 2017 at 8:42 pm #22304Wow time has flown!
Bit of an update is due
Car is now Supercharged with an STA blower making a respectable 262rwkw. It made 161rwkw before the blower (Cam didnt like the standard intake, run out of puff at 5000rpm).. a week later the diff with 4.11’s decided it had enough to we are now running a later model M80 standard ratio diff.
After taking it for its first drag run there was a couple hiccups, I had been fighting an electrical issue for weeks so I was limping it through the day with that, my 2nd run when i loaded the car up properly for the first time it blew the BOV off and hit the bonnet.. probably lucky it stayed in the bonnet. And due to my fault it blew a pinhole in the oil line on the blower return.. so the day was cut short.. putting it back onto the trailer i cracked a side skirt to.. it was a great day.
Fast forward 3 months and the car was stripped of its body kit, front bar, grill, bonnet, front quarters, skirts, rear bar and boot. Shipped off to melbourne to be painted where its just being finished up now. Which i will update with fresh pics once I get it home but from what ive seen it looks mickey mouse now.
Then it just needs a new starter fitted, new under chassis lines as somehow along the line the rear brake lines have been crushed and fuel line damaged from a hoist or jack but not sure how or when that happened.
Also I will add for anyone with a keen eye the BOV is mounted to the intake by a 90 bit of tube, I want to remove that and get the BOV welded to the intake so it cant come off again. But the supercharger has to come off to get that piece of tube off.. which isn’t fun
-
This reply was modified 7 years, 8 months ago by
 SSN8TD.
-
This reply was modified 7 years, 8 months ago by
 SSN8TD.
-
This reply was modified 7 years, 8 months ago by
 SSN8TD.
Attachments:
You must be logged in to view attached files.April 6, 2017 at 9:14 pm #22313
VRSenator065Participant- Adelaide SA
- VR Senator LSx454 1960 Kombi (project) 1921 Nash Hot Rod (future project)
View build HERE
Posts: 5 777
Nice update mate, look forward to seeing it all purdy
 April 7, 2017 at 9:59 am #22320
Noticed a few mentions of guys needing leather embossed hsv gear knobs. This guy makes them and they look better than genuine
https://www.facebook.com/mehmet.gecgun.73
And nice power things coming along well
-
This reply was modified 7 years, 8 months ago by
 sands vs.
April 8, 2017 at 7:21 pm #22362
Judge1 FrazerParticipant- new zealand
- 1983 VB LSA MG9 6060 6 speed
View build HERE
Posts: 775
Wow ready those chargers are still around i had one and i came to the conclusion that they were disigned really badly the man problem is the impaler wheel then the bearings , i would assume by the power level it’s on 7 psi as i got 260rwkw 350rwhp out of mine , if you want more psi the impaler wheel need changing to one the looks like a turbo not striaght vanes ,i uped mine to 12psi and went backwards so went to vortech
 what a differance chalk and cheese just my thourghts and some info
 -
This topic was modified 9 years, 3 months ago by
-
AuthorPosts
You must be logged in to reply to this topic.


